RLE FMS V.1.13 User Manual
Page 51
rletech.com
FMS User Guide
51
3
Web Interface Configuration
Alarm Disable by
Schedule
Use the Configuration>Schedules link to define a timeframe for
Schedules A and B.
Then return to this page and use this field to designate a period of
time the input will be disabled or inactive. To do this, select either
the A or B schedules.
Within the scheduled time, the point on the Main Menu will turn
Blue to indicate that the input is currently being disabled during its
scheduled time. Once the scheduled time has passed, the point will
reactivate and return to its normal color.
Input Polarity
Reversal by
Schedule
If this input is Digital NO/NC, you may need to reverse the input
polarity at certain times of the day. Use the
Configuration>Schedules link to define a timeframe for Schedules
A and B.
Then return to this page and use this field to designate a period of
time the input polarity will be reversed. To do this, select either the
A or B schedules.
Snmp Trap
Use this feature to enable or disable SNMP traps. The trap can also
be disabled during one of the schedules that was established on
the Configuration>Schedules page.
Snmp Trap
Recipients
Use the Configuration>SNMP/Syslog page to set up your SNMP
Communities. Once communities are configured, their IP address
will appear next to the checkboxes in these fields.
Check the boxes of the recipients that should receive messages
when this input goes into alarm.
High1/Low1 Snmp
Traps
Used to disable SNMP notification for the first level analog alarm.
Notification is not sent until alarm reaches the more critical level 2.
Snmp OID
The SNMP OID is provided here for informational purposes only.
Display Value
Used to show either Signed or Unsigned Values for the displayed
value calculated by the FMS.
Example: If a selected value is Unsigned, the FMS will not display a
negative number on the calculated reading.
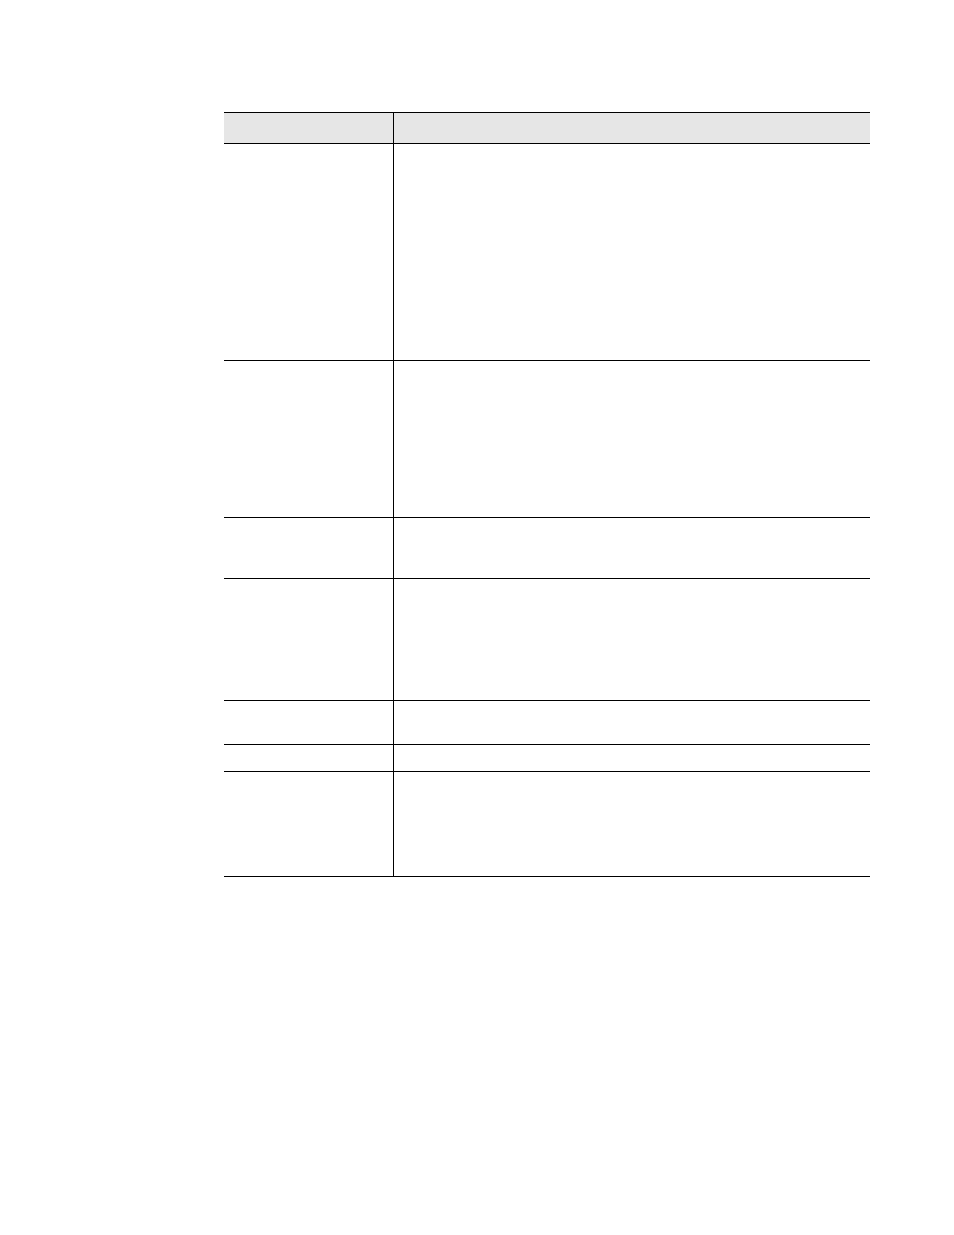
Option
Description
Table 3.3
FMS Main Board Configuration Options