Step 3, Step 4, Step 5 – Denso RC5 User Manual
Page 36: Step 6
16
" STEP 3
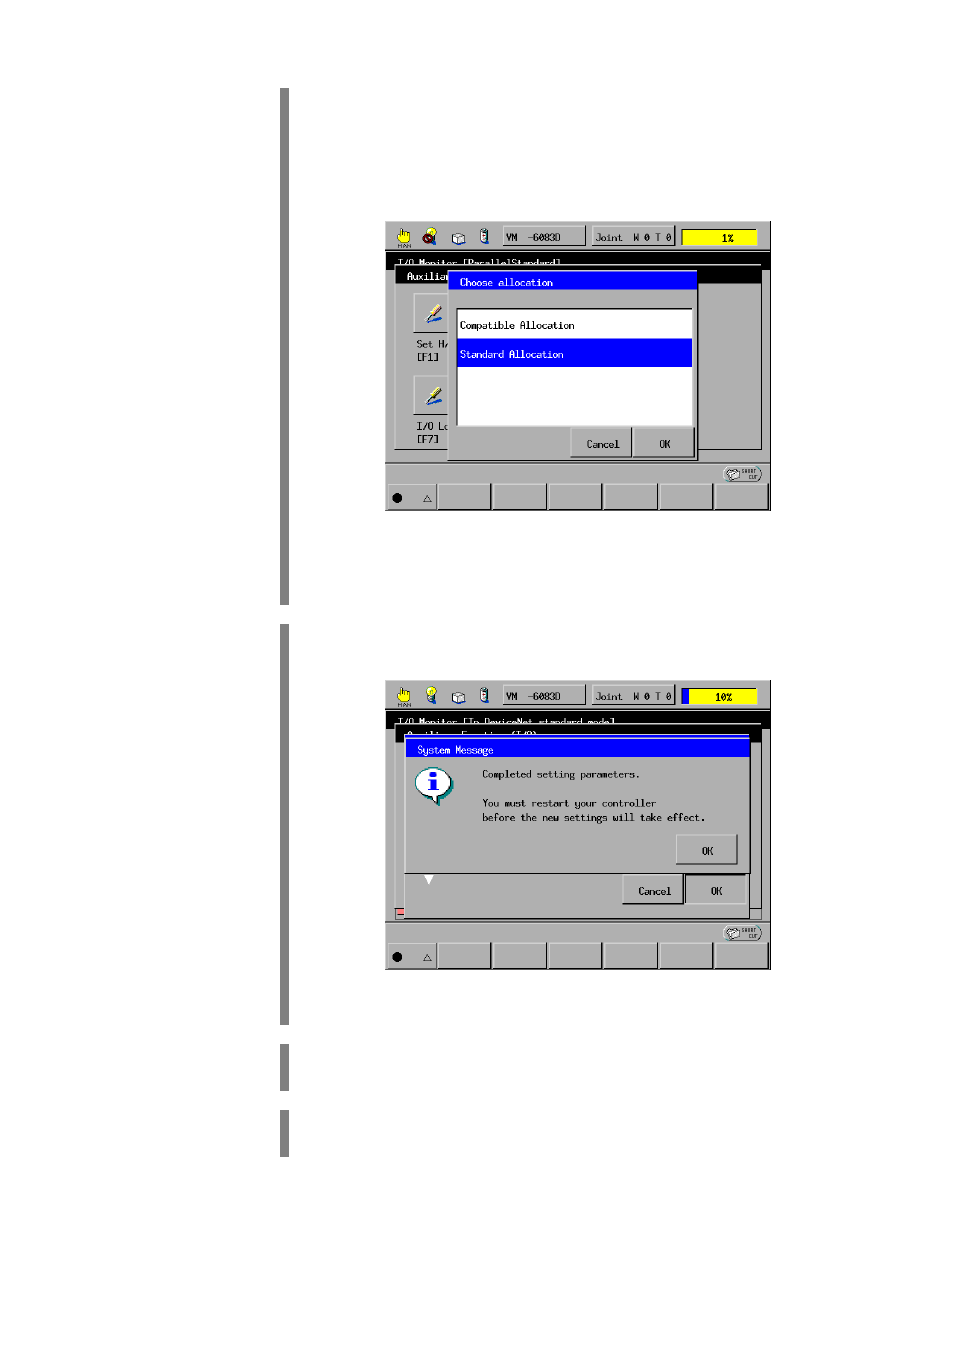
The Choose allocation window appears as shown below.
NOTE: If your robot controller has a built-in DeviceNet master, the Select
Port Assignment window will appear instead of the Select I/O Assignment
Mode window. Refer to the DeviceNet Master Unit user's manual, Chapter
3, "I/O Assignment."
Using the jog dial or cursor keys, select the desired assignment
mode. Then press OK.
" STEP 4
The following system message appears.
Press OK.
" STEP 5
The screen returns to the Auxiliary Functions (I/O) window.
Turn the controller power OFF.
" STEP 6
Turn the controller power ON again.
The I/O assignment mode is switched.