Avery Dennison SNAP 700 User Manual
Page 104
104
User’s Manual—SNAP™ 700 Printer
Move the configuration switch to either the RUN L or RUN D position, depending on
the sense mark.
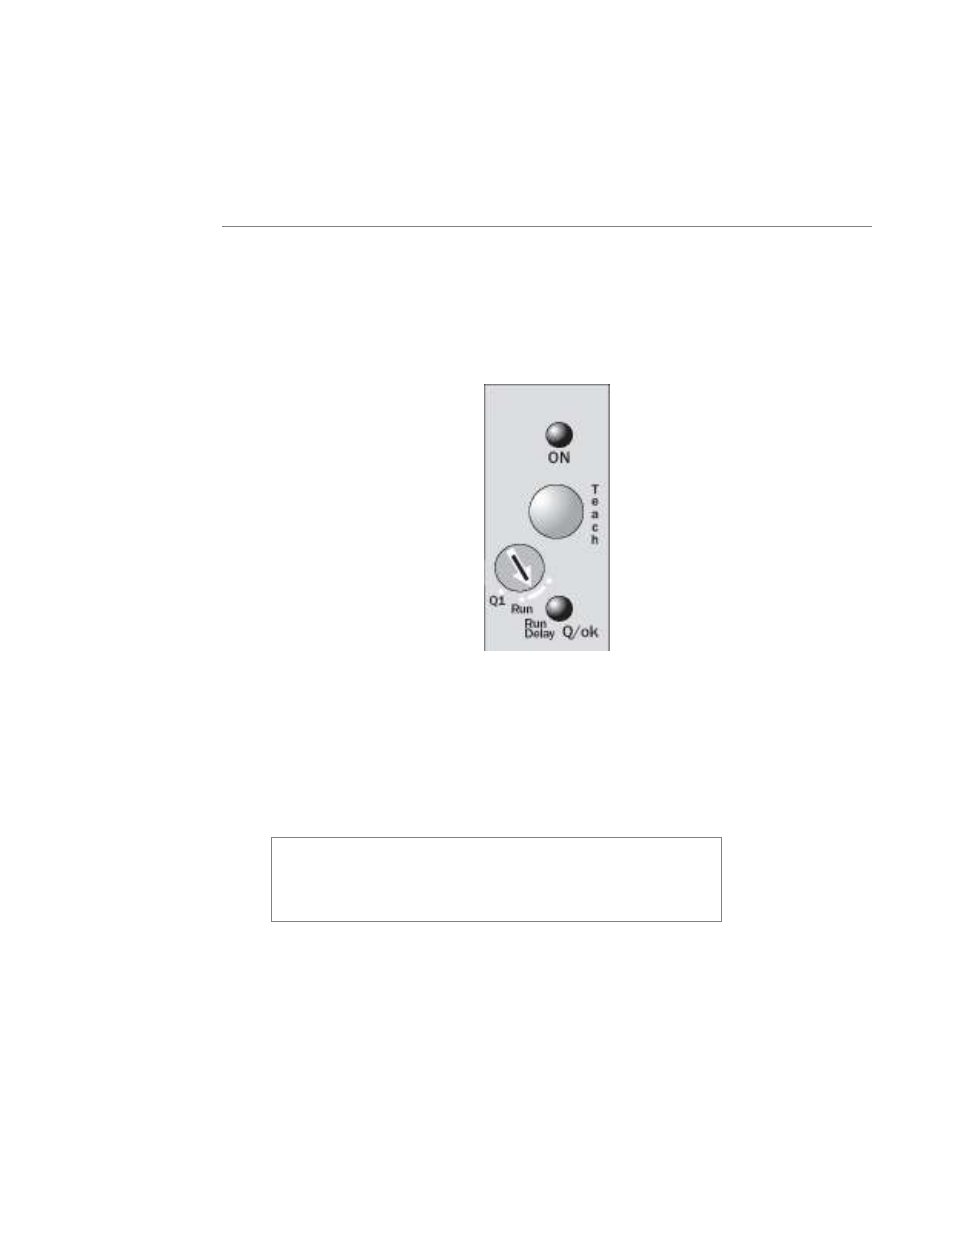
Programming the Color Contrast Sensor
The figure below shows the control panel for the Color Contrast Sensor. The
configuration switch has three positions:
Q1 – Teaching mode
Run – Run mode
Run Delay – Do not use
To teach the sensor, thread the printer with the stock to be used. Position the
material so that a sense mark is just to the left of the sensor position. Adjust the
sensor position across the web so that the sensor lines up with the sense mark.
Set the control switch on the sensor to the Q1 position. Press and hold the TEACH
button while using the stock advance knob to move the sense mark under and past
the sensor.
Make sure that the stock is tight against the web guide. The
best way to do this is to press the TEACH button with the left
index finger, while applying back tension to the supply roll
with the left thumb. This ensures that the stock is in the same
position that it will be when the printer is running.
Release the TEACH button. If the Q/ok light flashes rapidly, the sensor did not
program correctly. If the process fails repeatedly, the sensor may not be lined up
correctly with the sense mark, or there may not be enough contrast between the
background and the sense mark.
Move the material so that the sense mark moves back and forth under the sensor.
The Q/ok light on the sensor should flash when the sense mark passes under the
sensor.