Programming the contrast sensors – Avery Dennison SNAP 700 User Manual
Page 102

102
User’s Manual—SNAP™ 700 Printer
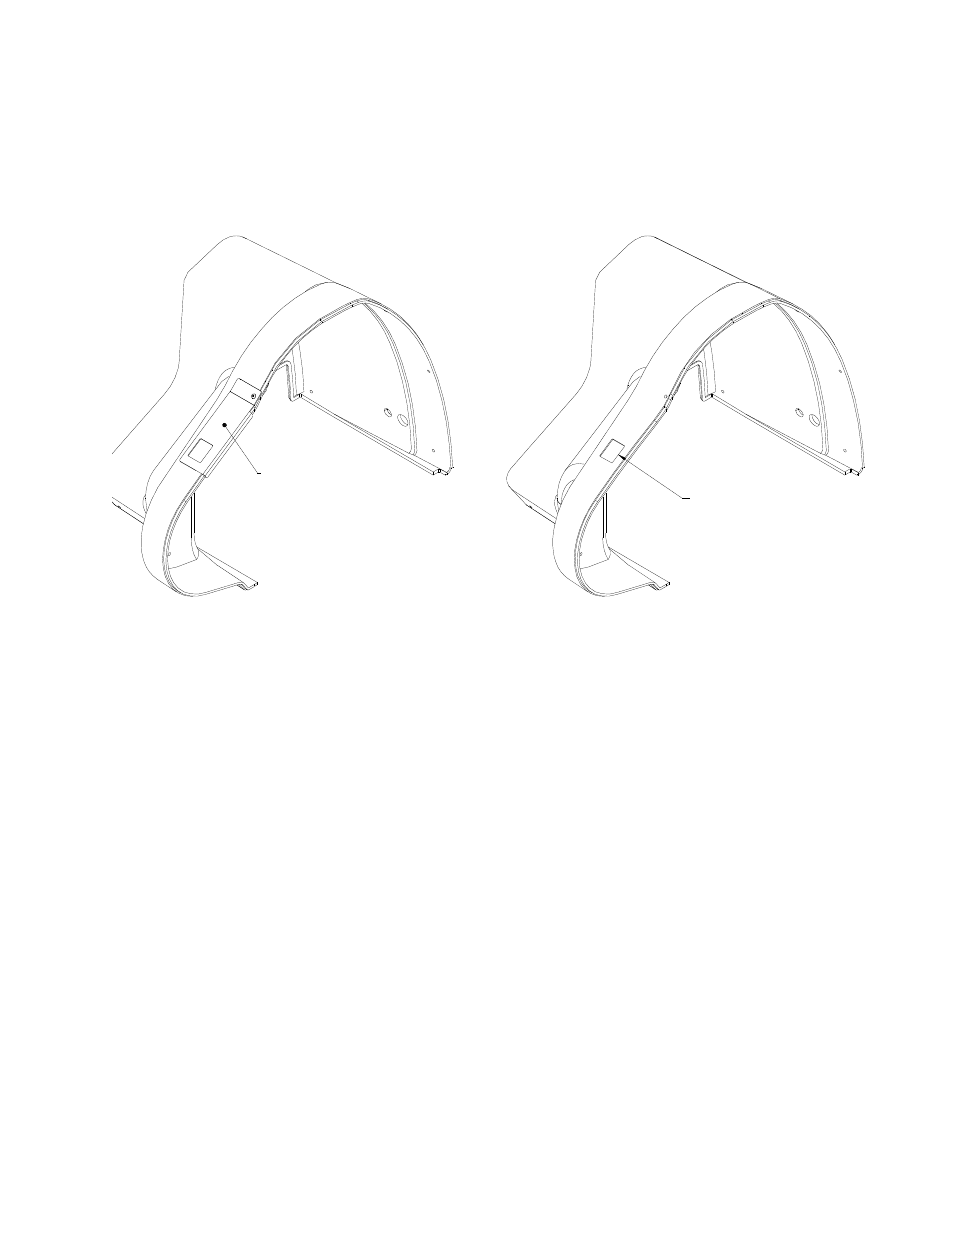
13. Using the supplied Template, scribe a cutout line on the Rear Cover.
SCRIBE TEMPLATE
SCRIBE AND REMOVE
THIS MATERIAL
14. Remove the material within this scribed line. Drill corners and use a Dremel Tool or
Small Saw.
15. Slide Cover onto Printer. The Cutout should be over the Control Plate on the Sensor.
The Sensor may require both horizontal and vertical readjustment to fit below the cutout.
16. Reattach the Rear Cover. Reconnect Stacker connection.
17. When ready to use a sense mark format, program the Sensor per instructions provided
with the Sensor.
5. Programming the Contrast Sensors
There are two optional contrast sensors available for the SNAP 700 printer. 620006-1 is the
standard contrast sensor. It works well in most situations where there is significant contrast
between the material background and the sense mark. In situations where there is less
contrast between the material and the sense mark, or the material and sense mark are of
similar colors, the 620007-1 Color Contrast Sensor may be required.
Both sensors have to be “taught” the difference between the material background and the
sense mark. The procedures are similar, and are described below.
