Epson Perfection V500 User Manual
Page 194
If you loaded mixed-size sheets at one time, select Auto Detect.
Select the size of your original document as the Size setting.
Click the arrow next to the Resolution list and select the number of dots per inch at which
you want to scan. See the table below for some guidelines:
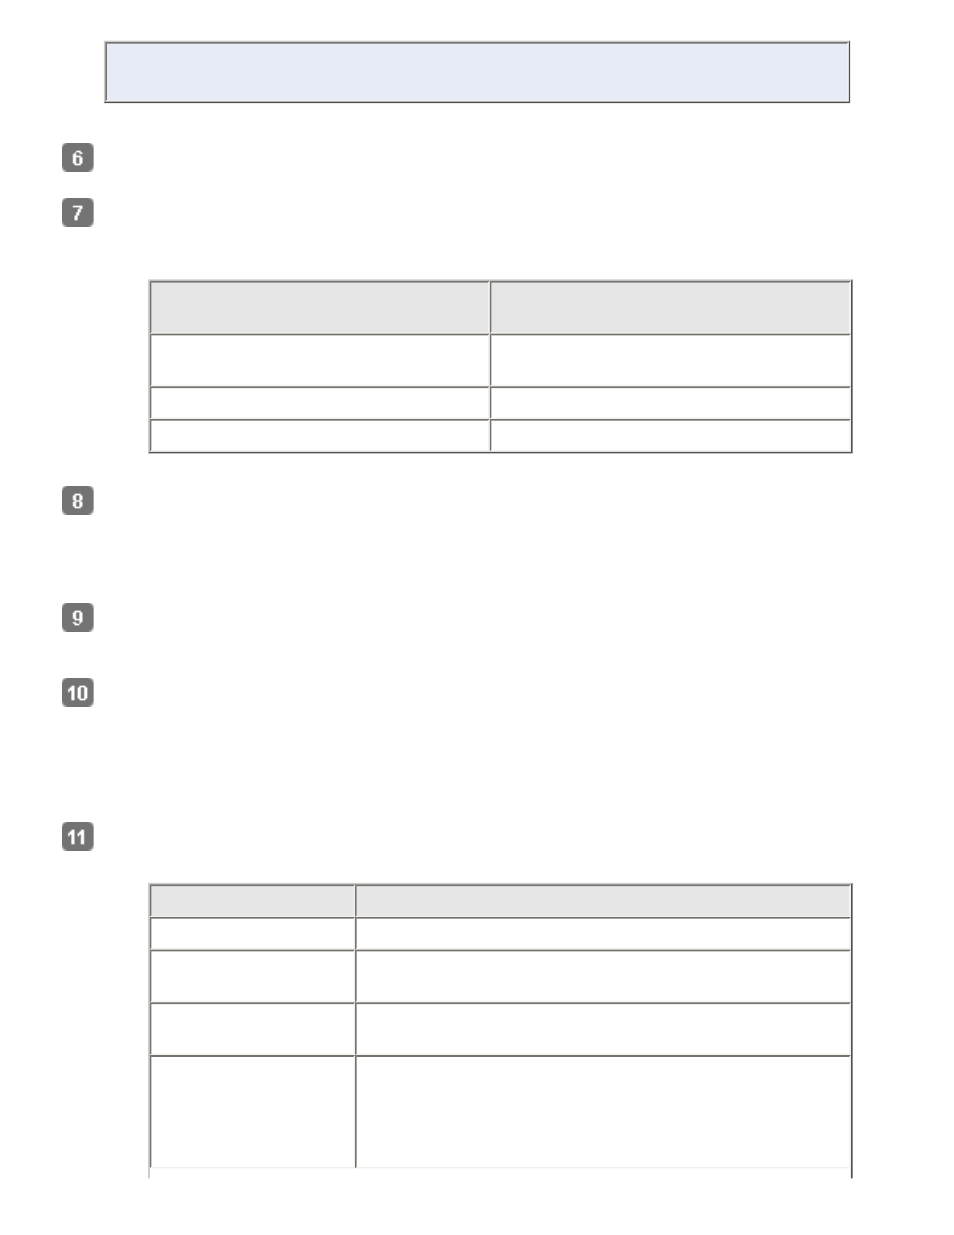
What you will do with the
scanned image
Suggested scan resolution
Send via e-mail, upload to web, view
only on the screen
96 to 150 dpi
Print, convert to editable text (OCR)
300 dpi
Fax
200 dpi
Click the Preview button toward the bottom of the Epson Scan window.
The ADF loads your first document page, then Epson Scan prescans it and displays it in the
Preview window. The ADF then ejects your first page.
Place your first page on top of the rest of the pages, then load the entire document into
the ADF.
In the Preview window, draw a marquee (a line marking the scan area) around the portion
of your document page that you want to scan.
For instructions on creating and adjusting a marquee, see
Change any necessary Image Adjustments settings as listed in the table below.
Setting
Available mode(s) and description
Brightness
Adjusts the overall image lightness and darkness.
Contrast
Adjusts the difference between the light and dark areas
of the overall image.
Unsharp Mask
Turn on to make the edges of image areas clearer for
an overall sharper image. Turn off to leave softer edges.
Descreening
Removes the rippled pattern that can appear in subtly-
shaded image areas, such as in skin tones. Also
improves results when scanning magazine or
newspaper images which include screening in their
original print processes.