Final component installation – East Coast Supercharging Lysholm 2010+ Camaro Supercharger Kit User Manual
Page 89
P/N: 4LGE020-010 v1.1, 2011-04-29
© 2011 Lysholm
All Rights Reserved, Intl. Copr. Secured
79
A. Reinstall the Front Bumper Cover (FBC) in
reverse order from removal making sure to
reinstall:
1. Two (2) 10mm-headed screws through
the bottom of the FBC.
2. The FBC electrical connector located
between the passenger side driving light
and headlight. Access the connector via
the wheel well.
3. Four (4) 10mm-headed screws and one
(1) 7mm-headed screw attaching the
FBC to the leading edge of the fender on
each side (8 and 2 total).
4. Three (3) T20 Torx screws securing each
splash guard to the FBC (6 total). These
screws are located in the wheel wells
just forward of the front wheels along the
outer edge.
5. Two (2) plastic pins securing each
splash guard to the inner fender struc-
ture (4 total). One is adjacent to the
strut and the other is directly above the
wheel.
6. Two (2) 10mm-headed screws and six
(6) plastic pins along the top edge of the
FBC.
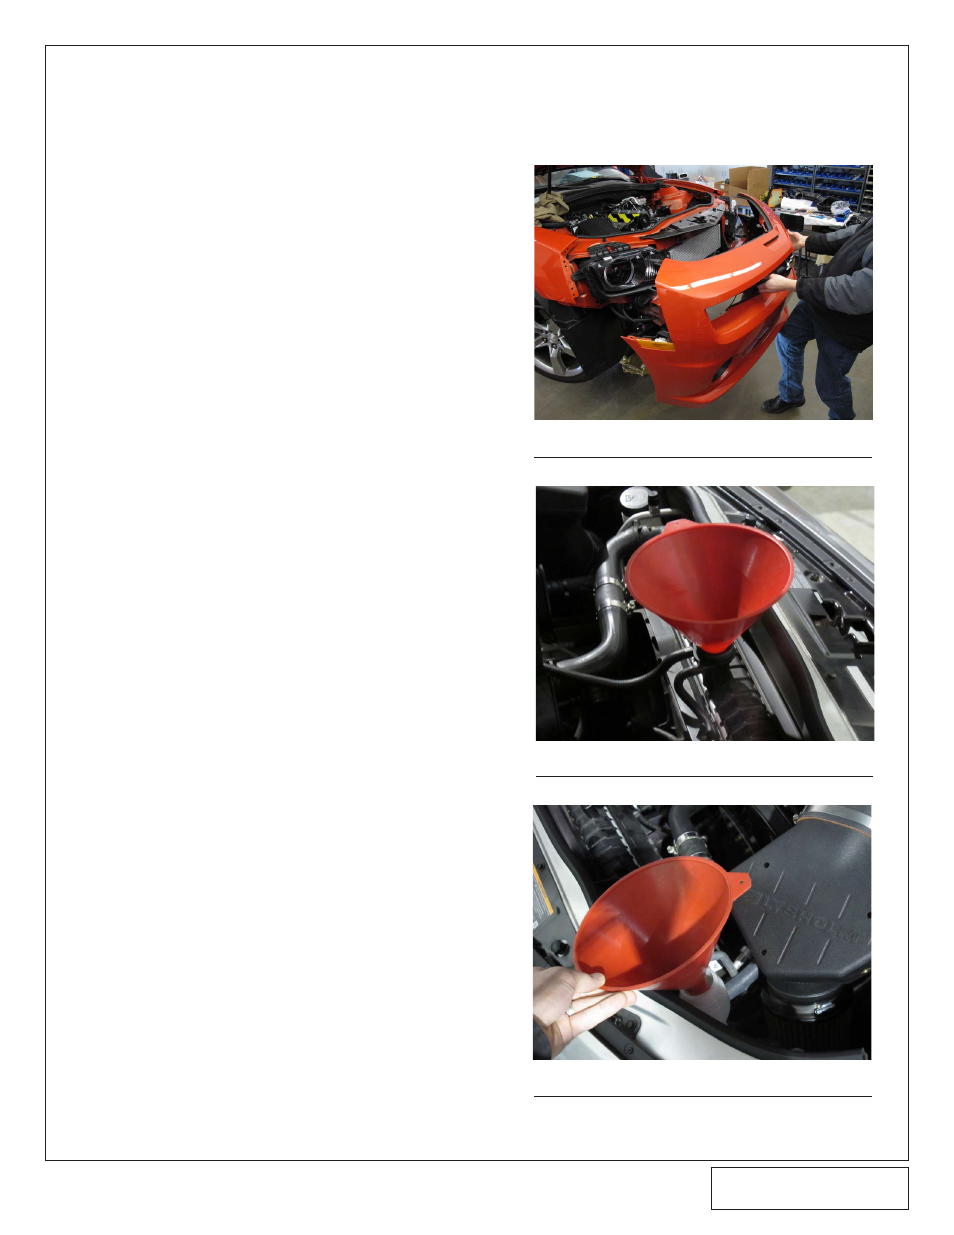
B. Slowly refill the engine coolant through the
spout located at the top of the radiator, allow-
ing any air to escape as the radiator fills. Fill
the engine coolant reservoir about 2/3 full.
Squeezing the upper radiator hose and the
air bleed hose, while you fill the radiator, will
aid with purging out the air from the system.
C. Using the washer fluid previously drained, fill
the washer fluid via the new remote fill spout.
Fill only so that the lower tank is filled.
Fig 10B
10. FINAL COMPONENT INSTALLATION
Fig 10C
Fig 10A