East Coast Supercharging Lysholm 2010+ Camaro Supercharger Kit User Manual
Page 69
P/N: 4LGE020-010 v1.1, 2011-04-29
© 2011 Lysholm
All Rights Reserved, Intl. Copr. Secured
59
Fig 8H
Fig 8I
F. The supercharger should come to rest on the
pre-installed alignment guides which will pre-
vent the supercharger from moving forward or
backward. Once it is seated in this position,
insert the remaining of the ten (10) M6x1.0 x
75mm long screws (five (5) per side) and
start each of them through the manifold.
Once each screw has been started by hand,
torque all ten (10) M6 screws to 22-26lb/ft
evenly in a criss cross pattern starting from
the center and going outward. See fig 8F,
8G, 8H.
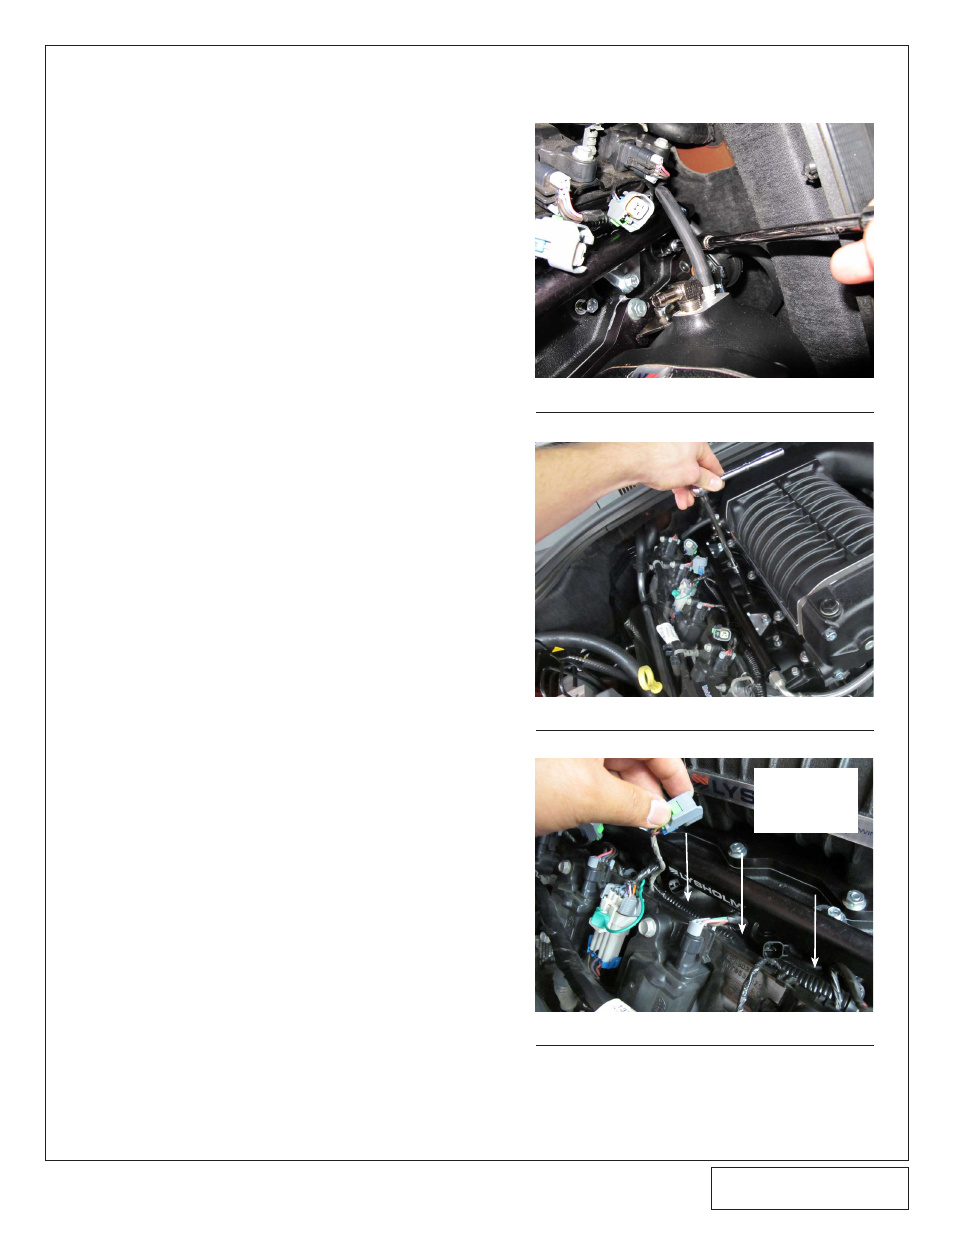
G. Slide the OEM injector harness below the
injector connectors, as close to the manifold
as possible. Be sure to route the electrical
injector connectors under and out around the
harness to ensure that the connections have
adequate slack. See fig 8I.
Fig 8G
TUCK WIRING
HARNESS BELOW
INJECTOR
TERMINALS