Checkline FH Series User Manual
Page 26

© ElektroPhysik MiniTest 7200 FH / MiniTest 7400 FH
26
6.3 How to calibrate
Using the sensor stand will add additional comfort during the calibration procedure. For more
details please refer to section 5.3.3.
For all calibration methods the following applies:
-
To call the Calibration menu from Measure mode menu, press the Calibration function key.
-
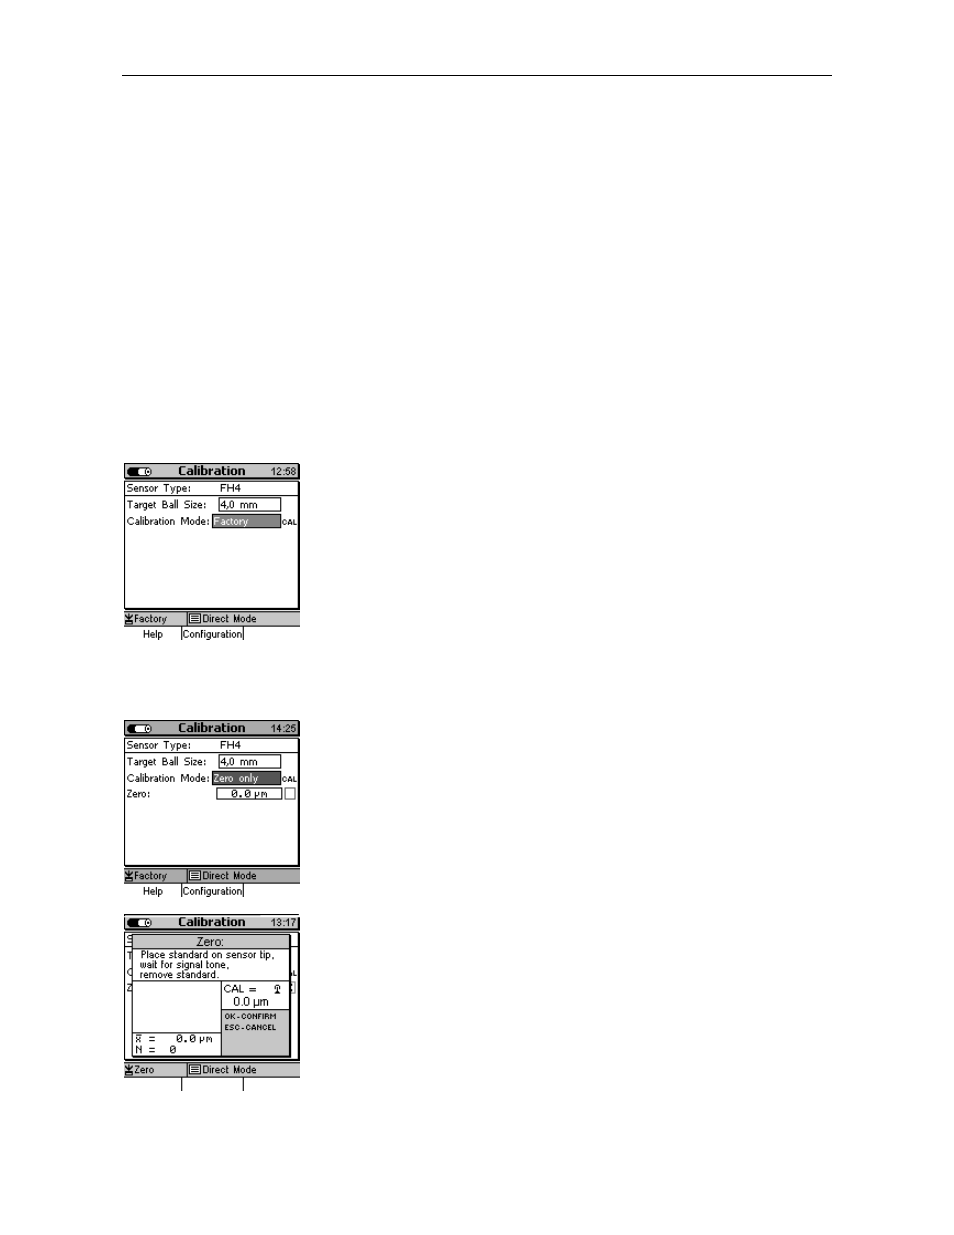
Use the arrow keys to go to “Target Ball”. Press OK to confirm. Use arrow keys to adjust to
the requested target ball size. Press OK to confirm.
-
Use arrow key to go to “Calibration Mode”. Press OK to confirm and use arrow keys to
make your selection. Press OK to confirm.
-
6.3.1 Factory Calibration
Use arrow keys to select “Factory“. Press OK to confirm. The gauge is
ready for measurement.
6.3.2 Zero only
Use arrow keys to select “Zero only“. Press OK to confirm.
For zero point calibration, the zero standards supplied with the gauge
must be used together with the matching target balls. Make sure
always first to place the target ball into the zero standard. Then put
both together onto the sensor. Wait for the sound to bleep, remove the
precision standard and keep it in a distance of at least 30 mm.
For mean calculation it is recommended to repeat the procedure
several times. (To get reasonable values it is always recommended to
take several readings and to have the mean calculated). Press OK to
confirm.
A ticked box right to “Zero“ will confirm successful calibration.
Now the gauge is ready for measurement.
