Checkline FH Series User Manual
Page 22

© ElektroPhysik MiniTest 7200 FH / MiniTest 7400 FH
22
5.6 Error Sources during Measurement
After calibrating the gauge according to your application and appropriate target ball size, the gauge
is ready for measurement.
The readings will be correct as long as you measure within the range as specified for this target
ball. The target ball is placed on one side of the sample to be measured and will be attracted by
the sensor tip on the other side of the sample. The target ball serves as a reference to the sensor.
What is being measured is the distance between sensor and target ball.
Make sure to place both, the sensor tip and the target ball correctly onto the sample. Both must be
in good contact with the surface of sample. Otherwise erratic readings (higher readings) might
occur. Make sure to keep the sensor in perpendicular position while moving it over the sample. The
target ball on the other side must be freely movable.
5.6.1 Correct Sensor Position
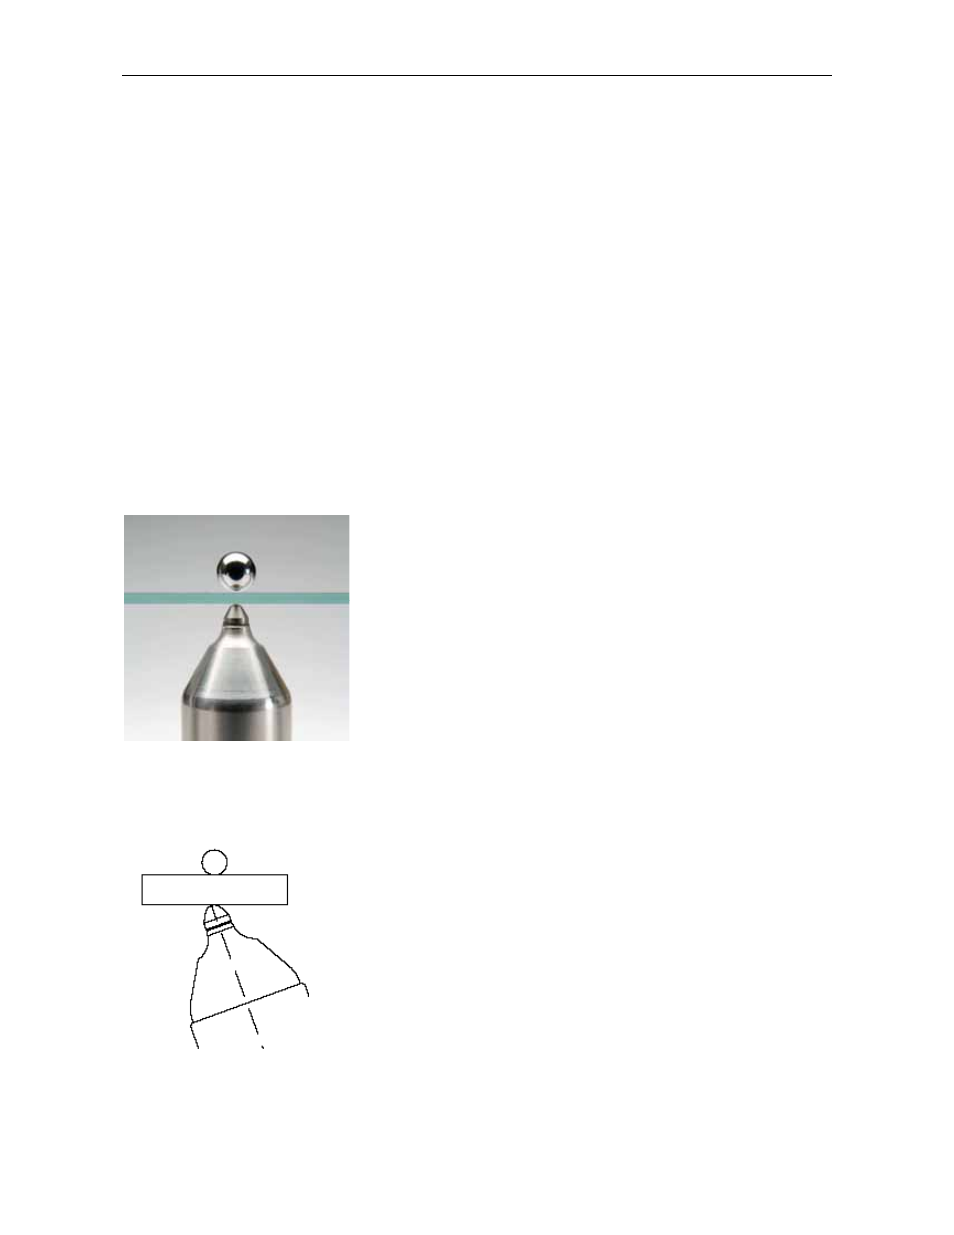
The picture illustrates the correct position of sensor tip and steel
ball. Make sure to keep the sensor tip perpendicular to the
surface of sample.
5.6.2. Incorrect Readings through tilting of the Sensor
Error source:
The sensor tip is not positioned correctly in perpendicular position
to the sample. The reading will therefore be higher than the actual
thickness.
Remedy:
Make sure to keep the sensor in perpendicular position to the
sample. If necessary, use the sensor stand.
