Ii. getting started – Brookfield DV-III Ultra Rheometer User Manual
Page 18
Brookfield Engineering Laboratories, Inc.
Page 18
Manual No. M98-211-E0912
II. GETTING STARTED
II.1 Autozero
Before readings may be taken, the Rheometer must be auto zeroed. This is done each time the
power switch is turned on. The Rheometer will guide you through the procedure, as follows:
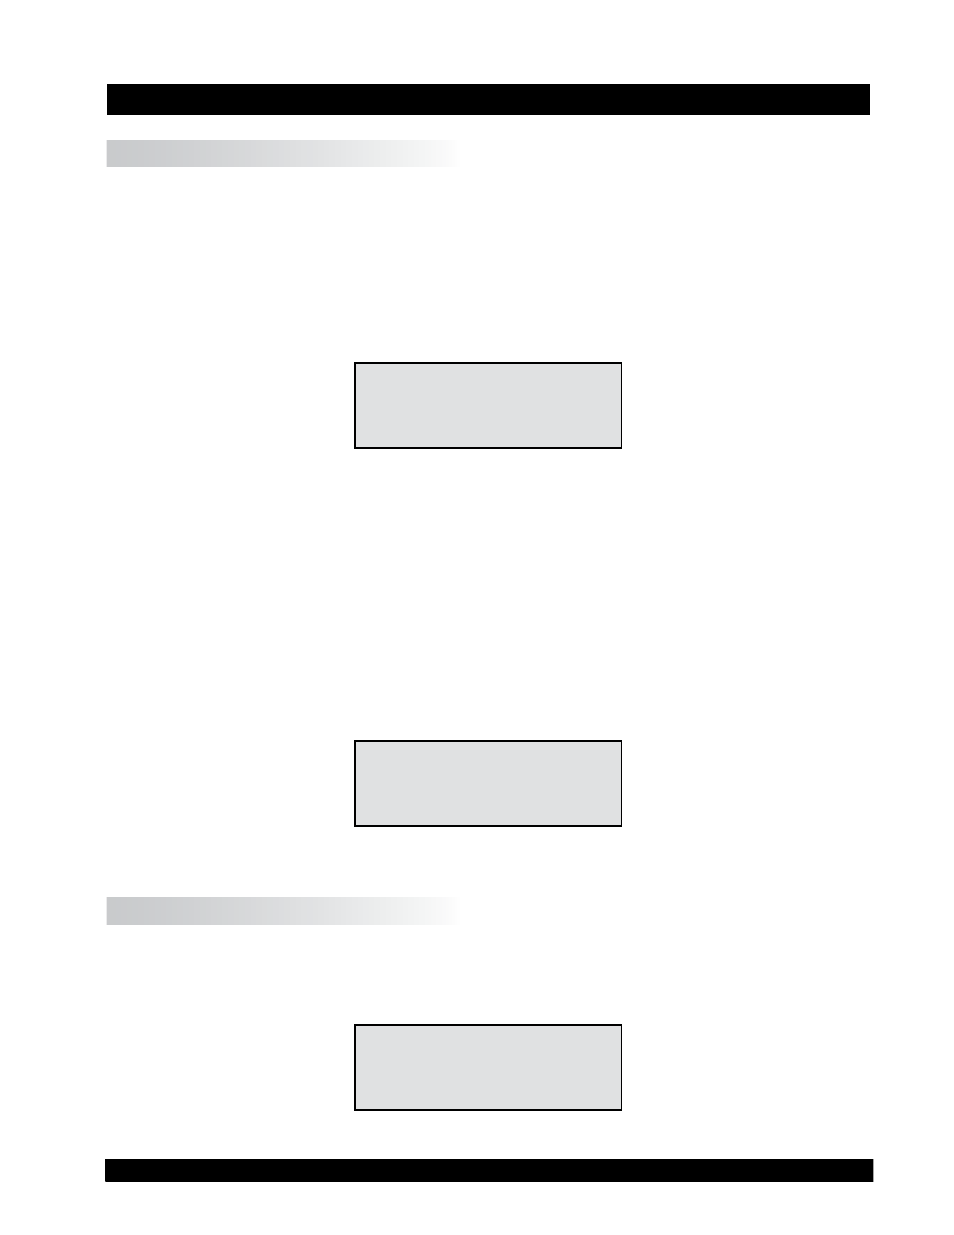
Turn power switch on; as shown in Figure II-1, the screen indicates that the DV-III Ultra is in the
standalone mode (is not connected to a computer) and gives the version of the operating firmware
(the built in program which controls the instrument) and a two-digit alphanumeric code which
indicates the Model number (see Table D2 in Appendix D; the code tells the spring torque rating
of your Rheometer).
BROOKFIELD
DV-III ULTRA RHEOMETER
V1.0 HA
STANDALONE
Figure II-1
No key press is necessary. After a short pause the display will read
“REMOVE SPINDLE, LEVEL
RHEOMETER AND PRESS THE MOTOR ON/OFF KEY TO AUTOZERO.”
Before beginning the autozero
procedure, Brookfield recommends that you allow 10 minutes for the instrument to warm up.
After pressing the
MOTOR ON/OFF
key, the screen “flashes” for approximately 15 seconds while
the DV-III Ultra auto zeros.
After 15 seconds the display reads
“AUTOZERO IS COMPLETE REPLACE SPINDLE AND PRESS ANY
KEY.”
Press a
key.
The main screen is displayed and the DV-III Ultra is ready for use (Figure II-2).
RPM: 0.0 SPINDLE: 31
TEMP: 72.1 F PRTN
TORQUE = 0.0 %
Figure II-2
II.2 Rheometer Display
The DV-III Ultra Rheometer is supplied with a 4-line display. The basic set of information is called
"The Default Screen" and is shown in Figure II-3. The parameters are detailed below:
RPM: 0.0 SPINDLE: 31
TEMP: 72.1°F PRTN
TORQUE = 0.0 %
Figure II-3