ADS Environmental Services Model 3600 530002 A2 User Manual
Page 62
Ring, Sensor, and Special Installations
4-29
l
Center the 30 cm (12 in.) band, allowing about 100 mm (4 in.) of overhang on
each side from scribed location.
l
Press one end of the curved band until it conforms with the pipe configuration
and spot drill to mark the bolt location.
l
Remove the curved band and drill the anchor bolt hole.
l
Mount the anchor bolt.
l
Locate the pre-drilled hole on the curved band and attach the band to the
anchor bolt with a washer and a 7/16 in. (11 mm) nut and hand tighten.
l
Slide the adjustable ultrasonic plate on the band with the backstop pin pointed
toward the invert and the two band slots facing up.
l
Align the sliding ultrasonic plate with the scribe marks (done earlier) and
conform the other end of the curved band with the pipe and spot drill to mark.
l
Mount the anchor bolt to the pipe.
l
Attach the band through pre-drilled holes and secure with a washer and a 7/16
in. (11 mm) nut and hand tighten.
Note:
If the adjustable ultrasonic plate has too much play in it, attach another
anchor bolt approximately 25 mm (1 in.) from the plate.
l
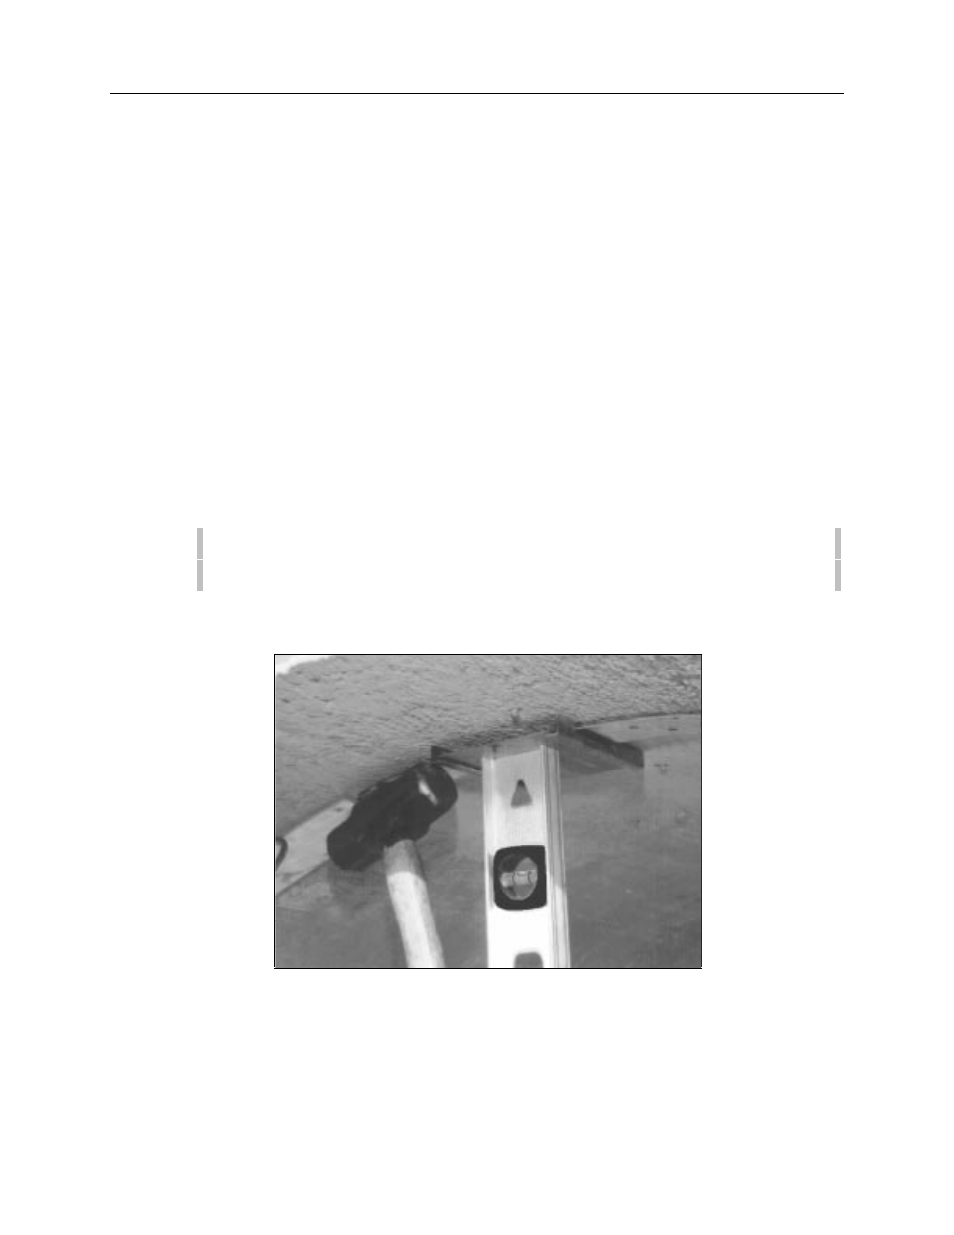
Slide adjustable ultrasonic mount along the metal band until level. Tighten the
anchor bolt nuts securely with the nut driver.
01-04.pcx
Tapping the Adjustable Ultrasonic Depth Mount to Make It Level
l
Slide the ultrasonic sensor into position on the adjustable ultrasonic plate until
the back of the sensor comes in contact with the backstop pin.