Models not listed, Pre-delivery and other options, Prepare planter – Great Plains PTO Kits 2-3-Section User Manual
Page 30
26
2- & 3-Section YP PTO Pumps
Great Plains Manufacturing, Inc.
411-015M
2014-09-10
Models Not Listed
Single-section models 2025A, 2525A, YP425A,
YP425A3P, YP625A, YP625A3P, YP825A, YP825A3P
and YP825AR have separate 6-spline PTO kits, which
are covered in manual 401-885M.
For any other Air-Pro
®
or Yield-Pro
®
planter, have your
Great Plains dealer contact the factory for current
information.
Pre-Delivery and Other Options
If you are installing the Yield-Pro
®
PTO Pump on a
newly-shipped planter, it may be more convenient to
install the PTO pump system during the dealer
pre-delivery setup:
• Install the PTO pump system before mounting a seed
hopper or PROBOX
®
(or remove any seed container
present). This improves working space around the fan.
Exception: on models YP1630F, YP2425F and
YP4025F, install the seed structures first.
• Install the PTO pump system before installing or
completing installation of markers. This eliminates an
overhead sharp object hazard, and improves working
space at the fan(s).
• Install the PTO pump system after installing an
optional hydraulic tongue. Installing the tongue later
would require removing the PTO storage mount.
Prepare Planter
2.
Read and understand “Important Safety
Information” starting on page 1.
3.
Position the planter on a level surface in a well
lighted location suitable for the installation, which
includes room to unfold, and possibly room (and
vertical clearance) to unfold markers. A clear
surface beneath makes it easier to recover any
dropped parts.
4.
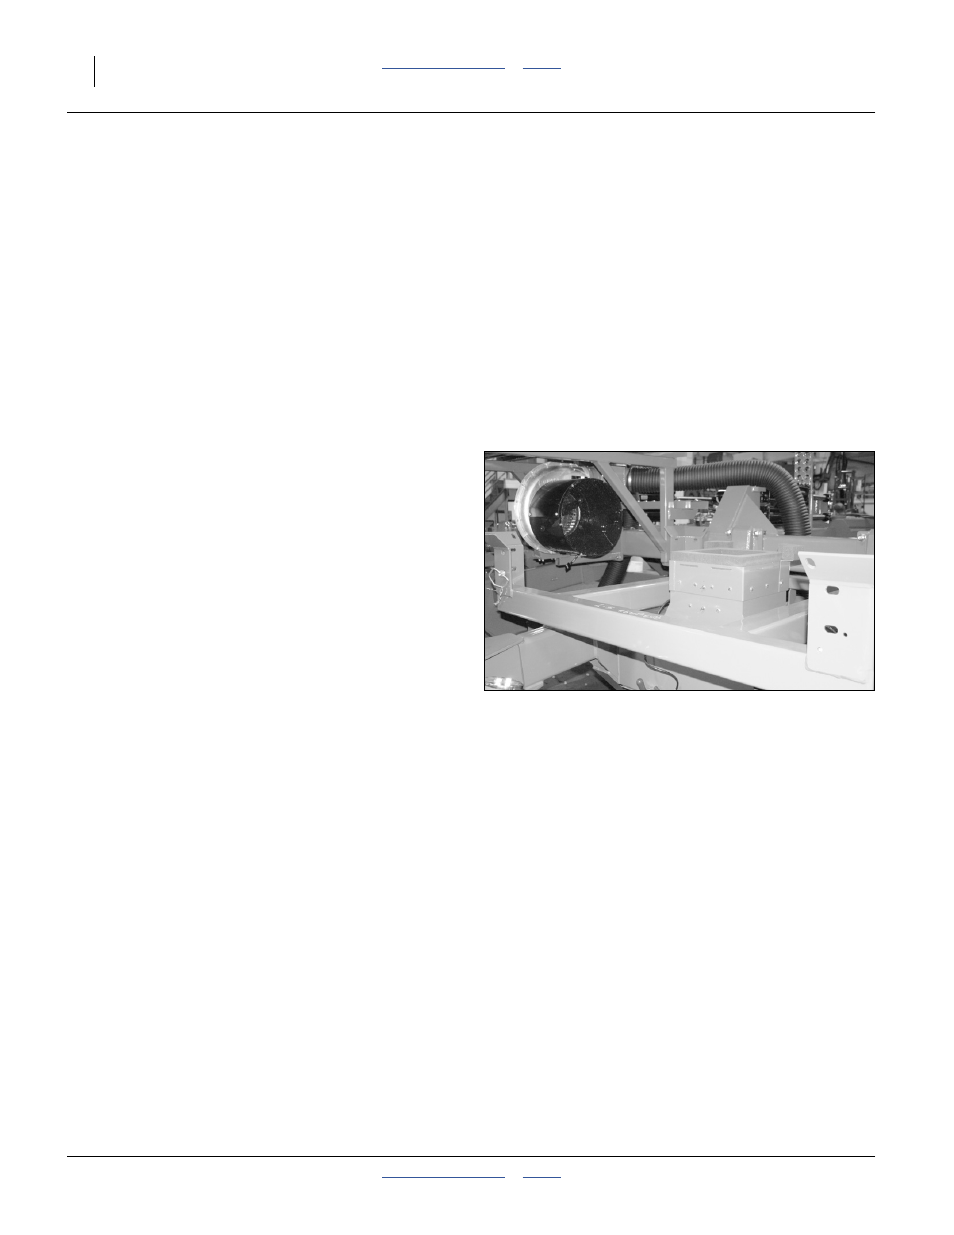
Examine the working space around fans. If space is
tight, consider two steps to improve it:
a. dismount a removable seed hopper/PROBOX
®
b. unfold markers
5.
Lower the unfolded planter, or install lift locks if left
raised.
6.
Chock the tires if the surface is not completely level.
7.
Unhitch the planter.
Figure 19:
26045