Important notes about the mvx, Figure 53, Profiles screen – ClearCube R Series Pentium 4 User Manual
Page 110
100 • MVX Installation
ClearCube Product Manual and Installation Guide
12. Click the Enable nView Desktop Manager check box, click Apply, and then click
the Wizard button. This launches the NVIDIA Desktop Manager Setup wizard.
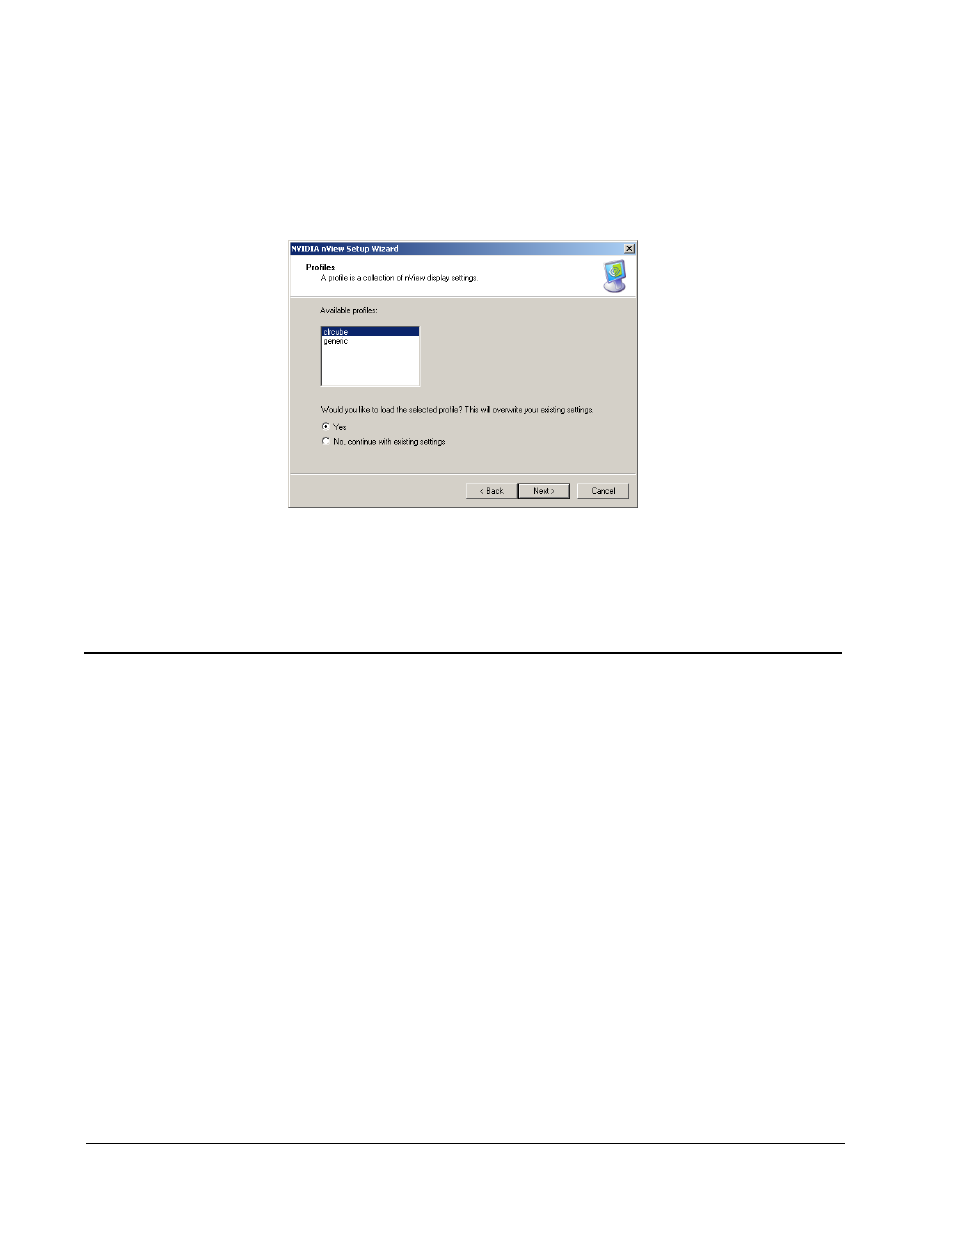
13. Click Next to display the Profiles screen, shown in Figure 53. Highlight the
clrcube profile, select the Yes radio button, and click Next. The clrcube profile
contains settings optimized for use with ClearCube Multi-Video equipment.
Individual settings can be changed if desired.
14. Continue with the remaining screens to customize desktop and user interface
options.
Important Notes about the MVX
The LED indicator on the front bezel of the MVX provides useful link status
information. A green status light indicates the MVX is receiving a good video output
signal from the C/Port. A red status light indicates the MVX is receiving no video
signal or an invalid video signal from the C/Port.
NOTE: An MVX connected to a Blade that is powered down, or to monitors that have
been powered down by Energy Star settings, will show a red status light since
no video signal is being sent from the computer.
Some applications may be limited to functioning only on a single display under
ClearView (e.g., RealAudio only displays video on the primary display without
modification of the registry). This is because the application may not be “multi-head”
aware and capable of fully utilizing the Windows built-in multi-video framework.
To change display orientation, go to Display Properties Æ Settings Æ Advanced
then select the Quadro NVS tab. On the side window, select ClearView.
To change the refresh rate for the monitors:
1. Go to Display Settings and click the Advanced button.
Figure 53 Profiles Screen