Putting text inside a shape – Apple Numbers '08 User Manual
Page 142
142
Chapter 7
Working with Text
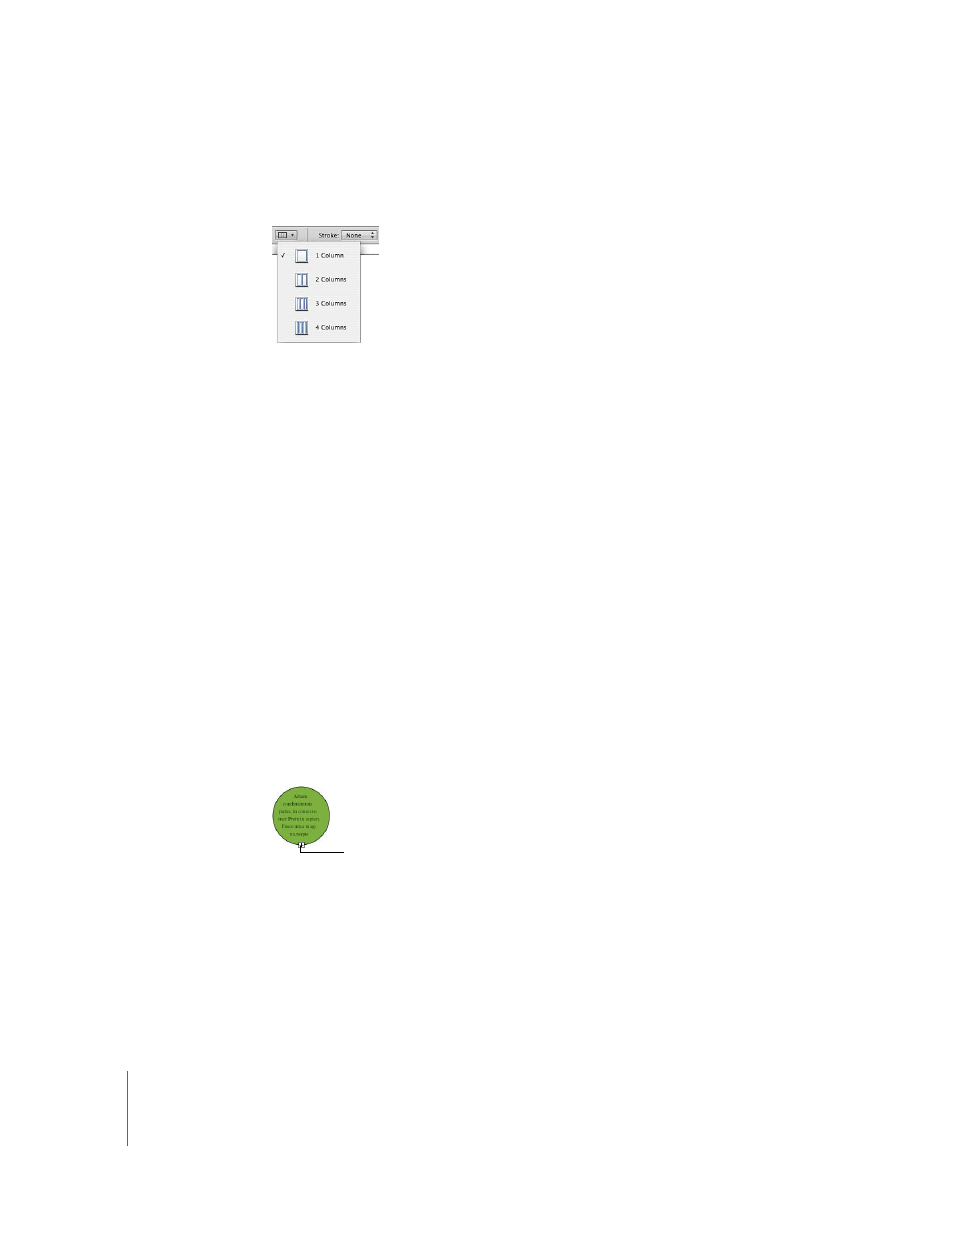
Use the Columns pop-up menu in the Format Bar to quickly divide text into 1 through
4 columns in a selected text box or rectangular shape.
For more options, use the Text Inspector.
To create and format columns using the Text Inspector:
1
Select the text box or rectangular shape with text you want to divide into columns.
2
Click Inspector in the toolbar, click the Text Inspector button, and then click Columns.
3
To indicate how many columns you want, use the Columns field.
4
To use equal-width columns, select “Equal column width.”
To set up different column widths, deselect “Equal column width,” double-click a
Column value, and type a new width.
5
To change the distance between columns, double-click a Gutter value and change it.
Putting Text Inside a Shape
All shapes, except lines, can contain text.
To add text to a shape:
1
Place a shape where you want it on a sheet. To learn about adding shapes, see “Adding
a Predrawn Shape” on page 164 and “Adding a Custom Shape” on page 164.
2
Double-click the shape and type the text you want. If the text extends beyond the
border of the shape, a clipping indicator appears.
3
To resize the shape, select it and drag the selection handles. (If the insertion point is
inside the shape, press Command-Return to get out of text editing mode and select
the shape.)
You can format the text within a shape. You can also rotate a shape while keeping its
text horizontal. After rotating the shape choose Format > Shape > Reset Text and
Object Handles.
The clipping indicator shows
that text extends beyond the
borders of a shape.