Apple Aperture Getting Started User Manual
Page 63
Chapter 5
Importing Images
63
7
Choose a naming convention from the Version Name pop-up menu to specify how you
want the images named.
For example, choose Master Filename from the Version Name pop-up menu to have
your files stored using the current master filenames from your camera or card. Choose a
name format from the Version Name pop-up menu to have your images stored using a
specified name. If you choose a custom name format, enter the name you want in the
Name Text field. You can also apply the name format to the master image as well.
Choose Edit from the Version Name pop-up menu to define a new naming scheme.
8
To add metadata to your images as they’re imported, choose a metadata preset from
the Add Metadata From pop-up menu.
9
When you are satisfied with your image selection, click the Import arrow or the Import
button in the lower-right corner of the dialog.
As the images appear in the Browser, you can begin working with them.
Note: If the folder contains subfolders of images and you want those imported too,
choose File > Import > Folders as Projects.
Dragging Image Files from the Finder into a Project
You can drag image files from the Finder or desktop directly into a project. This is useful
if you composited or created images in another application, and you want to use them
in Aperture. You can also do this if you have image files scattered on your desktop or
throughout folders on your system and you want to consolidate them in one place.
To quickly import image files from the Finder into a project:
1
In the Projects panel, create a new project or select an existing project.
2
Locate the image file or files in the Finder.
3
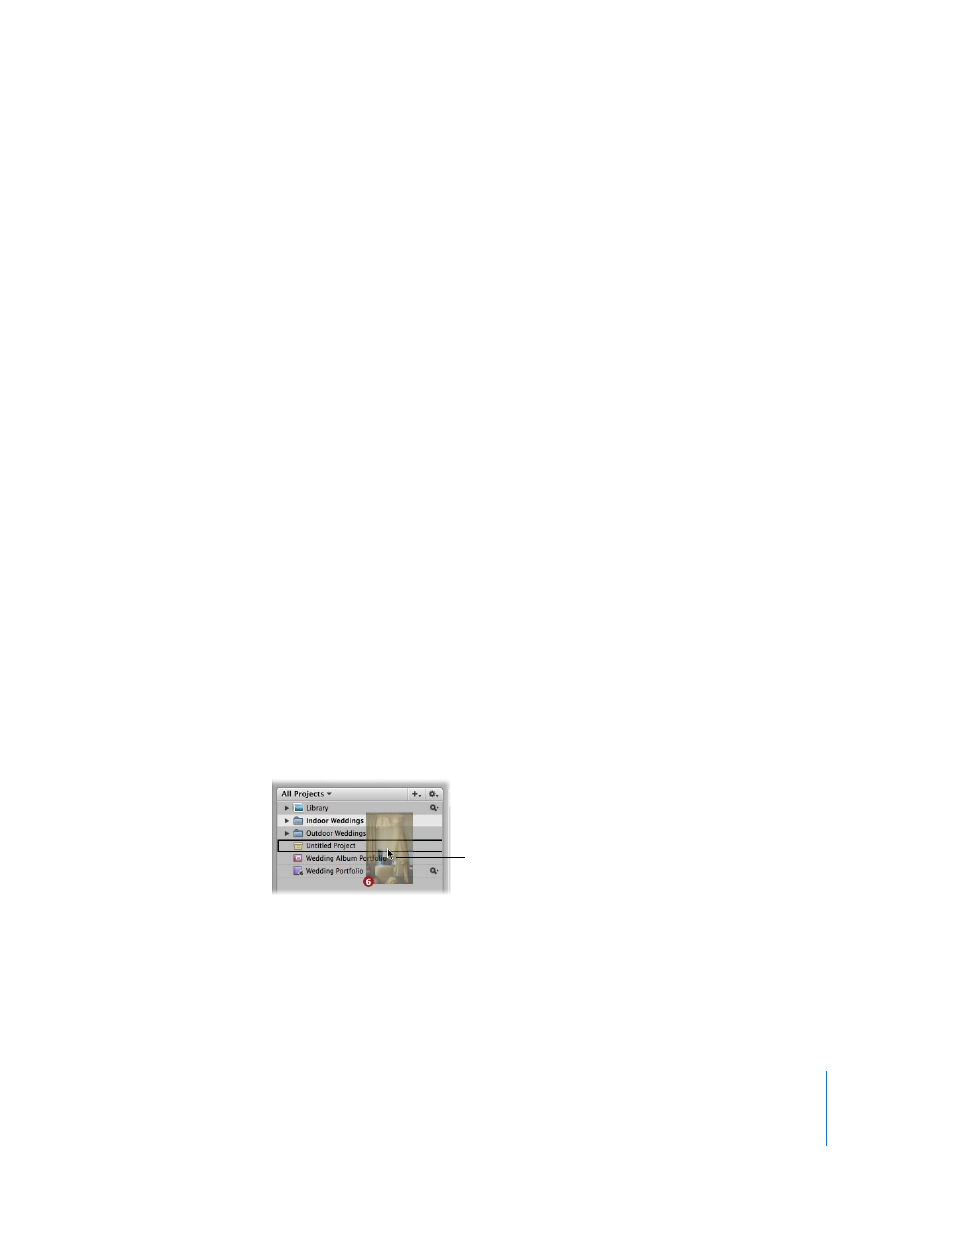
Select the image files and drag them to the project in the Projects panel.
The import process begins and an indicator appears next to the project’s name,
showing the progress of the import.
Drag the selected image
files to a project.