Apple Aperture Getting Started User Manual
Page 58
58
Chapter 5
Importing Images
2
Do one of the following:
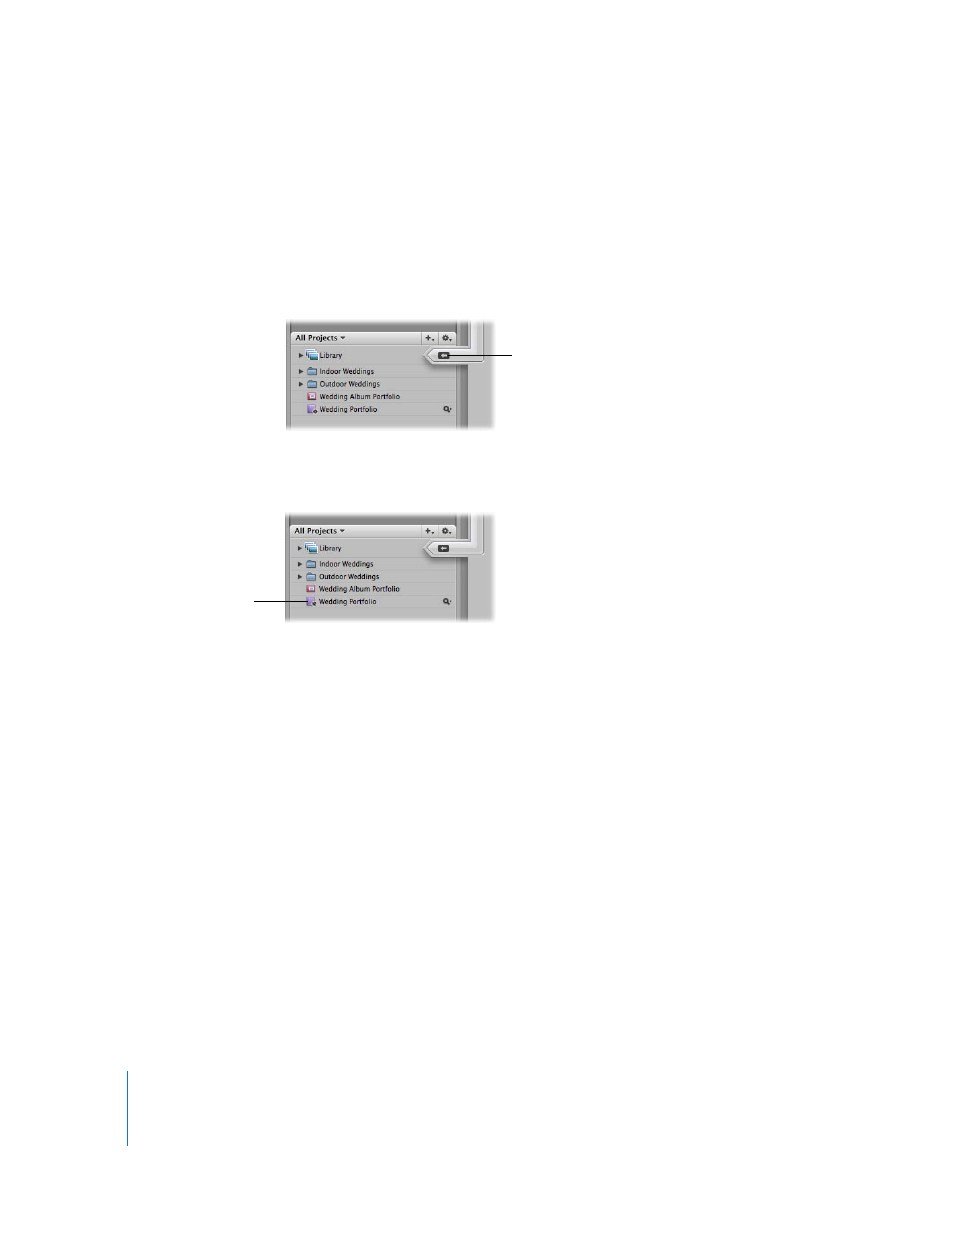
 If you want to import into a new, empty project: Choose File > New Project (or press
Command-N) to create a new project.
Note: You can also click the Library icon in the Projects panel, if necessary, to select
it. When you select the Library (not a project), a new, untitled project is automatically
created when images are imported.
 If you want to import the images into an existing project: Select the project. The Import
arrow points at the currently selected project, indicating the destination for the import.
The top-left portion of the Import dialog updates, displaying where the images are
being placed.
3
Choose a location for the imported images by doing one of the following:
 To store imported master image files in the Aperture Library: Choose In the Aperture
Library from the Store Files pop-up menu.
 To store imported master image files as referenced images in the Pictures folder on your
hard disk: Choose Pictures from the Store Files pop-up menu.
 To store imported master image files as referenced images in a location other than the
Pictures folder: Choose “Choose” from the Store Files pop-up menu and select the
folder you want. Choose “No folder” from the Subfolders pop-up menu to specify
that the files be stored as separate individual files in the selected folder. You can also
specify that Aperture create and store your files in a hierarchy of subfolders with
specific folder names. For more information about specifying folders to hold your
imported images, see the Aperture User Manual in the Aperture Help menu. Choose
whether you want the image files moved or copied to a new location by clicking the
“Move files” or “Copy files” button.
Make sure the Import arrow
is pointing to the Library to
import the images into a
new project.
Select the project
into which you want to
import images.