Adjustments inspector – Apple Aperture Getting Started User Manual
Page 38
38
Chapter 3
Learning About the Aperture Interface
 Red Eye: Use this to correct red-eye, occurring when the subject’s retinas reflect light
from your camera’s flash.
 Lift: Use this to copy a set of adjustments, including cropping and straightening, and
metadata from a selected image.
 Stamp: Use this to stamp, or apply, a copied set of adjustments or metadata to one
or several images.
Loupe and Keywords HUD Buttons
 Loupe: Opens the Loupe tool, which zooms in on your image.
 Keywords HUD: Click this to show or hide the Keywords HUD.
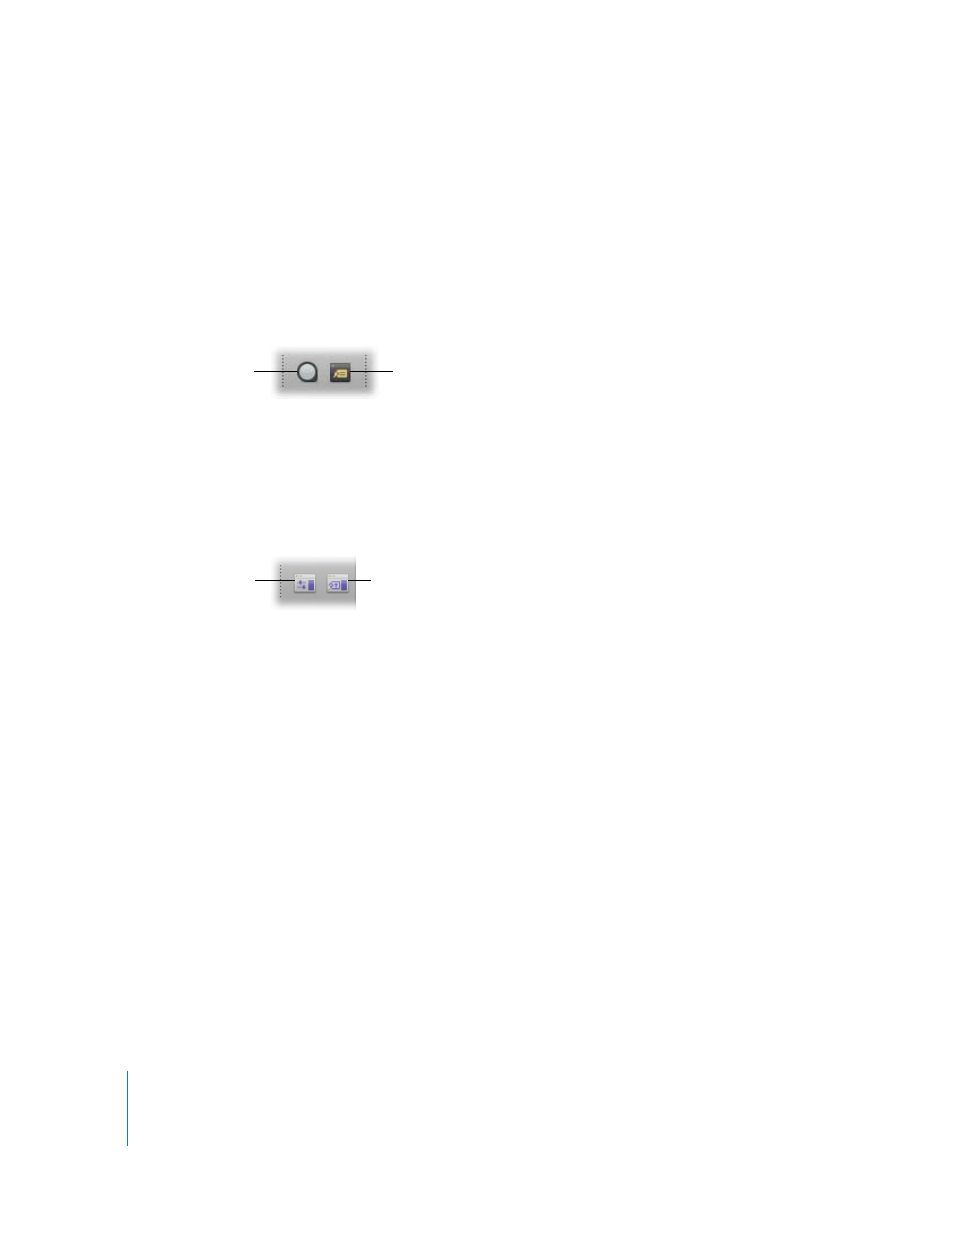
Adjustments Inspector and Metadata Inspector Buttons
Use these buttons to reconfigure your workspace layout. For more information, see
“
Choosing Your Workspace Layout
 Adjustments Inspector: Click this button to show or hide the Adjustments Inspector in
the Inspectors panel.
 Metadata Inspector: Click this button to show or hide the Metadata Inspector in the
Inspectors panel.
Adjustments Inspector
You can use controls in the Adjustments Inspector to apply, edit, and remove
adjustments to a selected image, such as exposure, levels, and white balance. Controls
in the Adjustments Inspector are grouped according to the type of image adjustment
they perform. You can see the controls for an adjustment category by clicking its
disclosure triangle.
Note: By default, the Adjustments Inspector and Metadata Inspector are shown at the
same time. You can also show them individually in the Inspectors panel by choosing
Window > Show Metadata or Window > Show Adjustments.
Loupe button
Keywords HUD button
Keywords Inspector
button
Adjustments Inspector
button