Creating an export preset – Apple Aperture Getting Started User Manual
Page 181
Chapter 18
Exporting Images
181
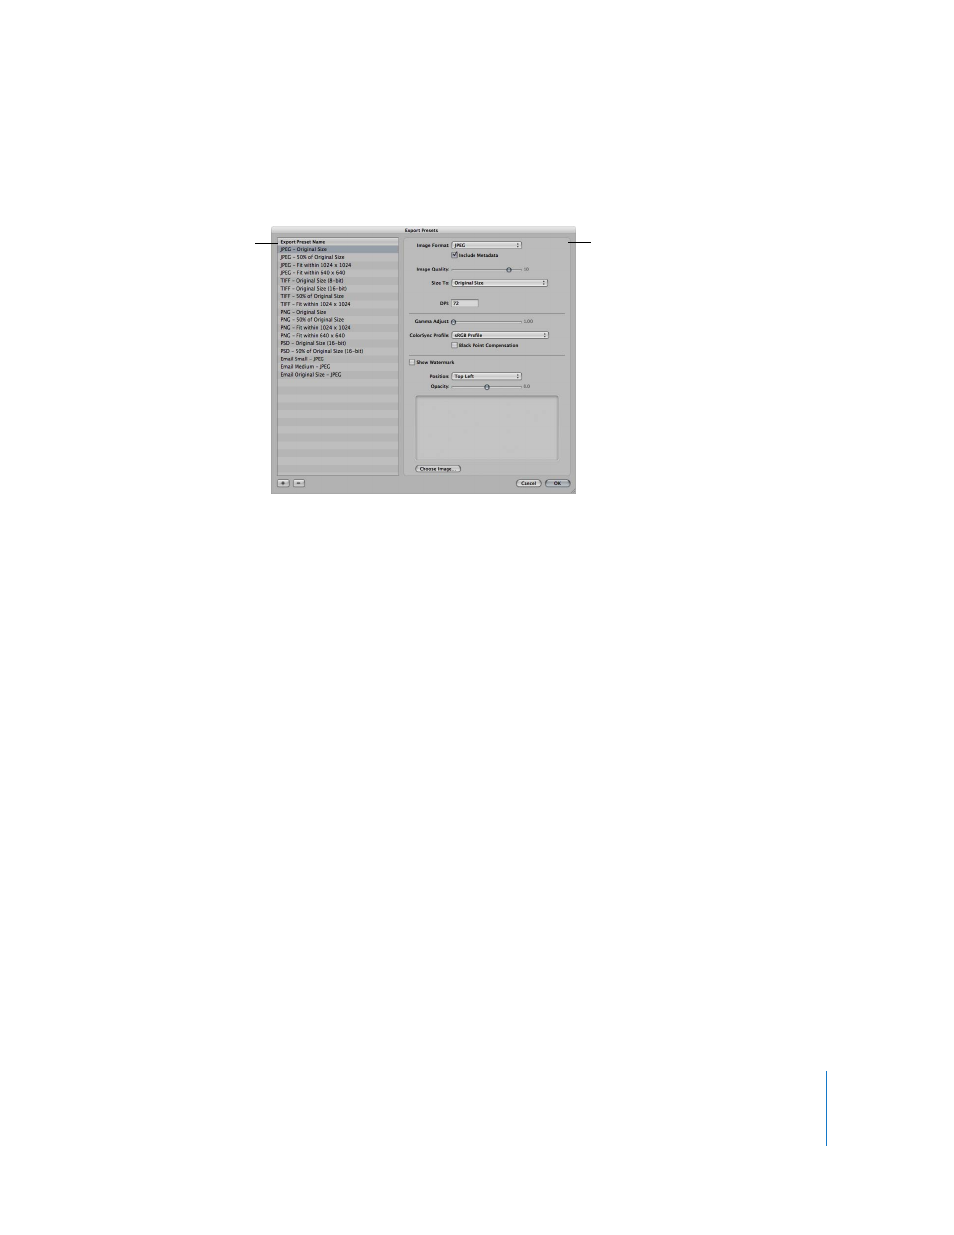
The Export Presets dialog appears, showing the presets available and the configurable
export settings.
Creating an Export Preset
If none of the predefined export presets suit your needs, you can create your own
export preset. Creating a new export preset is fairly easy, because you only have to
copy an existing preset and then modify it.
Important:
When you modify a duplicate of an existing preset, the original preset is not
modified or removed.
To create a new export preset:
1
Select an image to export.
2
Choose File > Export > Export Version (or press Command-Shift-E).
3
In the dialog that appears, choose Edit from the Export Preset pop-up menu.
The Export Presets dialog appears.
4
In the Export Preset Name list, select an export preset on which to base your new
preset, then click the Add (+) button in the lower-left corner.
A new preset, based on the export preset you selected, appears highlighted in the
Export Preset Name list.
5
Enter a new name for the preset, then press Return.
6
Specify the export settings you want, then click OK.
Available presets are
shown here.
The right side of the
dialog shows the settings
for the selected preset.