Xerox 4590 User Manual
Page 265
Xerox 4590/4110 Copier/Printer System Administration Guide
8-107
8. Setups
•
For
Bottom Left
, you can set the horizontal position within a
range of
0-100
in 1 mm increments, and in the vertical position
within a range of
0-100
in 1 mm increments
•
For
Bottom Center
, you can set the horizontal position within
a range of
0-100
in 1 mm increments, and in the vertical
position within a range of
0-200
in 1 mm increments
•
For
Bottom Right
, you can set the horizontal position within a
range of
0-100
in 1 mm increments, and in the vertical position
within a range of
0-100
in 1 mm increments
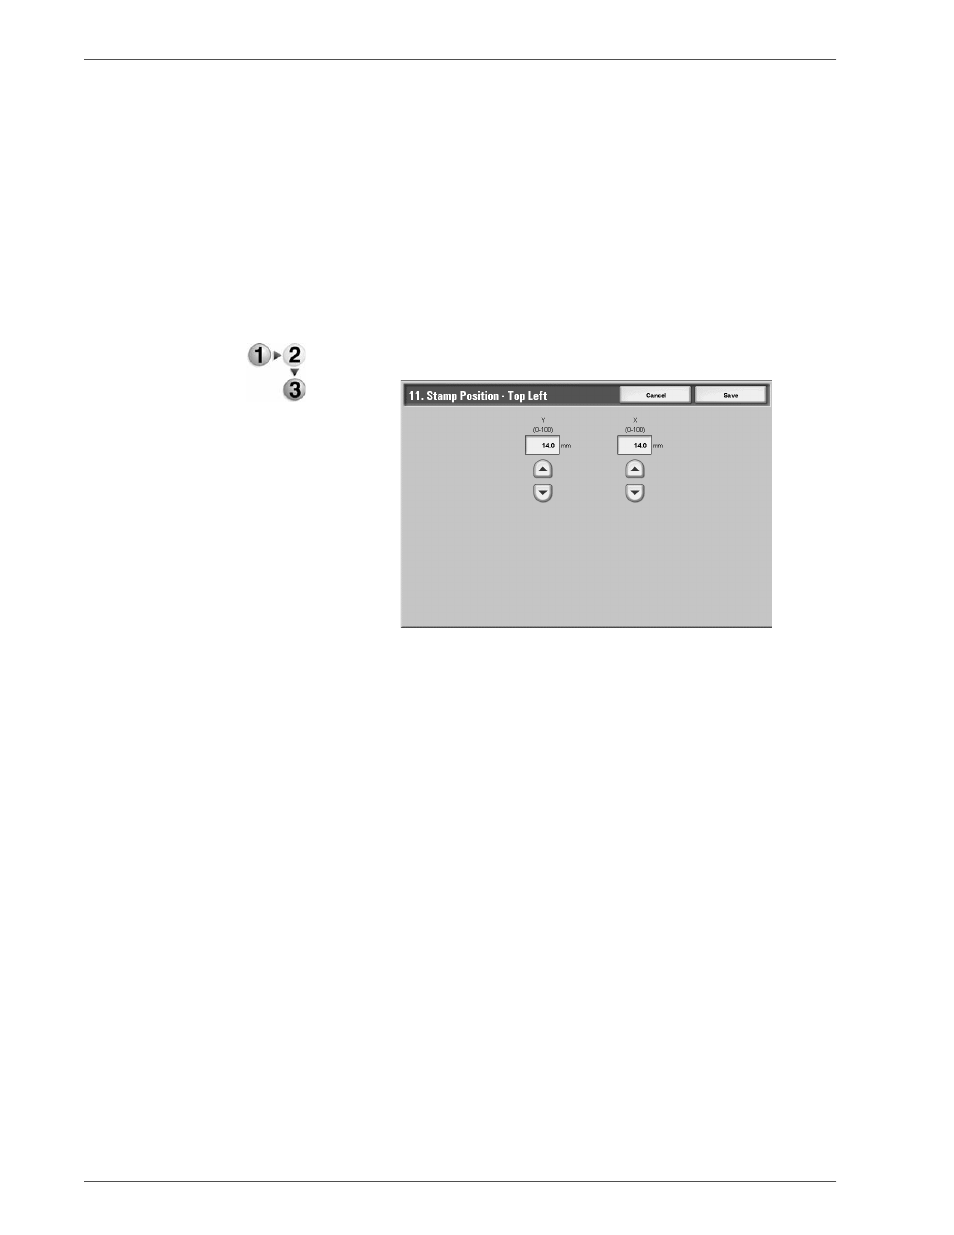
Use the following procedure for selecting the default setting for
each of the stamp positions.
1.
From the Copy Control screen, select one of the
Adjust
Stamp - Top Left
, and select
Change Settings
.
2.
Set the numeric value using s and t.
3.
Select
Save
.
Stamp Position-Top Center
This feature allows you to fine tune exactly where on the top
center of the output that your stamp is printed. The selection
made here becomes the default setting when
Top Center
is
selected for the
Stamp Position
on the
Annotation
screen
(
Output Format
tab).
Set the position in the horizontal direction within the range
0-100
and in the vertical position within the range
0-200
in 1 mm
increments.
Stamp Position-Top Right
This feature allows you to fine tune exactly where on the top right
of the output that your stamp is printed. The selection made here
becomes the default setting when
Top Right
is selected for the
Stamp Position
on the
Annotation
screen (
Output Format
tab).
Set the position in the horizontal direction within the range
0-100
and in the vertical position within the range
0-100
in 1 mm
increments.