Disabling an alarm, Establishing scripts for alarms, Edit schedule/trend window – HP XP Performance Advisor Software User Manual
Page 81
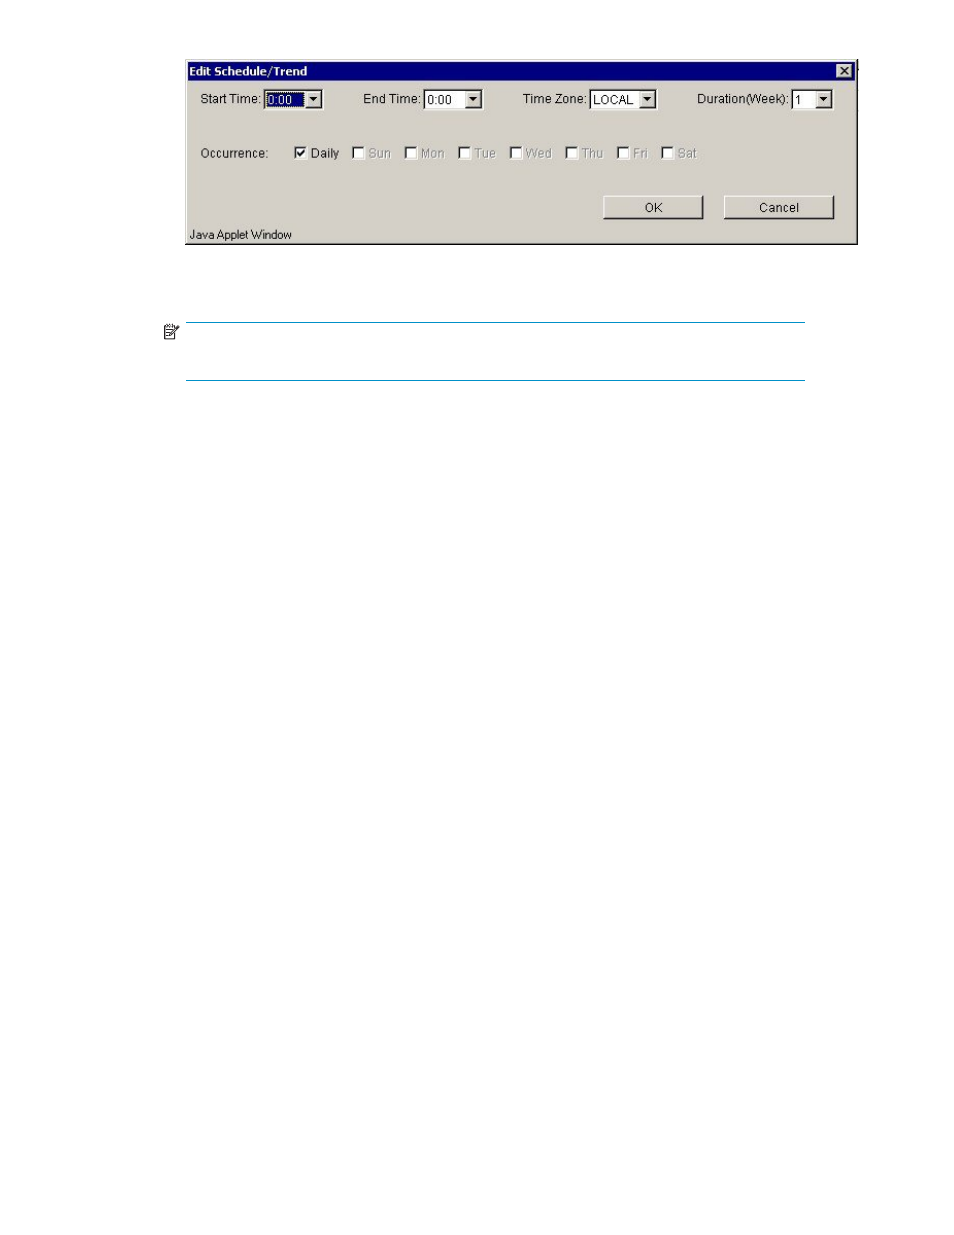
Figure 33 Edit Schedule/Trend window
3.
Use the drop-down menus to select the start time, end time, and time zone.
NOTE:
Use the Duration (Week) drop-down menu only when setting trends.
4.
Use the checkbox to specify the frequency of occurrence (Daily, Sunday, Monday, Tuesday,
Wednesday, Thursday, Friday, or Saturday).
5.
Click OK when you are finished with your changes and proceed to step 6, or click Cancel to exit the
screen without making any changes.
6.
In the Apply Action drop-down menu, select Change Dispatch Schedule on Selected Items.
7.
Click Apply Action.
8.
Click Commit/Refresh to save your changes to the database.
Disabling an alarm
To disable an alarm, complete the following steps:
1.
Select the row(s) that you want to configure for the alarm(s).
2.
In the Apply Action drop-down menu, select Enable/Disable alarm on selected items.
3.
Ensure that the Enable Alarm checkbox is not selected.
4.
Click Apply Action. An asterisk (*) in the Mod column indicates that modifications are made to
the highlighted item.
5.
Click Commit/Refresh to apply your changes to the database. No in the Active column indicates that
the alarm is inactive.
Establishing scripts for alarms
Use scripts to provide executable files that assist you when alarm thresholds are crossed. For example,
you can write a script to run a query on performance data through the CLUI. To establish scripts for
alarms, complete the following steps:
1.
Select the row(s) that you want to configure for the script.
2.
In the Apply Action drop-down menu, select Change script file on selected items.
3.
Enter the path name of the batch file in the Script file (XML) field. For example:
version="1.0" ?> - -
a.bat
4.
Click Apply Action.
HP StorageWorks Performance Advisor XP Software user guide
81