Ransburg, Mma-570 direct/indirect charge - maintenance – Ransburg MMA-570 Direct_Ind Charge Atomizer A13366 User Manual
Page 63
A13581 ATOMIZER MANIFOLD
(MMA-570) CUP WASH TUBE
DISASSEMBLY/ASSEMBLY
INSTRUCTIONS
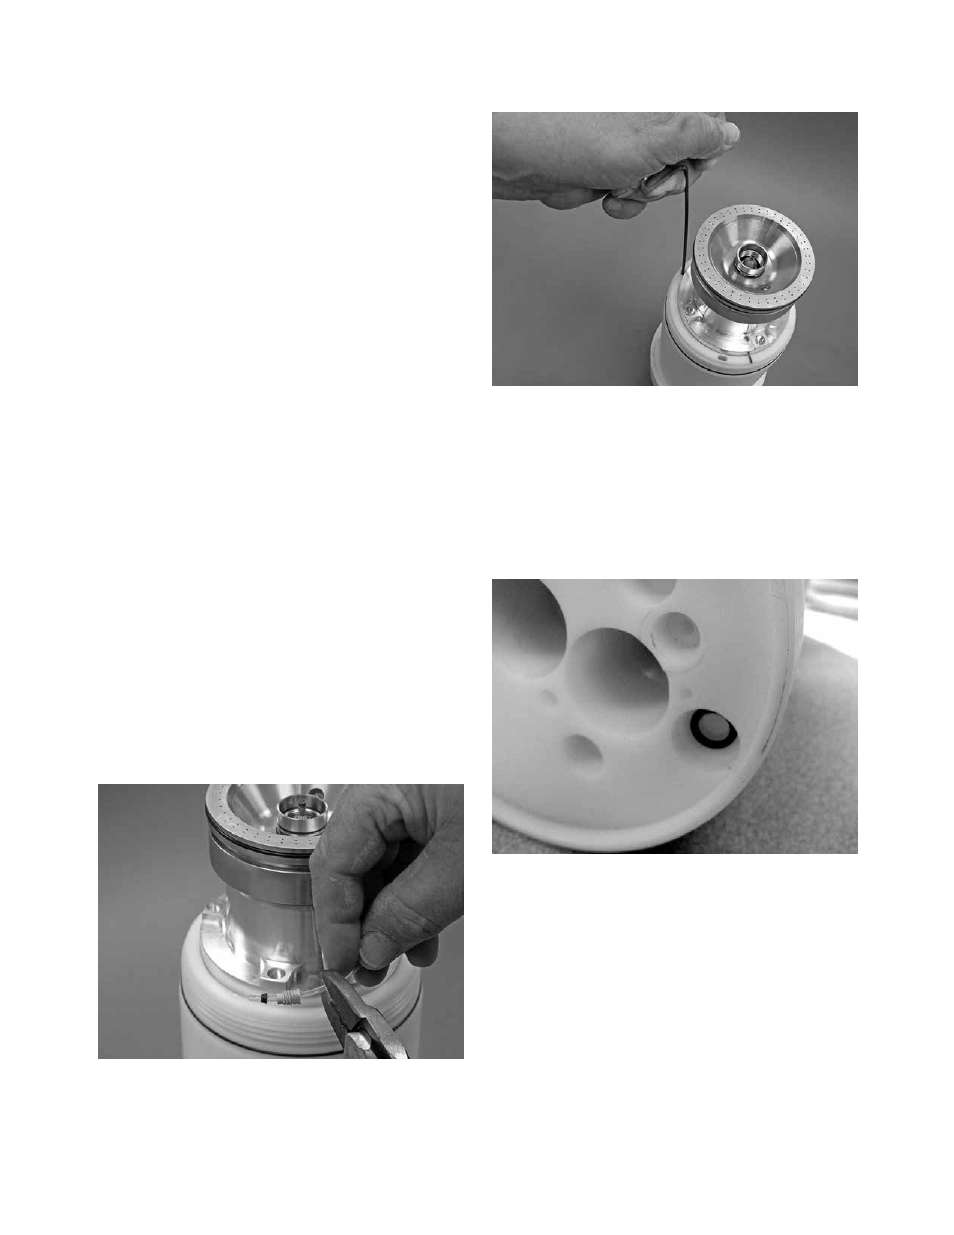
To Remove Old Tubing
If damage has occurred to the cup wash tubing
line and it has to be removed, first unthread the
fitting from the shaping air manifold at the front of
the applicator body. Cut the tubing right behind
the fitting (see “Removal of Old Tubing” figure).
The fitting can be reused in most cases but the
ferrule must be replaced.
Remove the fitting at the rear of the applicator
with the A11229-00 tool. Insert the prongs of the
tool into the fitting and unscrew counter-clockwise
(reference “Tighten Fitting Into Manifold” figure,
“Tighten Fitting Into Manifold” figure, and “Face of
Fitting Flush with Manifold” figure in this section).
At the front of the applicator, pull out the tubing.
Pull hard until the tubing pulls free of the ferrule
that holds onto it in the rear of the manifold. The
tubing will stretch until it breaks free of the ferrule.
Using a 2.2mm rod, insert the rod into the front
hole of the atomizer body where the cup wash tube
exits and push out the rear ferrule in the atomizer
body (see “Rear Ferrule Removal” figure). Tap
lightly if required to remove ferrule.
Removal of Old Tubing
Rear Ferrule Removal
To Replace Cup Wash Tubing
Install O-ring into manifold as shown in “Install
O-Ring Into Manifold” figure. Using petrolatum
jell on the O-ring will help hold it into place during
assembly.
Install O-Ring Into Manifold
Slide ferrule (A11305-00) onto tubing with ta-
pered end first as shown in “ Slide Ferrule Onto
Tubing” figure. Install tubing into cup wash with
fitting (A11276-00) as shown in “ Fitting Tool Fully
Engaged” figure. Tubing should insert into fitting
approximately 0.25-0.31-inches (6-8mm).
MMA-570 Direct/Indirect Charge - Maintenance
Ransburg
LN-9279-13
60