Introduction to the navitrack® ii, Getting started – RIDGID NaviTrack II User Manual
Page 5
NaviTrack® II
4
Introduction to the NaviTrack® II
Getting Started
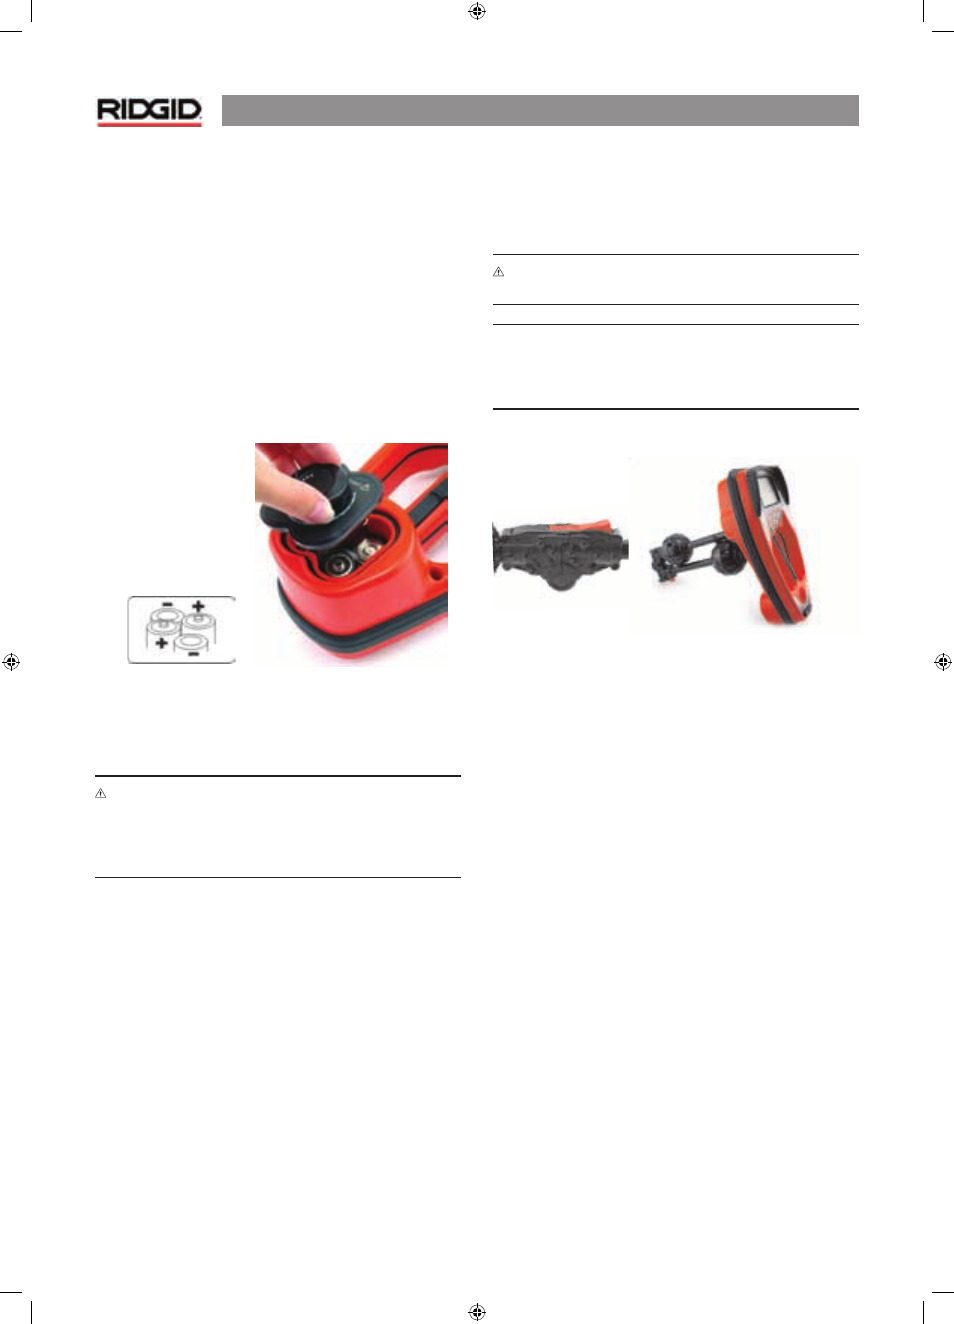
Installing/Changing Batteries
To install batteries into the NaviTrack® II turn the unit over to
access the battery compartment. Turn the knob on the battery
cover counter clockwise. Pull straight up on the knob to remove
the door. Insert the batteries as shown on the inside decal and
make sure they drop to full contact.
Fit the door into the case and turn the knob clockwise while
lightly pressing down to close. The battery cover can be
installed in either orientation.
Figure 2: Battery Case
When the NaviTrack® II is powered on, it takes a few seconds
to check the batteries. Until then the battery level will show
as “empty”.
WARNING! Do not allow debris or moisture into battery
compartment. Debris or moisture in the battery compartment
may short the battery contacts, leading to rapid discharge of
the batteries, which could result in electrolyte leakage or risk
of fire.
Folding Mast
To begin operation, unfold the antenna mast and lock the
folding joint into place. When locating is complete, press the
red release lever to fold the antenna mast for storage.
WARNING: Do not snap or whip the NaviTrack® II to open or
close it. Open it and close it by hand only.
NOTE: Avoid dragging the lower antenna node on the ground
while locating with the NaviTrack® II. It may cause signal noise
which will interfere with results, and may eventually damage
the antenna.
Figure 3: Folding Antenna Mast and Release Button