To configure snmp settings – Nortel Networks BCM50 User Manual
Page 142
142
Chapter 14 Using Element Manager to set the basic parameters
NN40020-302
You can configure other attributes on the IP Terminal Global Settings tab depending on the
requirements for your system.
To configure SNMP settings
1
From the Configuration tab, click the Administrator Access folder to expand it.
2
Select SNMP from the Administrator Access folder.
3
Select the General tab. It is normally selected by default.
4
Click Modify in the SNMP Settings area.
The Modify SNMP Settings dialog box appears.
5
Configure the attributes for Modify SNMP Settings. See the table
Modify SNMP Settings
attributes
on page 142.
6
Click OK.
Auto-assign DNs
If you select this check box, the system assigns an available DN as an IP
terminal requests registration. It does not prompt the installer to enter a set
DN.
If this check box is empty, the installer receives a prompt to enter the assigned
DN during the programming session.
Advertisement/Logo
Any information in this field appears on the display of all IP telephones. For
example, your company name or slogan (24 characters in length).
Tip: To automatically configure IP Phones with DNs assigned:
1) Select the Enable registration check box.
2) Select the Enable global registration password check box.
3) Leave the Global password field blank.
4) Select the Auto-assign DNs check box.
After the IP Phones are operational, clear the Enable registration check
box.
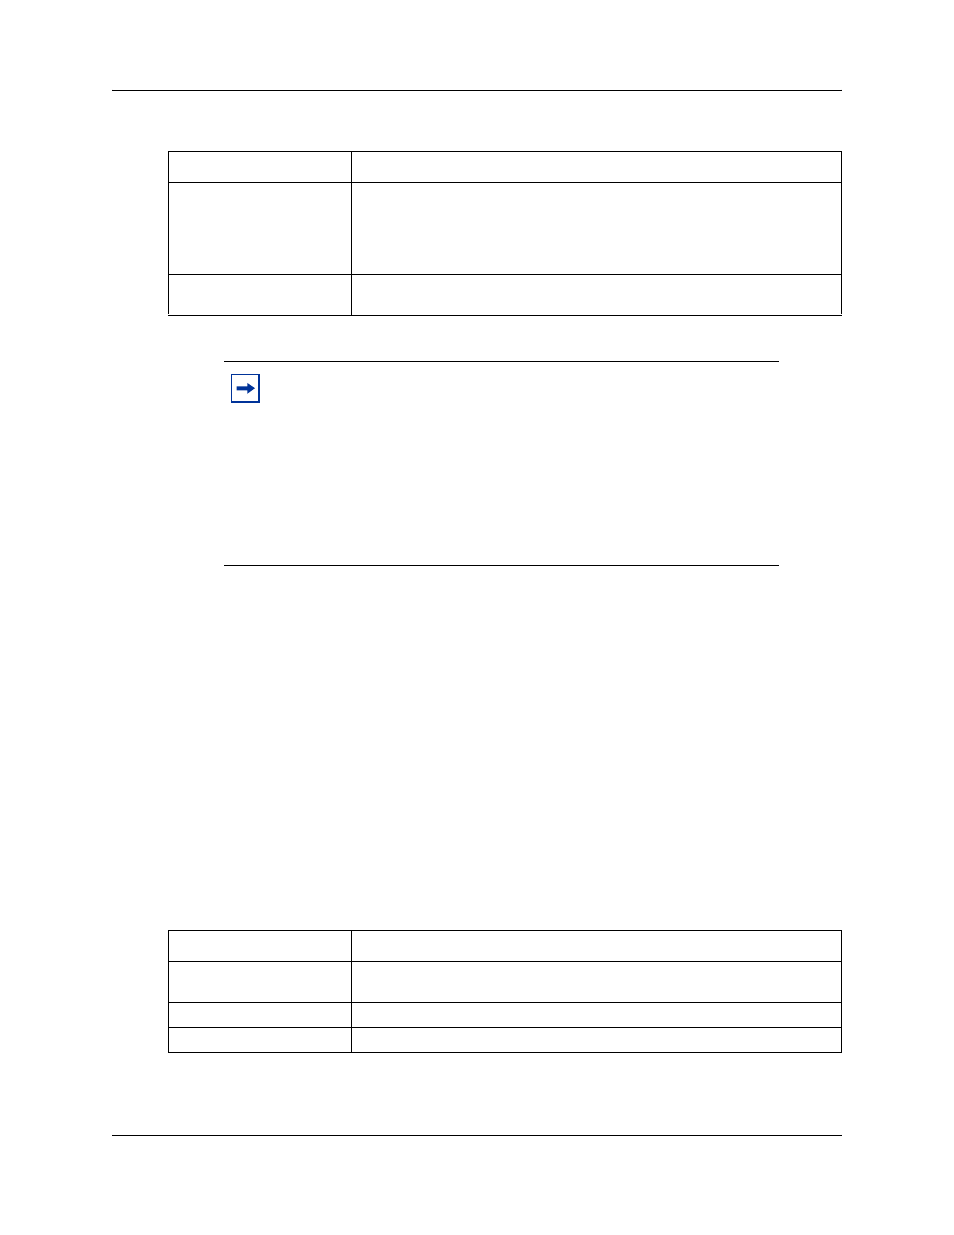
Table 28 Modify SNMP Settings attributes
Attribute
Description
Enable SNMP Agent
Choose whether to enable or disable the SNMP agent by selecting (or not
selecting) the check box.
Minimum required security
Select the minimum required security for SNMP from the list.
SNMP Version Support
Select the SMNP version support from the list.
Table 27 IP Terminal Global Settings attributes (Sheet 2 of 2)
Attribute
Description