Working with groups, Changing the type of class – Smart Technologies Smart Sync 2010 User Manual
Page 19
1 3
To change thumbnail
information
1. Click Thumbnails
.
The Thumbnails view appears.
2. Select View > Thumbnail Name/Description.
3. Select Logon ID, Student ID or Student Name.
Working with Groups
If you want to interact with some students but not the entire class, you can create
groups.
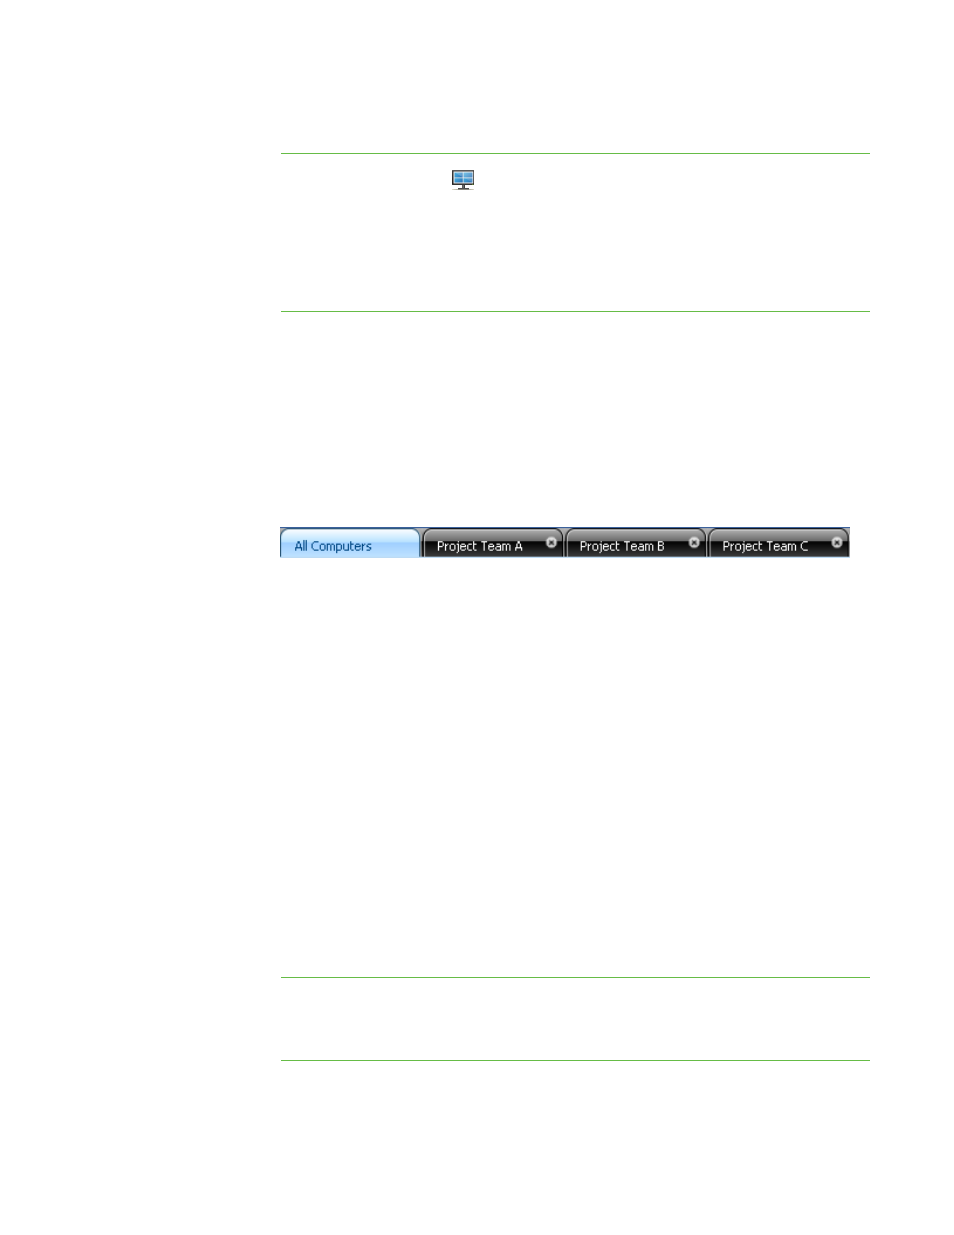
When you create a group, SMART Sync creates a tab for the group. Depending on your
viewing options, the default group tab is named All Computers or All Students.
When you select a group’s tab, you can interact with the members of that group. For
example, you can lock the group’s desktops, broadcast your desktop to the group, chat
with the group, send a file to the group, conduct a poll of the group and more.
By creating groups, you can tailor specific actions to a certain section of the class. For
example, you can create a group made up of students who are easily distracted, and
then monitor the computer screens of that group.
You can also edit the members of existing groups and delete groups that you no longer
need.
Changing the Type of Class
Depending on your viewing options, the default group tab is named All Computers or All
Students. The All Computers group includes every computer in your lab and names the
thumbnails using the computer name. The All Students group includes every student in
your class and names the thumbnails using the student ID.
To change from a lab
to a class
Select View > View Class As > Student Class List.
To change from a class
to a lab
Select View > View Class As > Computer Lab.
|
C H A P T E R 1
– G E T T I N G S T A R T E D