I-View AnyNet-0401Mini Embedded NVR User Manual
Page 93
93
Enable recording: Select the camera you want to record when sensor is triggered.
Enable Snapshot: Select camera for snapshot when sensor is triggered.
Enable sound alarm: Set up sound alarm when sensor is triggered.
Enable notification: Select the types of notification when sensor is triggered.
Shift PTZ position: Set up the PTZ camera shift position when sensor is triggered.
Enable TV out: Set up the camera for TV out when sensor is triggered.
Step 5.
Select the output relays from Relay 01 to 06 in “Controller board” (NC-3213USB) or
select the output relays from each NC-180AZ PTZ receiver module.
Step 6.
Type the recording duration after sensor is triggered from “Post recording” field.
Step 7.
Click “OK” to complete the setting.
e.) Emergency notification setup
The user can set up emergency notification when the panic button is pushed. Please follow the
same procedure with “NetCom sensor inputs setup” to configure the emergency call features for
actions to take when triggered.
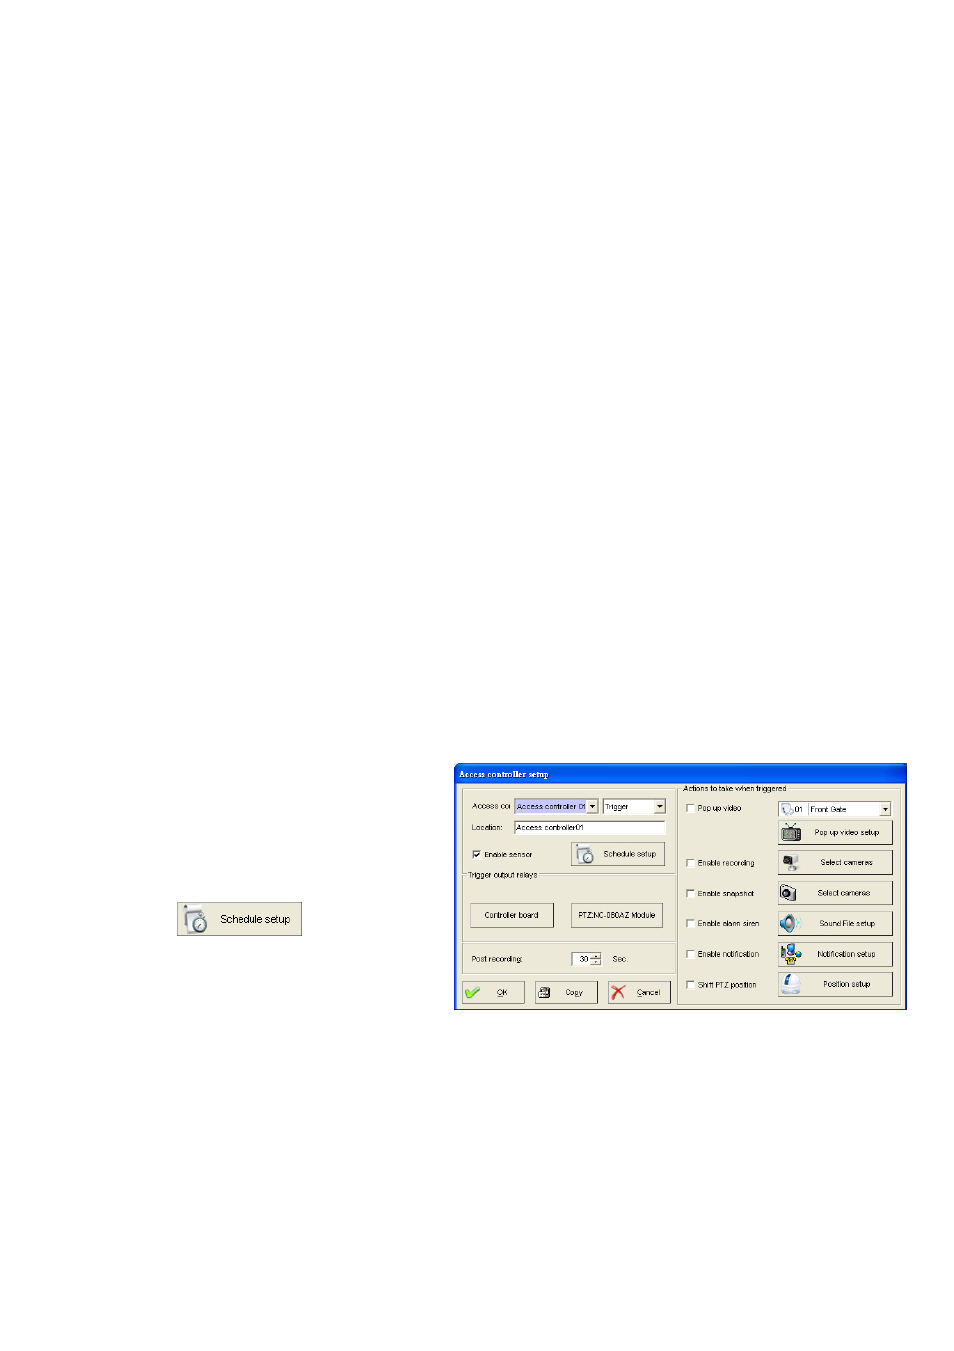
f.) Access controller setup (Optional)
Step 1.
Select a Fingerprint device
from the drop-down menu and type
location in “Location” field.
Step 2.
Check “Enable Sensor” and
click “ ” to set up
schedule. Please note if you did not set
up schedule, the access controller will
be enabled in 24 hours.
Step 3.
Select trigger type “Trigger”, “Verify fail”, “Verify OK”, “Disconnect” or “Door open”
from the drop-down menu.
Step 4.
Select the following actions to take when sensor is triggered.
Enable recording: Select camera you want to record when action is taken.