AMETEK i-iX Series II User Manual
Page 107
User Manual
California Instruments
i Series II / iX Series II / iM Series II
107
4.4.3 Creating Custom Waveforms
The iX Series provides four groups of 50 custom defined waveforms each for a total of 200
waveforms in addition to the 3 standard waveforms. Of these four groups, one may be active at
a time. The active group is selected in the INITIAL SETUP menu.
Custom waveforms cannot be created from the front panel of the iX Series. Rather, they have to
be downloaded through the IEEE-488 or RS232C interface. A Windows based program is
included with the iX Series that allows waveforms to be created and downloaded easily. This
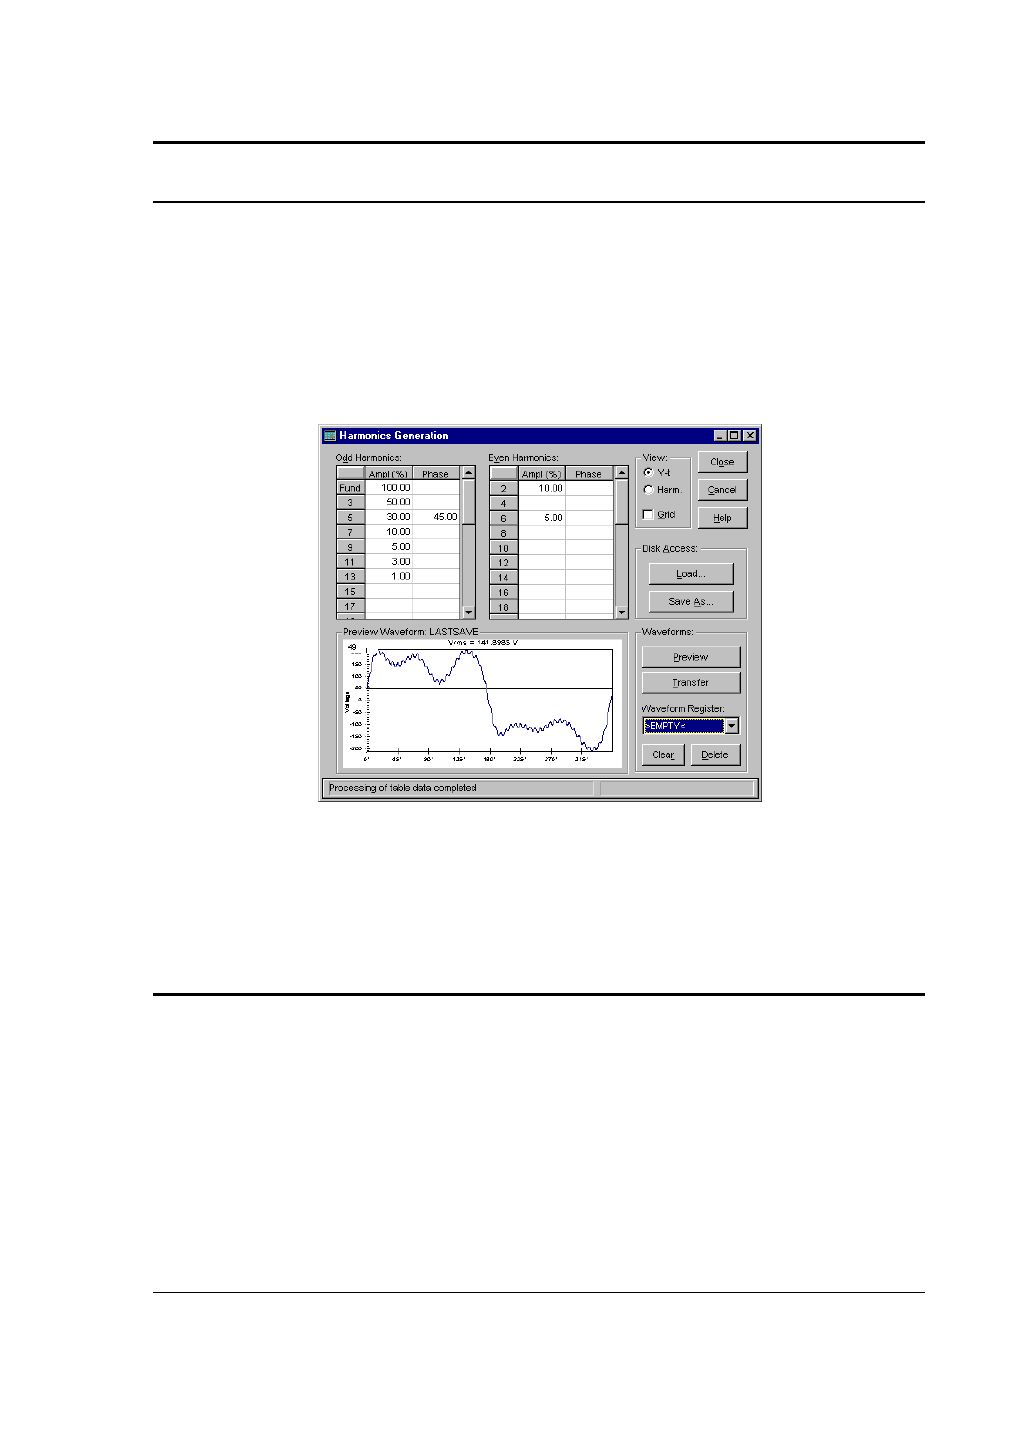
Graphical User Interface program allows waveforms to be created by specifying harmonic
amplitudes and phase angles with respect to the fundamental. It also offers an arbitrary
waveform data entry mode that allows individual data points to be specified.
Figure 4-31: Custom waveform creation with GUI program
Once downloaded, waveforms remain in non-volatile memory and will be visible in the
WAVEFORMS menu for selection. The user can assign a 12-character name to each custom
waveform. Avoid using any of the standard waveform names (SINE, SQUARE or CLIPPED) as
these names will not be accepted.
Waveforms may be deleted using the IEEE-488 or RS232C interface as well. Custom
waveforms cannot be deleted from the front panel however to avoid accidental erasure.
4.4.4 Waveform Groups
Waveform groups extend the number of available custom waveform to 200. Each group can
contain up to 50 user defined waveforms. Groups are numbered 0 through 3 and may be
selected from the INITIAL SETUP 3 menu. To switch waveform groups, proceed as follows:
1. Press the MENU key three times to select the MENU 3 screen.
2. Move the cursor to the UTILITY entry end press ENTER. You are now in the UTILITY 1
menu.
3. Move the cursor to the INITIAL SETUP field and press ENTER. You are now in the INITIAL
SETUP 1 menu.
4. Move the cursor to the MORE field at the end of this menu and press the ENTER key. You
are now in the INITIAL SETUP 2 menu.