Mounting the gpsmap unit, To install the gpsmap unit, Appendix – Garmin 210 User Manual
Page 74
Attention! The text in this document has been recognized automatically. To view the original document, you can use the "Original mode".
APPENDIX
InsitiUnlion
WARNING!
The temperature range for GPSMAP
units
is from
-4
to
+J58°F
(-20- 70"C). Extended
exposure to temperatures exceeding this range
(in storage or operating conditions) may cause
failure of the LCD screen. This type of failure
and related consequences
ARE
NOT covered
by the manufacturer’s warranty.
64
Mounting the GPSMAP unit
The GARMIN GPSMAP’s compact, wateq^roof case is suitable for mounting
in exposed locations or at the nav station. The unit comes with a gimbal
bracket that can be used for surface or overhead mounting. When choosing a
location for the display unit, make sure you consider the following conditions:
• There should be at least 3.25” (8.25 cm) clearance behind the case to
allow connection of the antenna and power/data cables.
• Provide adequate clearance for the G-chart cartridge cover to swing
open freely. You may swivel the unit to get a firm grip on the cartridge.
• The mounting surface should be heavy enough to support the unit and
protect it from excessive vibration and shock.
• MAP 205 and GPSMAP 210 screens will provide crisp contrast in most
lighting conditions, even in full sunlight. Because of the technology
used in TFT screens, the GPSMAP 220 performs best in shaded condi
tions, protected from direct sunlight.
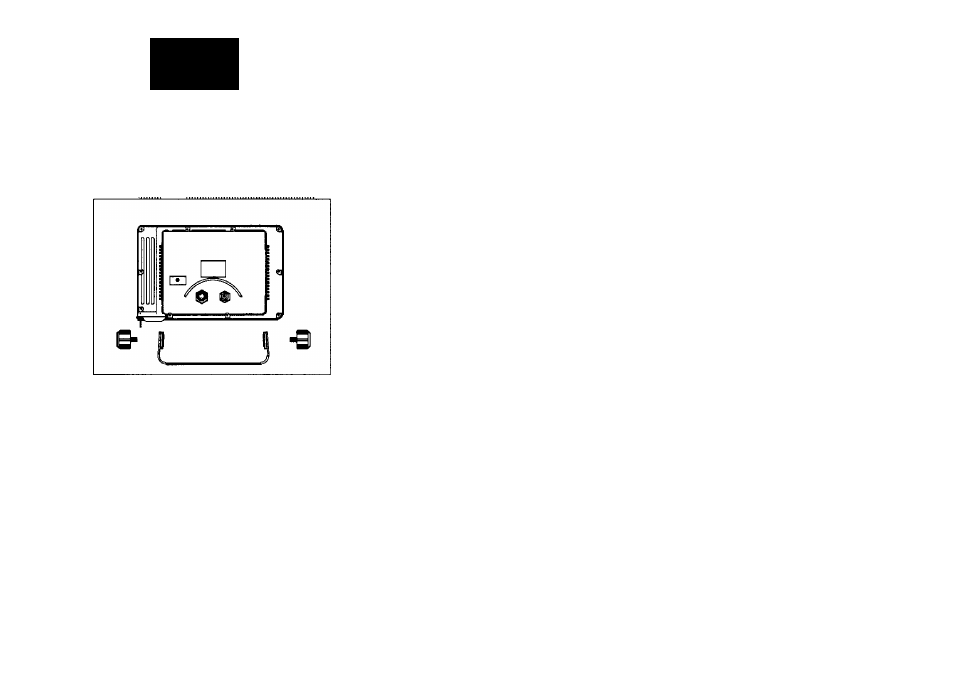
To install the GPSMAP unit:
1. Place the mounting bracket in the desired location.
2. Mark and drill the four mounting holes for the fasteners you are using.
3. Fasten the bracket to the surface using the appropriate fasteners.
4. Insert the GPSMAP into the mounting bracket. The bracket is designed for a
tight fit to provide additional support when swiveling the unit.
5. Screw the two mounting knobs through the bracket and into the display case.
6. Connect the power/data and antenna cables to the back of the unit, making
sure the locking rings are fully tightened on both connectors.