Elecraft P3 High-Performance Panadapter Manual User Manual
Page 47
47
Position the display board behind the front panel so all four standoffs line up with the holes in the panel. Be
sure the buttons all pass through their respective holes in the panel. Place the plastic bezel over the display so its
holes line up. Be sure the flat side of the bezel is toward the front panel and the side with the beveled edges is
facing away from the panel (see Figure 5). Secure the bezel with four 2-56 1/4” (6.4mm) black pan head screws.
Do not use lock washers. Do not over-tighten the screws. You can distort or break the bezel.
Figure 5. Bezel Mounted on Front Panel.
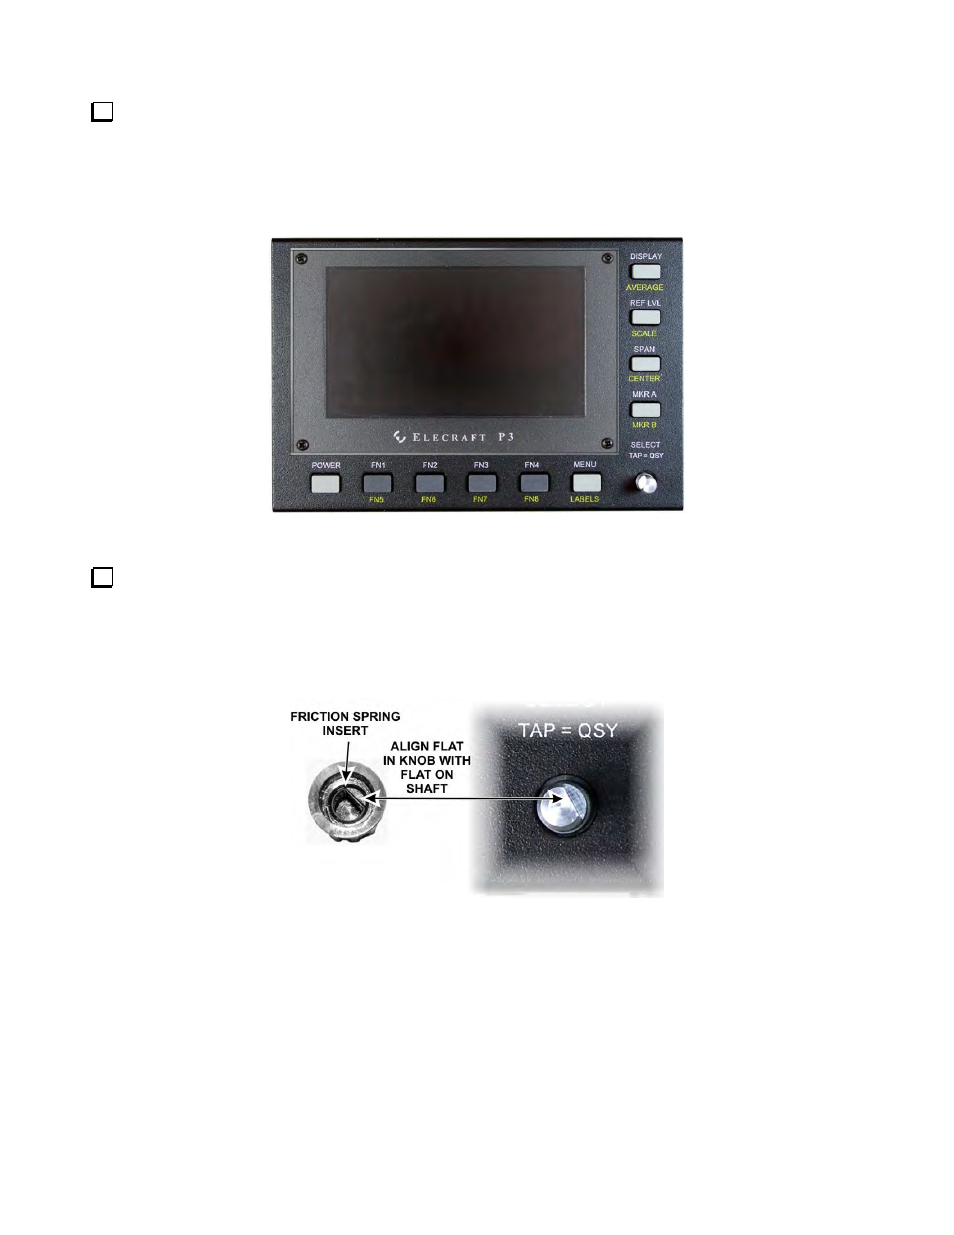
Check to ensure the knob has its spring insert in place, then press it onto the shaft. Be sure the flat on the
shaft is aligned with the flat surface in the knob (see Figure 6). The control has a built-in switch so do not be
surprised to hear a click when you press the knob onto the shaft. The knob will stand above the surface of the
front panel to allow room for the knob to move when operating the switch. Also, some side-to-side movement of
the knob is normal in a control of this type with a built in switch.
Figure 6. Installing the Knob.