Using a scanner on the network – Dell 3115cn Color Laser Printer User Manual
Page 302
Click Start
Control Panel
Printers and Other Hardware
Scanners and Cameras .
2.
Double-click the printer icon. The Welcome to Scanners and Camera Wizard launches.
3.
Click Next to display the Scanner and Camera Wizard .
4.
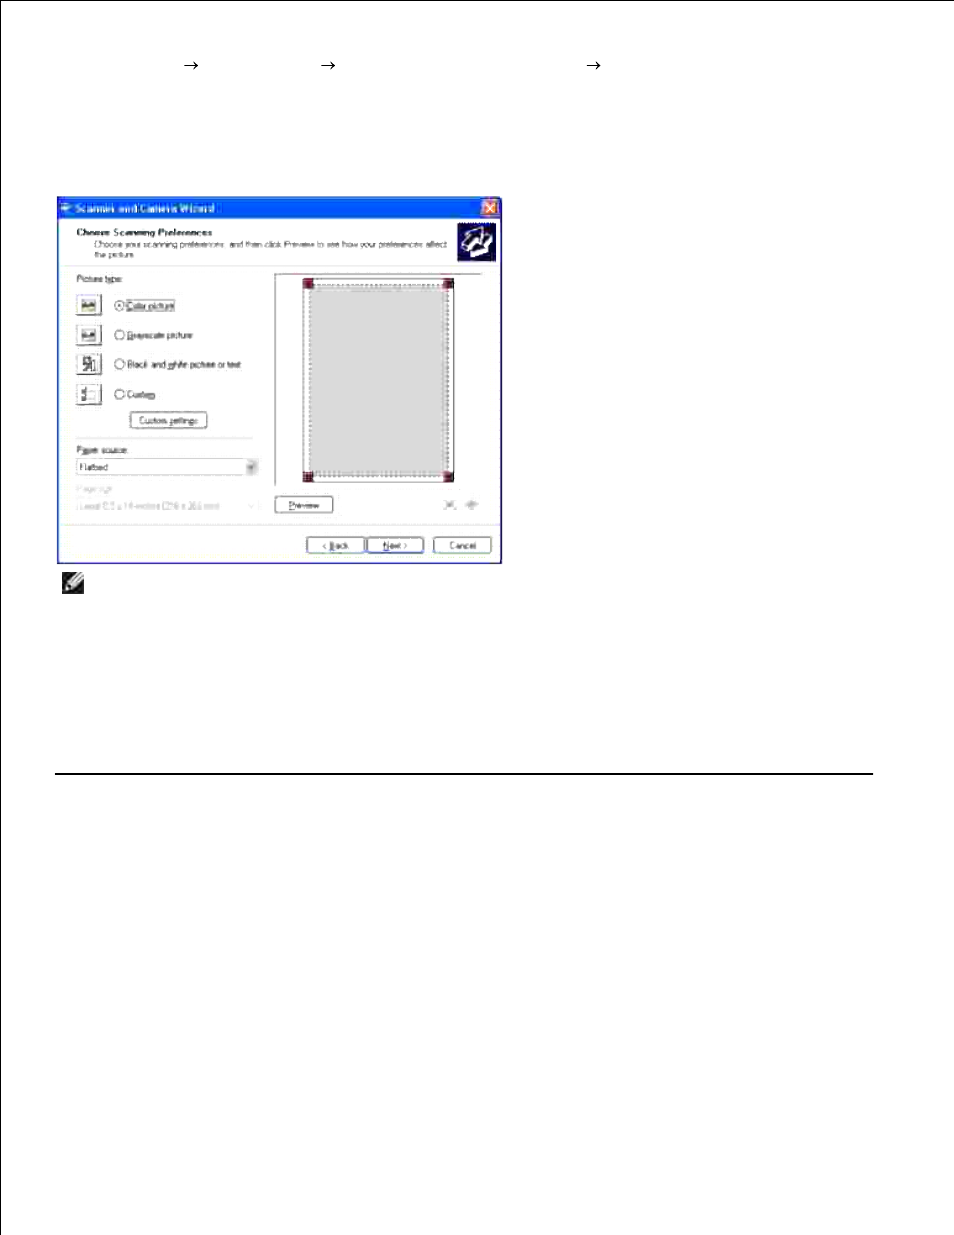
NOTE:
The illustration may vary for different operating systems.
Select your scanning preferences and click Next .
5.
Enter a picture name, and select a file format and destination to save the picture.
6.
Click Next to start scanning.
7.
Follow the on-screen instructions to edit the picture after it is copied to your computer.
8.
Using a Scanner on the Network
The Scan to Server/Computer feature allows you to scan a document from the Dell MFP 3115cn and store it
in a folder on your computer through File Transfer Protocol (FTP) or Server Message Block (SMB). To retrieve
the scanned document from the computer:
Create a shared folder in your computer for Scan to Computer. See "Sharing a Folder From Your
Computer " for more details.
1.
Setup the address book through the Dell Printer Configuration Web Tool . See "Setting Up the
Address Book " for more details.
2.
Create a shared folder with sub-folder in your computer for Scan to Computer. See "Sharing a Folder
With Sub-folder From Your Computer " for more details.
3.
4.