Garmin GNS 430 User Manual
Page 30
22
COM Window and Tuning
Communication frequencies are selected with the tuning cursor in the standby COM
frequency fi eld, and using the small (
f
) and large (
h
) left knobs to dial in the desired
frequency. The standby frequency always appears below the active frequency. The active
frequency is the frequency currently in use for transmit and receive operations.
A frequency may also be quickly selected from the database by simply highlighting
the desired frequency on any of the main pages and pressing the
E
key. This process
is referred to as auto-tuning. Once a frequency is selected in the standby fi eld, it may be
transferred to the active frequency by pressing the
W
key.
While receiving a station, an “RX” indication appears in the upper right corner of the
COM window — to the immediate right of “COM”. A “TX” indication appears at this
location while you are transmitting.
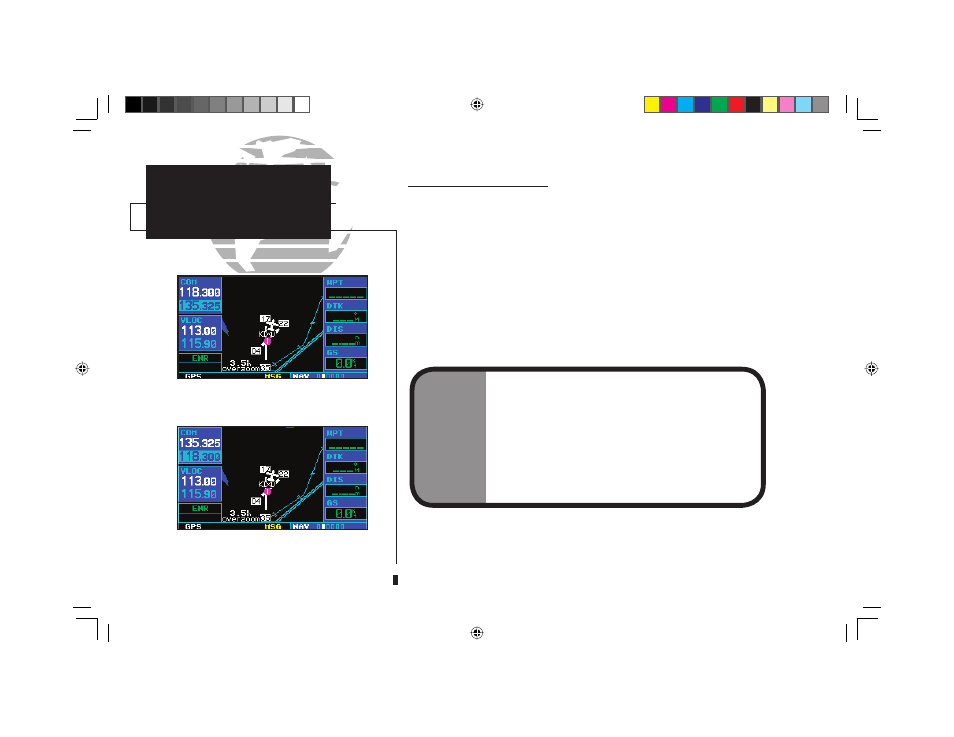
Tuning cursor in the COM window. Use the
small (
f
) and large (
h
) left knobs to dial in
the desired standby frequency.
Once the standby frequency is selected, use
the
W
(flip-flop) key to make the frequency
active for transmit and receive operations.
NOTE
The tuning cursor will normally appear in the COM
window, unless placed in the VLOC window by press-
ing
v
. When the tuning cursor is in the VLOC win-
dow, it will automatically return to the COM window
after 30 seconds of inactivity.
The active frequency in either window cannot be
accessed directly—only the standby frequency will be
highlighted by the tuning cursor.
COM
Tuning Cursor
Active/Standby Freqs
1
190-00140-00.indd 22
5/7/2003, 5:16:24 PM