Rockwell Automation 5370-UPK CVIM USER-PAK Option User Manual
Page 57
Chapter 7
Creating Custom Runtime Displays
7–6
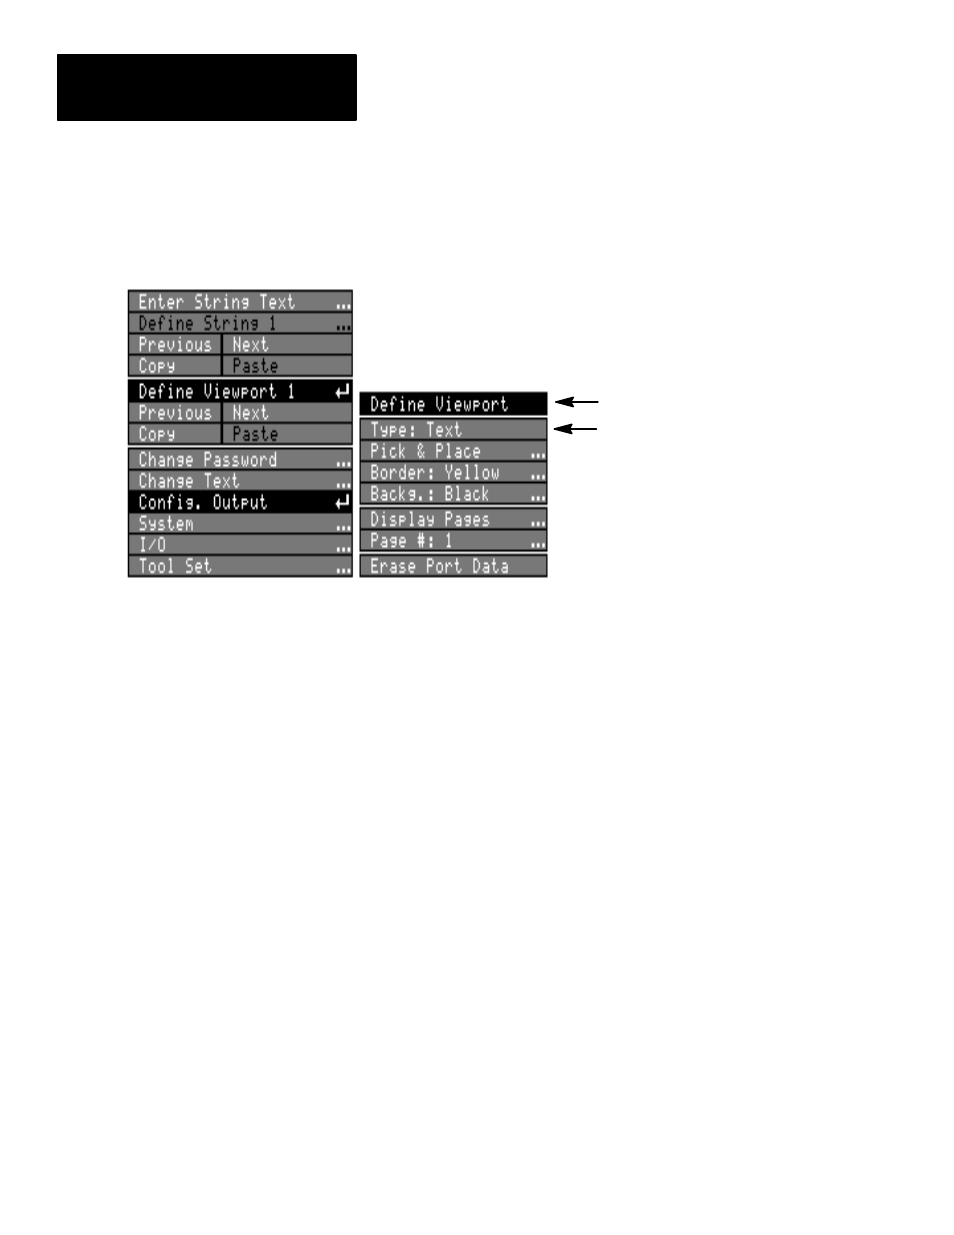
To select the viewport
Type
:
•
Pick the
Type
box on the
Define Viewport
menu – picking the
Type
box, you can select one of three settings –
Text
,
Tool,
and
Graph
.
Define Viewport box
Define Viewport menu
Type box
Note: Once you have defined a string for a
Text
or
Tool
viewport, you
must use the
Erase Port Data
function in order to change the type of the
viewport to
Graph
. Similarly, once you have defined a variable for a
Graph
viewport, you must use the
Erase Port Data
function in order to
change the type of the viewport to
Text
or
Tool
.
Using Pick & Place
To position the viewport on the monitor, and thus determine where it is
displayed on the screen during runtime, you use the
Pick & Place
function
(
Pick & Place
is disabled for
Tool
viewports; the
Tool
viewport “border” is
the same as the monitor screen border).
The procedure for positioning viewports is identical to that for placing
windows – with
Pick & Place
selected, handles appear on the viewport
border and center. As with windows, you pick and “drag” the handles to
reshape and reposition the viewport (refer to the window placement
procedures in the CVIM User’s Manual for more information). You can size
and position the viewport to create a full screen display, or you can create a
viewport covering only a particular portion of the screen.
To activate the
Pick & Place
function:
•
Pick the
Pick & Place
box on the
Define Viewport
menu. With
Pick &
Place
selected, the “handles” appear on the viewport border.
Note: Because much of the viewport frame is initially hidden by the
pop–up menus, you will probably have to pick the menu removal icon (in
the upper right corner of the screen) to make the menus transparent or
invisible for the purpose of positioning the viewport.