HP StorageWorks XP Remote Web Console Software User Manual
Page 34
Installation Requirements and Procedures 34
2-7-3 Enabling XP Remote Web Console Options Using a License Key Code
To enable an XP Remote Web Console option by using the license key code:
1.
Change to Modify mode (see section 2-5 if you need instructions).
2.
Click Install ( ) on the XP Remote Web Console main pane to open the License Key pane (see Figure
2-18). The License Key tab is the default view.
NOTE:
If no XP Remote Web Console options have been installed, this pane opens automatically when
you log on to the SVP.
3.
Click Key Code in the Mode box.
4.
Select the desired option that you want to install in the list.
NOTE:
You can only select one option at a time using this method. To install multiple options at a time,
see section 2-7-4. The line for the selected option will be highlighted.
5.
In the Key Code box, enter the license key code.
NOTE:
You cannot copy and paste text from other applications. To enable one or more XP Remote Web
Console options using a license key file, see section 2-7-4.
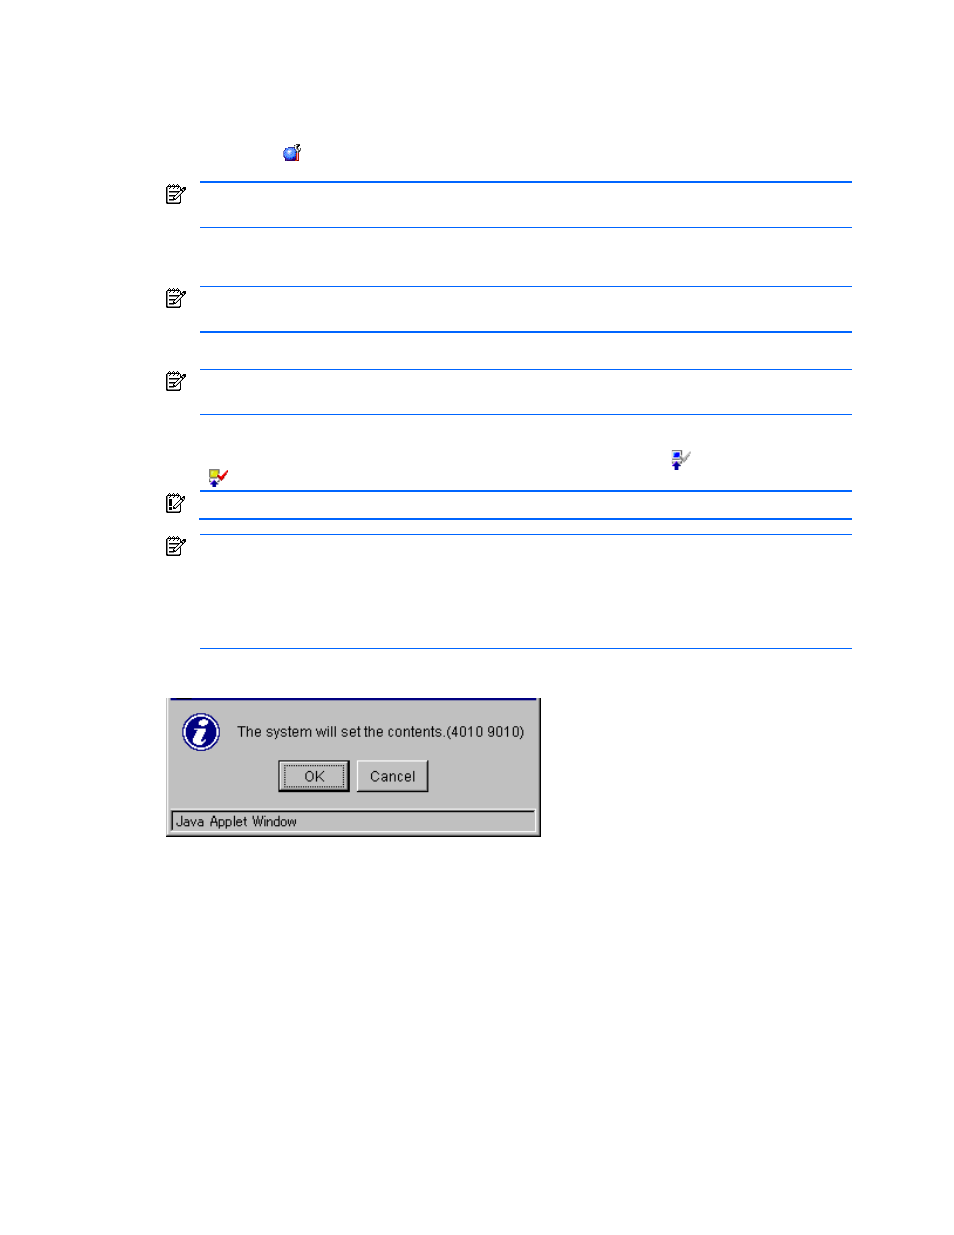
6.
Click Install. A confirmation message is displayed (see Figure 2-23).
7.
Click OK to continue installing the option (or Cancel). The Not Installed icon (
) changes to Install Set
(
).
IMPORTANT:
To implement the setting, click Apply.
NOTE:
A warning message is displayed in the following cases: If you are installing an emergency key for
the option that has already been installed with a permanent key. If you install the emergency key, it
expires in 30 days. If you are attempting to install an emergency key when the remaining lifetime of the
option is more than 10 days. If you want to install the emergency key, click the Forcibly Install Emergency
Key check box. If you do not want to install the emergency key, clear the Forcibly Install Emergency Key
check box.
8.
To apply the changes to the subsystem, click Apply (or Cancel). Click OK (or Cancel).
Figure 2-23
Set Confirmation Message