The choose image file window, The job properties window – HP Latex 3000 Printer User Manual
Page 96
TIP:
Printing jobs side by side on the substrate gives you faster throughput and uses less substrate.
You can use nesting in the Internal Print Server, from the Choose Image File window or the Job Properties
window.
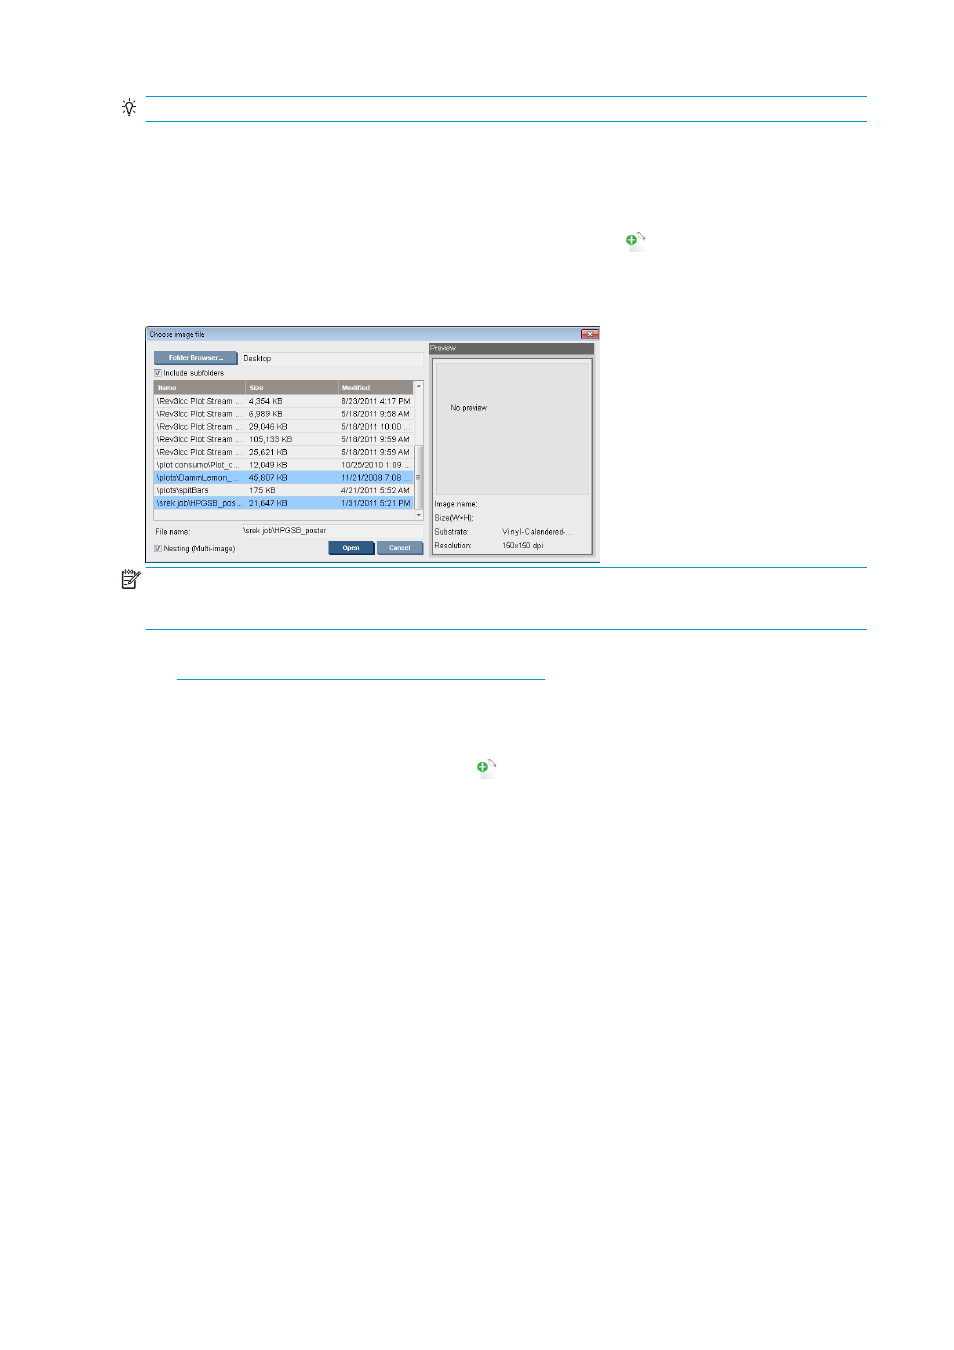
The Choose Image File window
From the Internal Print Server's main window, click the Add New Job icon
to open the Choose Image File
window. You will see the Nesting check box on the bottom left of the window. If you select only one job,
nesting is impossible and the box is grayed out. If you select more than one job, you can click the box to
enable nesting.
NOTE:
To be nested together, jobs must be of the same resolution and printed on the same substrate. Any
incompatible job is added to the queue as a separate, non-nested job, and an explanatory message is
displayed.
When you press the Open button with nesting enabled, the Advanced Nesting Arrangement window opens
(see
The Advanced Nesting Arrangement window on page 91
).
The Job Properties window
From the Internal Print Server's main window, right-click the print queue to open the Job Properties window.
In this window, you can click the Add New Job icon
to add more jobs, in which case you will see a Nesting
section in the Layout pane.
90
Chapter 4 Create and manage print jobs
ENWW