Grease the carriage beam screws – HP Latex 3000 Printer User Manual
Page 204
Finish off replacing the drying lamps
1.
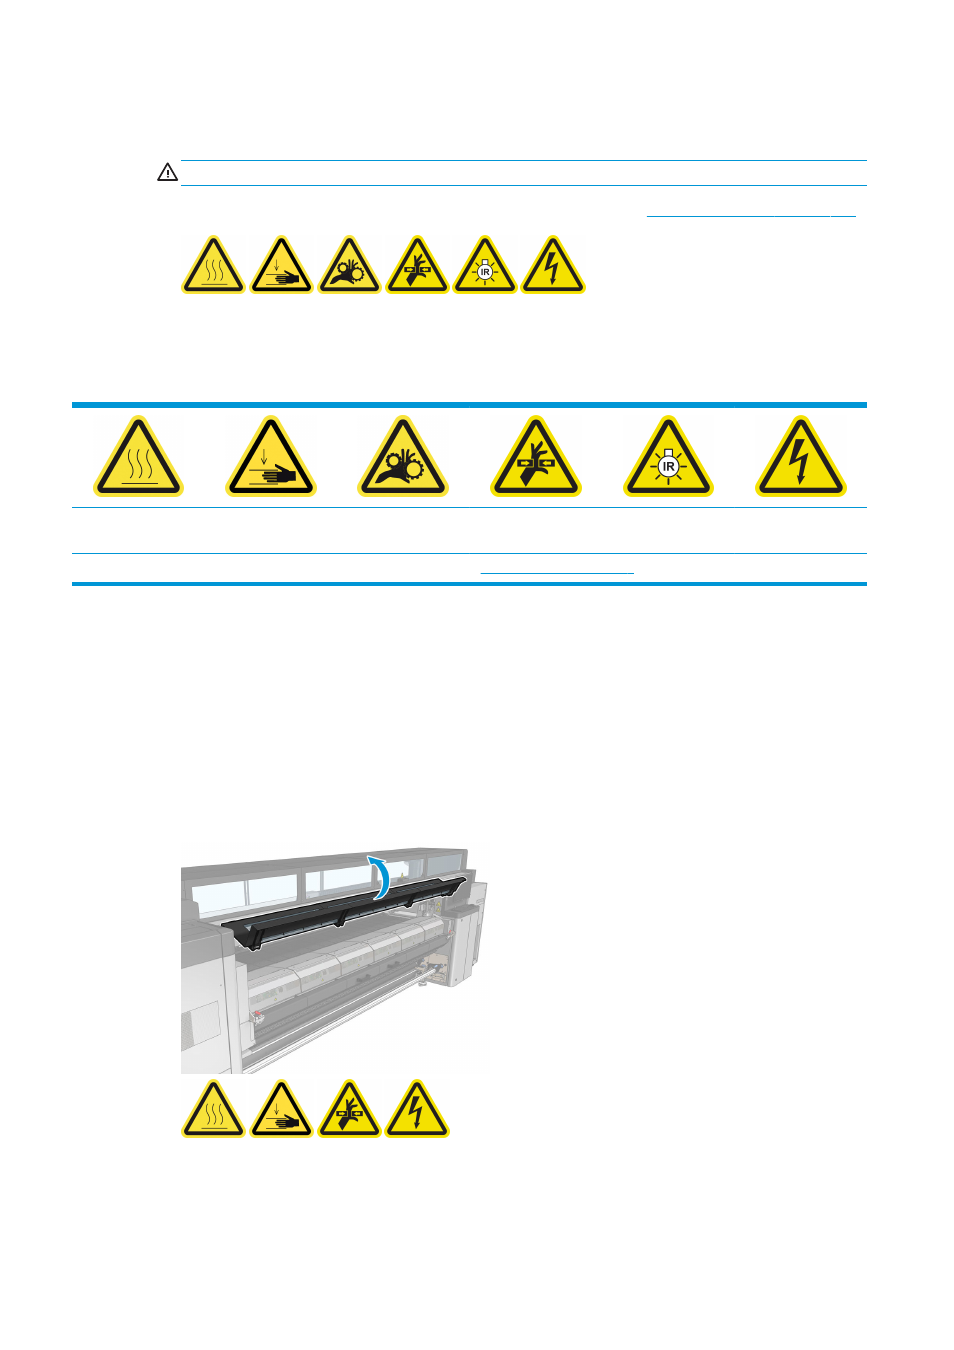
Close the service position window.
CAUTION:
Do not leave anything in the way of the carriage.
2.
Turn on the printer in the correct way for maintenance operations: see
Turn the printer on on page 143
.
3.
Dispose of the old lamps according to local regulations.
Grease the carriage beam screws
Risk of burns
Crush hazard
Risk of trapped
fingers
Hazardous moving
part
Light radiation hazard
Electric shock hazard
For more safety information, see
Prepare to grease the carriage beam screws
1.
Ensure that you have the Machine Grease and Oil Kit (Q6702-60546), which is included in the Printer
Maintenance Kit (CZ056-67391).
2.
Ensure that the printer is not printing.
3.
Ensure that all windows, covers, and doors are closed and remain in their original position.
4.
Move the carriage beam to its highest position (this takes about 2 minutes).
5.
Open the front door.
Grease the carriage beam screws
1.
Put some grease on your finger.
198 Chapter 8 Hardware maintenance
ENWW