Franklin Fueling Systems TS-DTU Data Transfer Unit Dispenser Retrofit Manual User Manual
Page 21
21
Tokheim Premier C DTU Installation
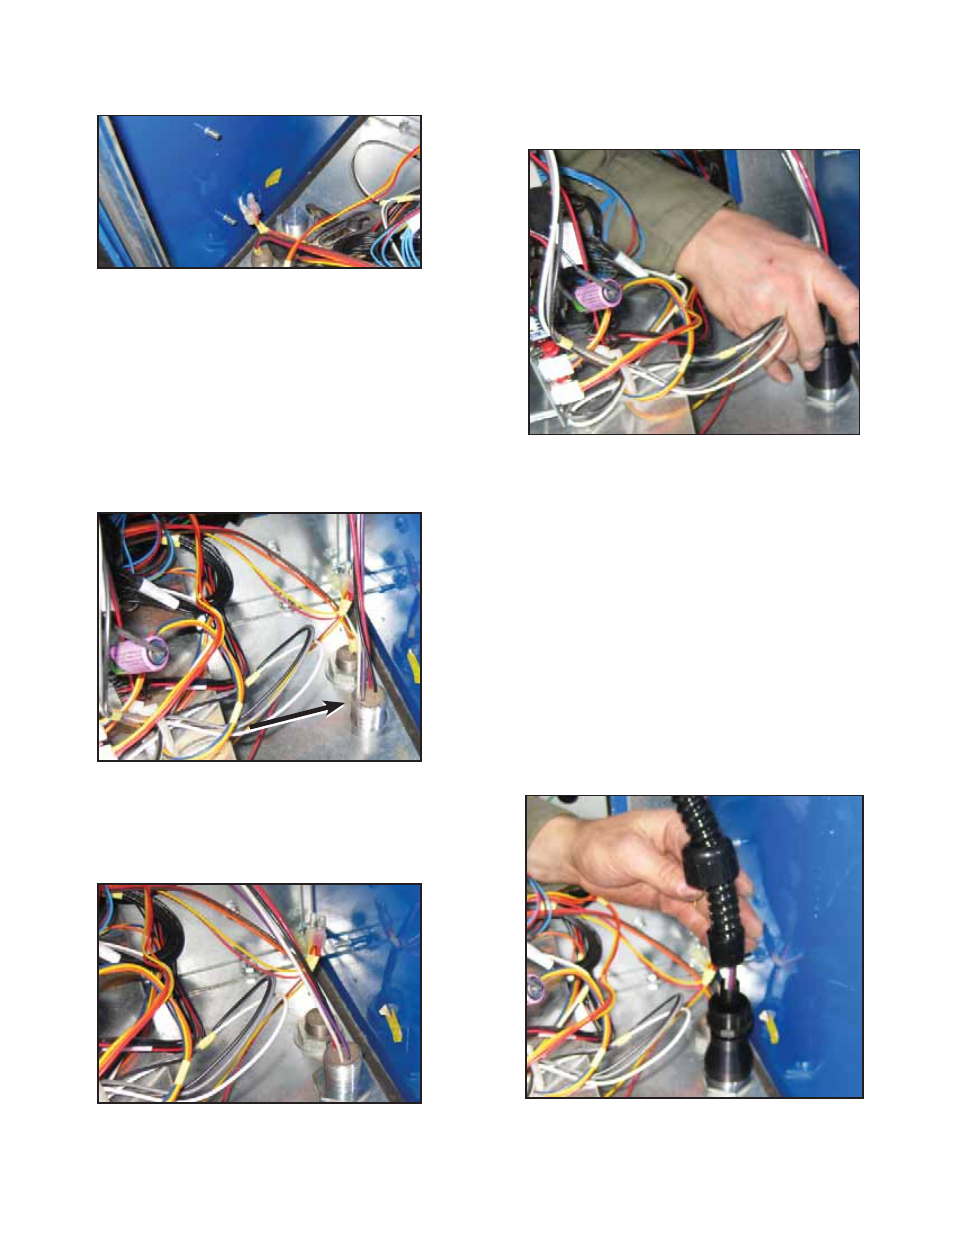
14. Remove nut from top of plug using wrench.
15. Remove plug, washers, and nuts and discard all
hardware.
Figure 6: Remove Nut
16. Find potted nipple assembly 131610.
Untie wire ties and unwind wiring.
17. Remove and dispose of rubber washer from
assembly.
18. Remove top nut from potted nipple and remove
nut and one washer by pulling over wire leads.
Keep nut and washer for future use.
19. Put wires from top of potted nipple assembly up
from the hydraulics enclosure to the electrical
enclosure. Ensure that wiring is not damaged by
sharp edges.
Figure 7: Potted Nipple Location
20. Push top of potted nipple assembly through
opening in electrical enclosure. Pull wires inside
electrical enclosure through washer and nut kept
in step 8. Secure potted nipple assembly by
tightening nut.
Figure 8: Potted Nipple Installed
21. Find reducer from IS wiring kit, 020-1513. From
electrical enclosure, pull wires from the potted
nipple assembly through ¾” opening of reducer
and attach reducer to the top of the nipple
assembly.
Figure 9: Attach Reducer
22. Find straight conduit fi tting from IS wiring kit. From
electrical enclosure, pull wires from the potted
nipple fi tting through opening of straight conduit
assembly. Attach straight conduit fi tting onto
reducer.
23. Remove two screws from IS wiring cover inside
the DTU and remove cover. Keep cover and
screws for future reassembly.
24. Find 90-degree fi tting from IS wiring kit. Remove
nut from 90-degree fi tting. Attach fi tting to top
opening of DTU using nut previously removed.
25. Find fl exible conduit from IS wiring kit 020-1513.
Using 90-degree fi tting and straight fi tting installed
earlier, determine length of fl exible conduit needed
and cut to fi t.
26. Pull wires inside electrical enclosure through
fl exible conduit.
Figure 10: Wire in Flexible Conduit
27. Remove nut and bushing from straight conduit
fi tting.