Xylem photoLab 6100 VIS User Manual
Page 134
Operation
photoLab
®
6100 VIS
134
ba75847e01
08/2009
The measurement display
appears.
12 Insert the cell with the respective
sample.
The sample is measured.
After the measurement, the
recovery rate is displayed in the
right table column.
The assessment of the recovery
rate is displayed next to
the recovery rate
(
✓ or ✗
).
The criteria for the assessment
are determined in the menu,
AQA3/MatrixCheck setup /
Maximum difference.
13 If necessary, repeat the steps 11
and 12 for the remaining samples.
14 Use [Complete] to complete the
MatrixCheck.
The Save dialog box pops up.
15 If necessary, change the storage
location with [Location]:
Internal DataB folder:
Exchange folder in the instrument
or
USB memory:
USB memory device connected at
the USB-A connection.
16 If necessary, change the file
name.
17 Save the file with
MatrixCheck
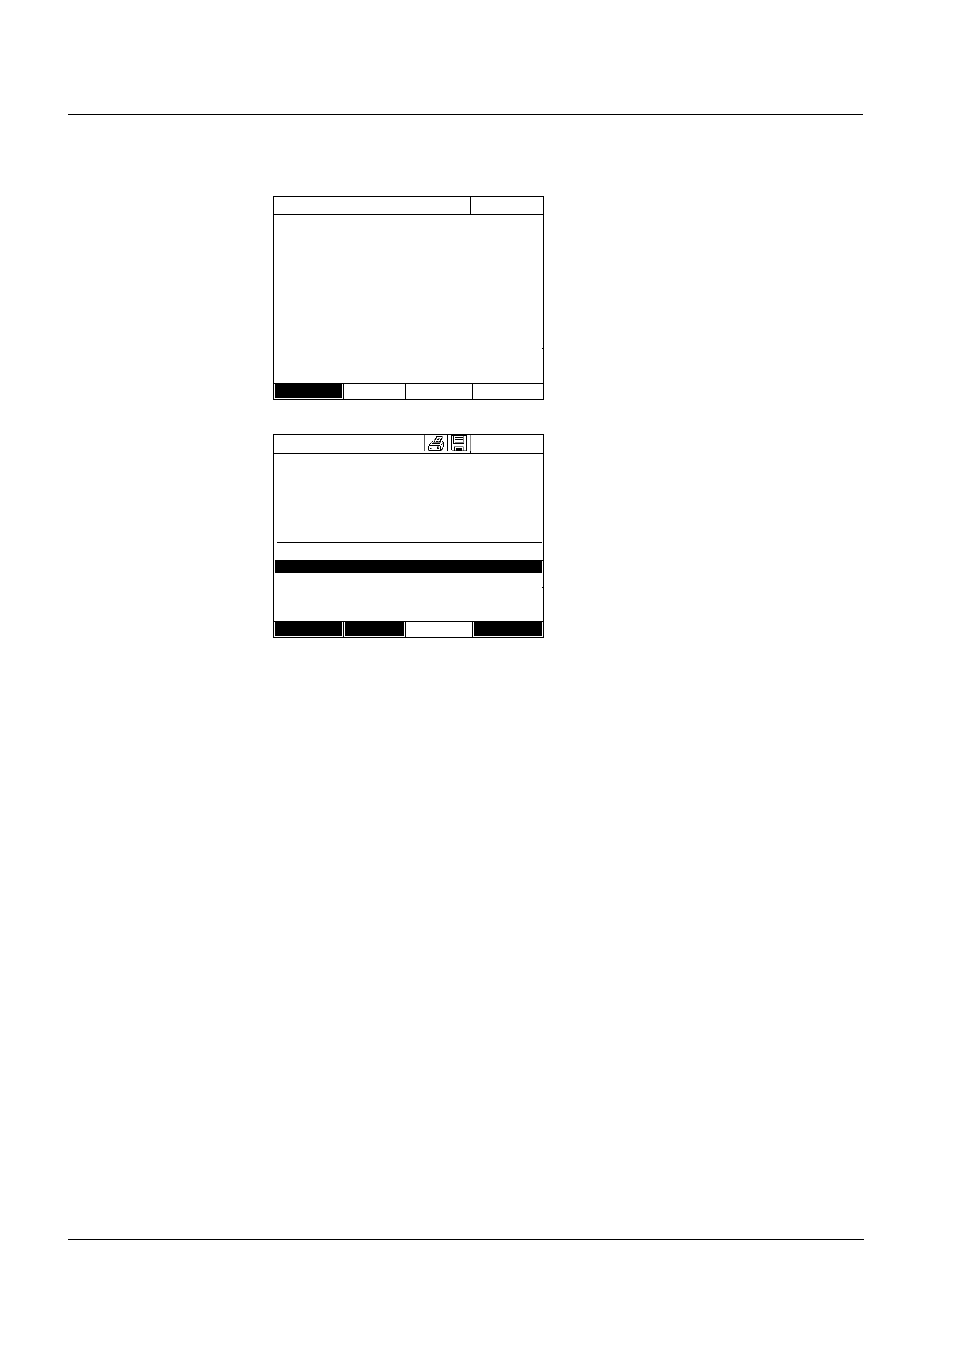
04/16/07 9:52
Method
1: C3/25
Sample concentration
45 mg/lCOD
Sample
10 ml
Standard
0.5 ml
To start measurement,
insert cell or press
16 mm
Back
MatrixCheck
04/16/07 9:52
Method
1: C3/25
Sample concentration
45 mg/lCOD
Sample
Standard
Target value
nominal
[ml]
[ml]
[mg/l]
[mg/l]
10
0.5
62
58
94 %
10
1
77
10
1.5
91
Back
Measurement
Complete