2 configure a discrete input to enable relt, 3 flexlogic testing procedure – GE Industrial Solutions Entellisys 5.0 User Manual User Manual
Page 157
FlexLogic™ Configuration
153
8
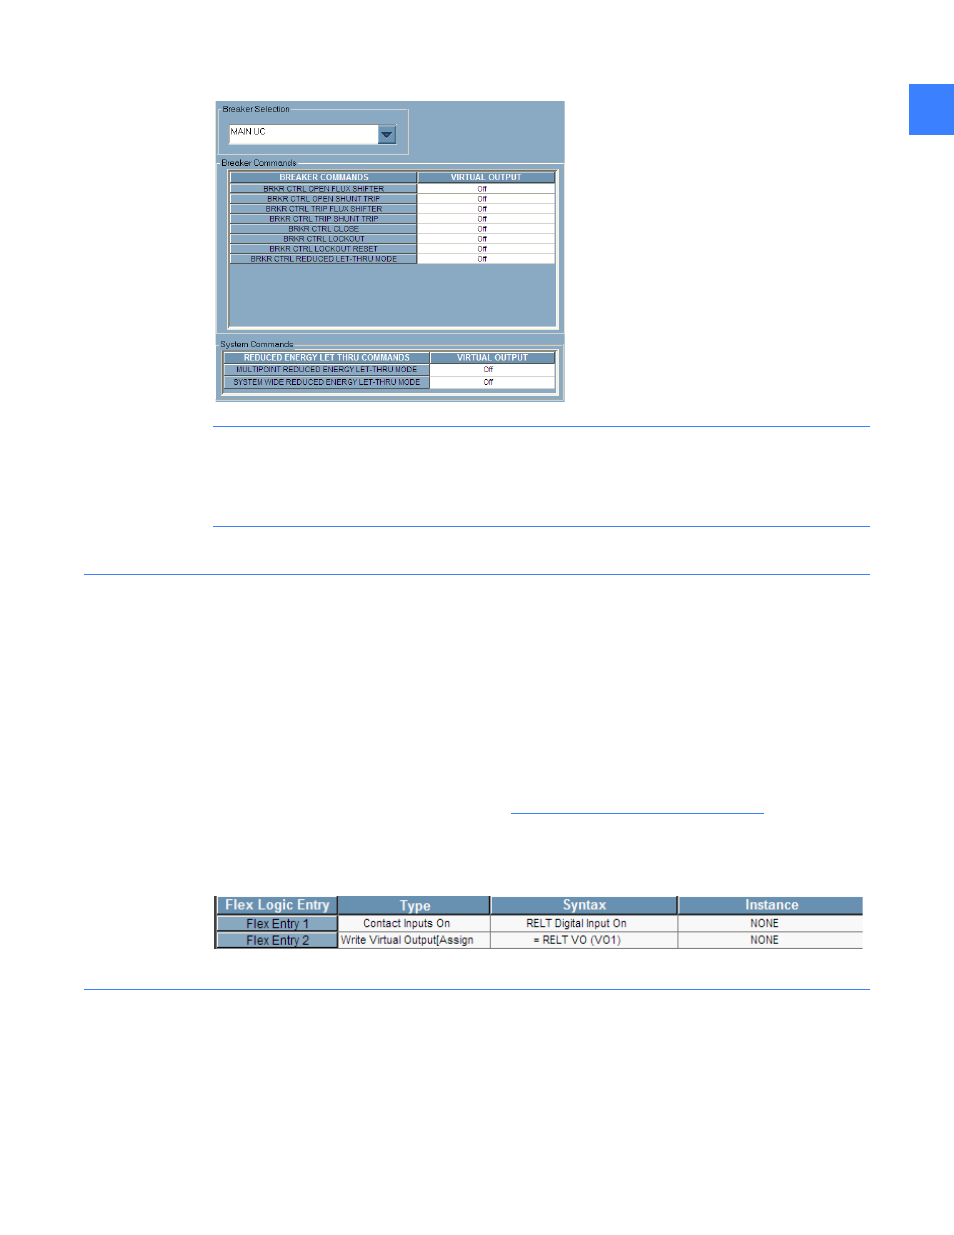
Figure 8-9 Breaker Commands
CAUTION: In many cases, FlexLogic will be factory programmed with an automatic transfer
scheme or other control logic. It is extremely important not to, in any way, tamper with
factory programming. Verify that the Virtual Outputs and Contact Inputs used are spares. If
there is any doubt, contact GE Post Sales Service.
8.4.2 Configure a Discrete Input to enable RELT
In this example, a discrete input will be setup to turn on RELT.
1. Reserve a spare contact input: Navigate to the Contact Inputs (User Settings, Discrete I/O)
and assign and rename a spare contact input “Reduced Energy Let-Thru”. Enable Debounce
Time.
2. Reserve spare Virtual Outputs: Navigate to Virtual Outputs (User Settings, Control) and
find a spare VO and rename.
3. Assign breaker Commands: Navigate to Brkr Commands (User Settings, Control) and assign
the VO to one of the RELT elements (see
FlexLogic Programming on page 152
4. Program FlexLogic: Navigate to the FlexLogic editor (User Settings, Control) and scroll down
and find the first empty lines of FlexLogic and program the FlexLogic shown in Figure 8-10.
Figure 8-10 FlexLogic Example
8.4.3 FlexLogic testing procedure
1. Force the Discrete Input On: Navigate to the Force Contact I/O screen (Main Menu, User
Settings, Discrete I/O) and enable test mode. On the same screen, select “Input” from the
“Contact I/O Selection,” find the Reduced Energy discrete input and force closed
2. Validate RELT Operation: Navigate back to the one-line and click on Reduced Let - Thru
Mode and verify that RELT Instance programmed in section 8.4.1 is highlighted in yellow.