2 login, 3 multiple instance support, 4 configuring the interplay connection – EVS ENGSoft v1.5 User Guide User Manual
Page 11
ENGSoft v1.5
This document is the exclusive property of OpenCube Technologies SAS and cannot be reproduced or distributed without prior authorization
11 / 63
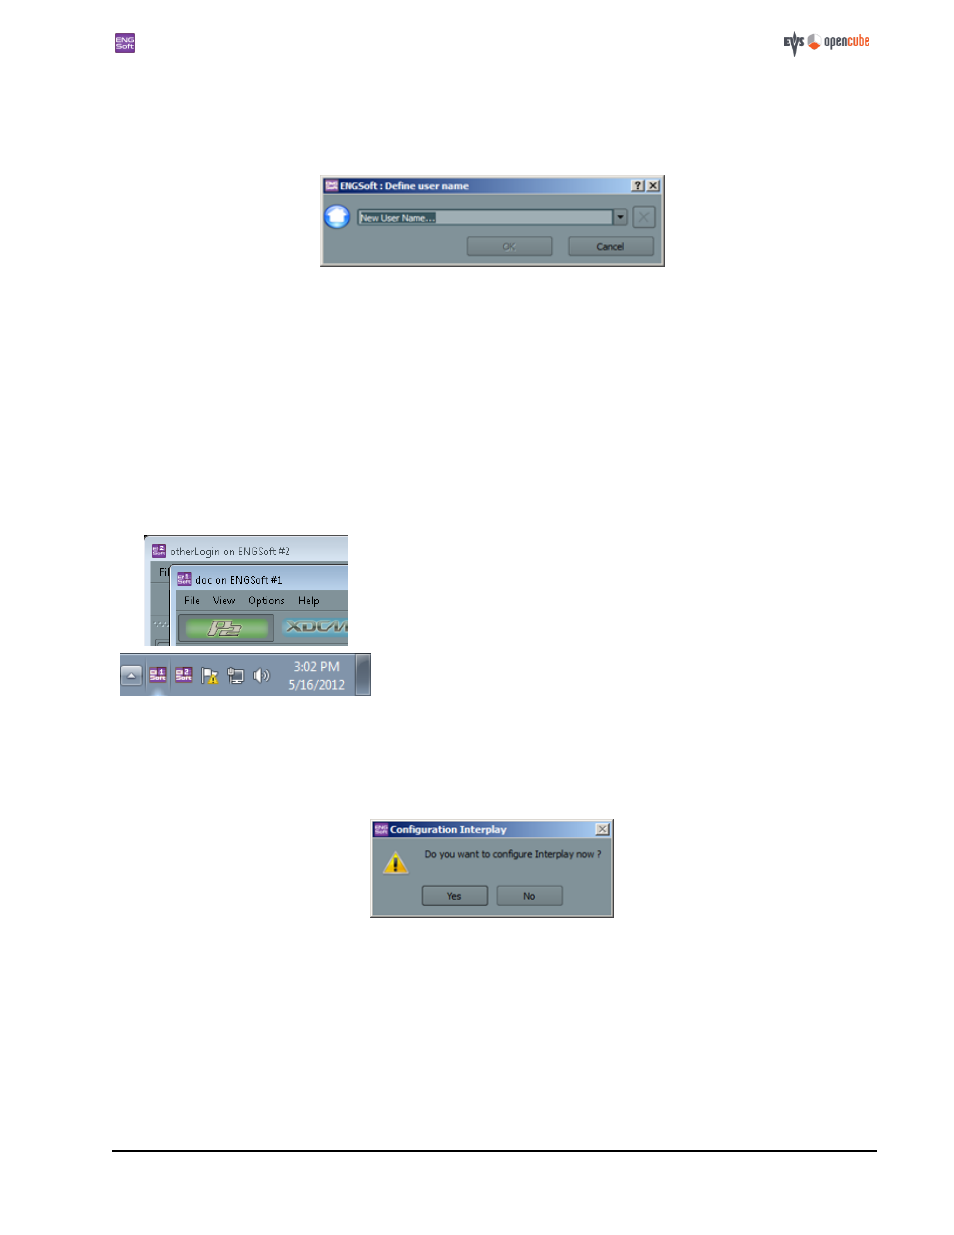
6.2 Login
The login window will appear. Enter your name and click on
[ OK ]. You can use any one word as a user name as long as it
does not contain any special characters. Your user name will be validated interactively as you type it in.
Figure 6: ENGSoft login
Once you have created a new login, you can log on to ENGSoft later without prompting your login. You can do this by
using the
- u switch in a command line, for example: "C:\Program Files\OpenCube Technologies\OpenCube ENG-
Soft\bin\ENGSoft.exe -uMyLogin".
6.3 Multiple instance support
ENGSoft supports the opening of up to two instances on a machine at the same time. Although the application does not per-
form any checking on the logins used for each session, it is strongly advised that you use separate identities and different
hardware for each session.
Various visual hints allow you to identify the two sessions:
The application window icon and title specifies the instance number.
The tray icon and information balloons also inform you of the instance number.
6.4 Configuring the Interplay connection
If a valid Interplay ingest component license is already installed, the software will ask you at startup to configure the Inter-
play connection.
Figure 7: Ask to configure Interplay
If you click on
[ Yes ], the “Interplay Configuration” dialog box is displayed. If you do not want to configure Interplay at that
time, or if the computer is not connected to Interplay at the moment, click on
[ No ]. You can configure the Interplay con-
nection later via the menu
[ Options > Configure Interplay ]. Until the Interplay connection is properly configured, ingest
on Interplay targets cannot be performed. You can configure the Interplay connection at any time.
The “Server” area contains the information required to connect to the Interplay web service.
The “Authentication” area contains the login/password to connect to the Interplay web service.
“Avid Shared Storage” is where you add the URI(s) of your AVID workspaces to the list of favorites.