Epson WorkForce Pro WF-M5799 Workgroup Monochrome Multifunction Printer with Replaceable Ink Pack System User Manual
Page 193
193
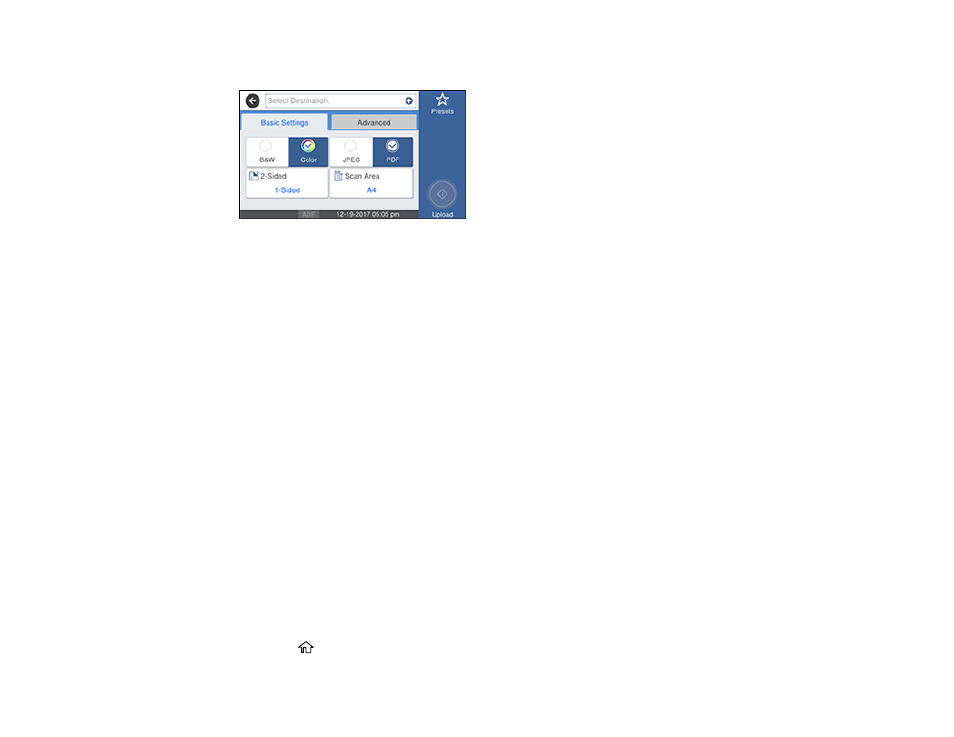
You see a screen like this:
5.
Press the plus sign and select a cloud destination.
6.
Select
Basic Settings
options as necessary.
7.
Select the
Advanced
tab and select options as necessary.
8.
Select
Presets
to save your scan settings.
Note:
Presets can be locked by an administrator. If you cannot access or change this setting,
contact your administrator for assistance.
9.
Press the
Upload
icon.
Your product scans your original and saves the scanned file to the selected destination.
Parent topic:
Starting a Scan Using the Product Control Panel
Scanning Using Web Services for Devices (WSD) - Windows
You can scan originals to a computer from the product control panel using WSD (Web Services for
Devices) for network scanning in Windows 10, Windows 8.x, Windows 7, or Windows Vista (English
only).
Note:
To use this feature on Windows 7 or Windows Vista, you must first set up WSD on the computer.
See Windows help for instructions.
1.
Make sure you installed the product software and connected the product to your computer or
network.
2.
Place your original on the product for scanning.
3.
Press the
home button, if necessary.