Format – TA Triumph-Adler LP 4024 User Manual
Page 95
Using the Operator Panel
1-80
8
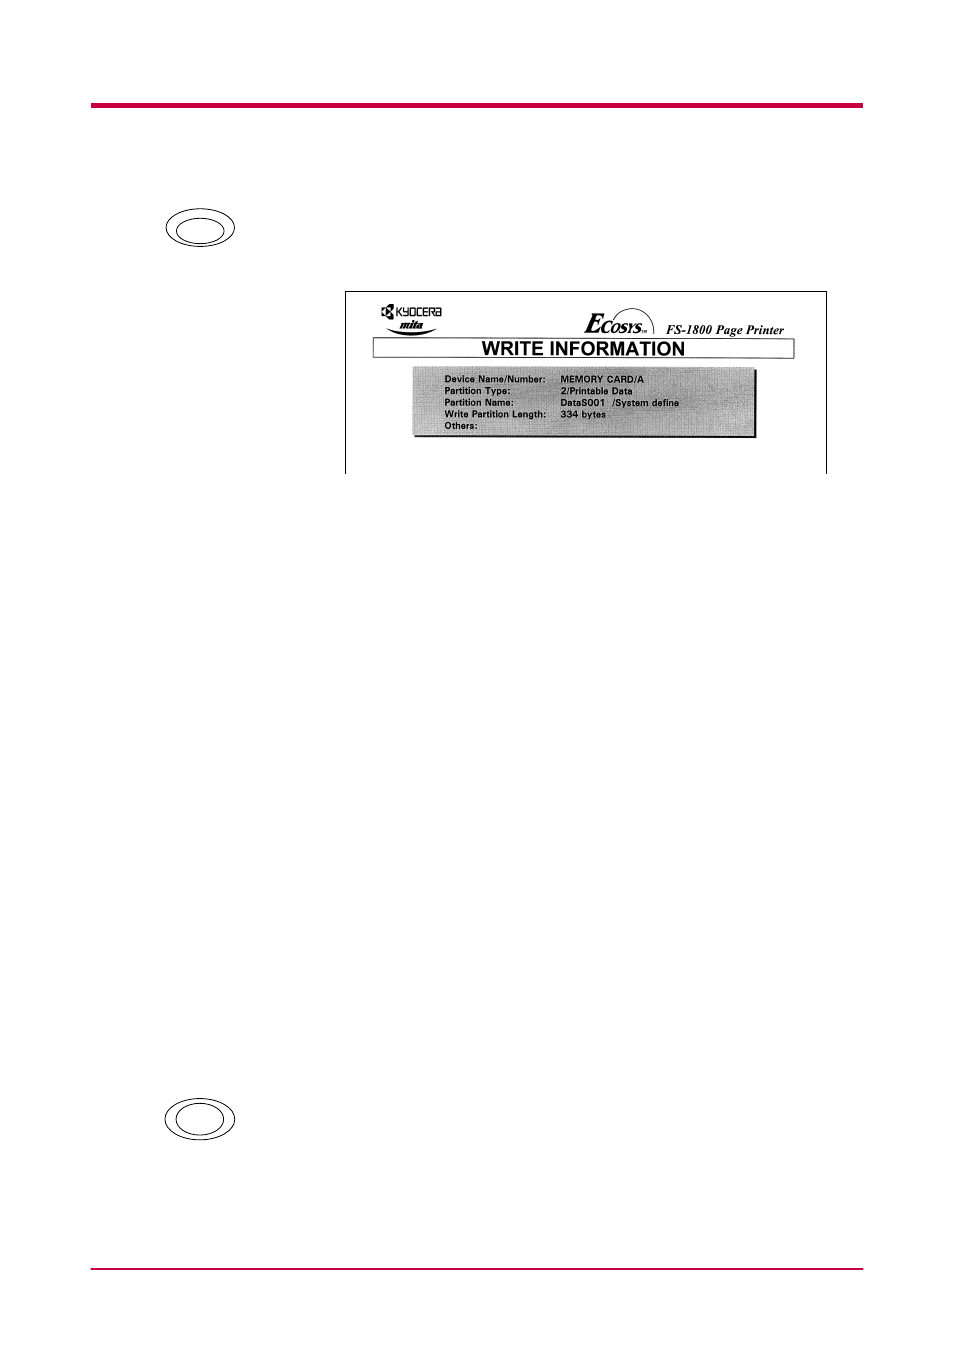
Check that the message display has changed to Waiting, then press
the GO key. This writes the file to the memory card and instructs the
printer to automatically print out a CompactFlash card write
information page as shown below.
Partition Type. Type of data written (currently only type 2 is supported).
Partition Name. The destination name of data written to the card.
Write Partition Length. The size of the written data on the CompactFlash
card.
Others. Error information.
When the CompactFlash card write information page is printed, the
message display returns to Ready.
If the writing was not completed successfully, an error code appears
on the message display. For details, see section
. If this happens, press the GO key. The
message display returns to Ready.
9
Repeat above steps until you have transferred all data (files) that
you want to write to the CompactFlash card. Each time you finish
writing data, a CompactFlash card write information page is printed
from the printer showing the information explained in step 4 above,
but pertaining only to the data just written. To see all data contained
in the CompactFlash card at once, print a list of data names as
explained on page
.
Deleting Data
It is possible to use the printer to delete data from a CompactFlash card
one by one.
To delete data from a CompactFlash card, proceed as follows.
Check that the CompactFlash card contains data.
Otherwise, the >Delete Data menu will not that appear on the message
display.
1
Press the MENU key.
GO
MENU