Programming pgm1 / xp / custom – RISCO Group Gardtec GT600 User Manual
Page 71
Page
69
GT 600 / 601 Engineer’s Reference Guide
Programming PGM1 / Xp / Custom
PGM1 is located on the control panel PCB.
Up to 8 custom outputs may be programmed on to PGM 1 to 3. A custom output may
be used so that the output can follow a zone or a user code.
1)
Enter into Engineer Mode
To do this follow Steps 1 to 4 on page 11
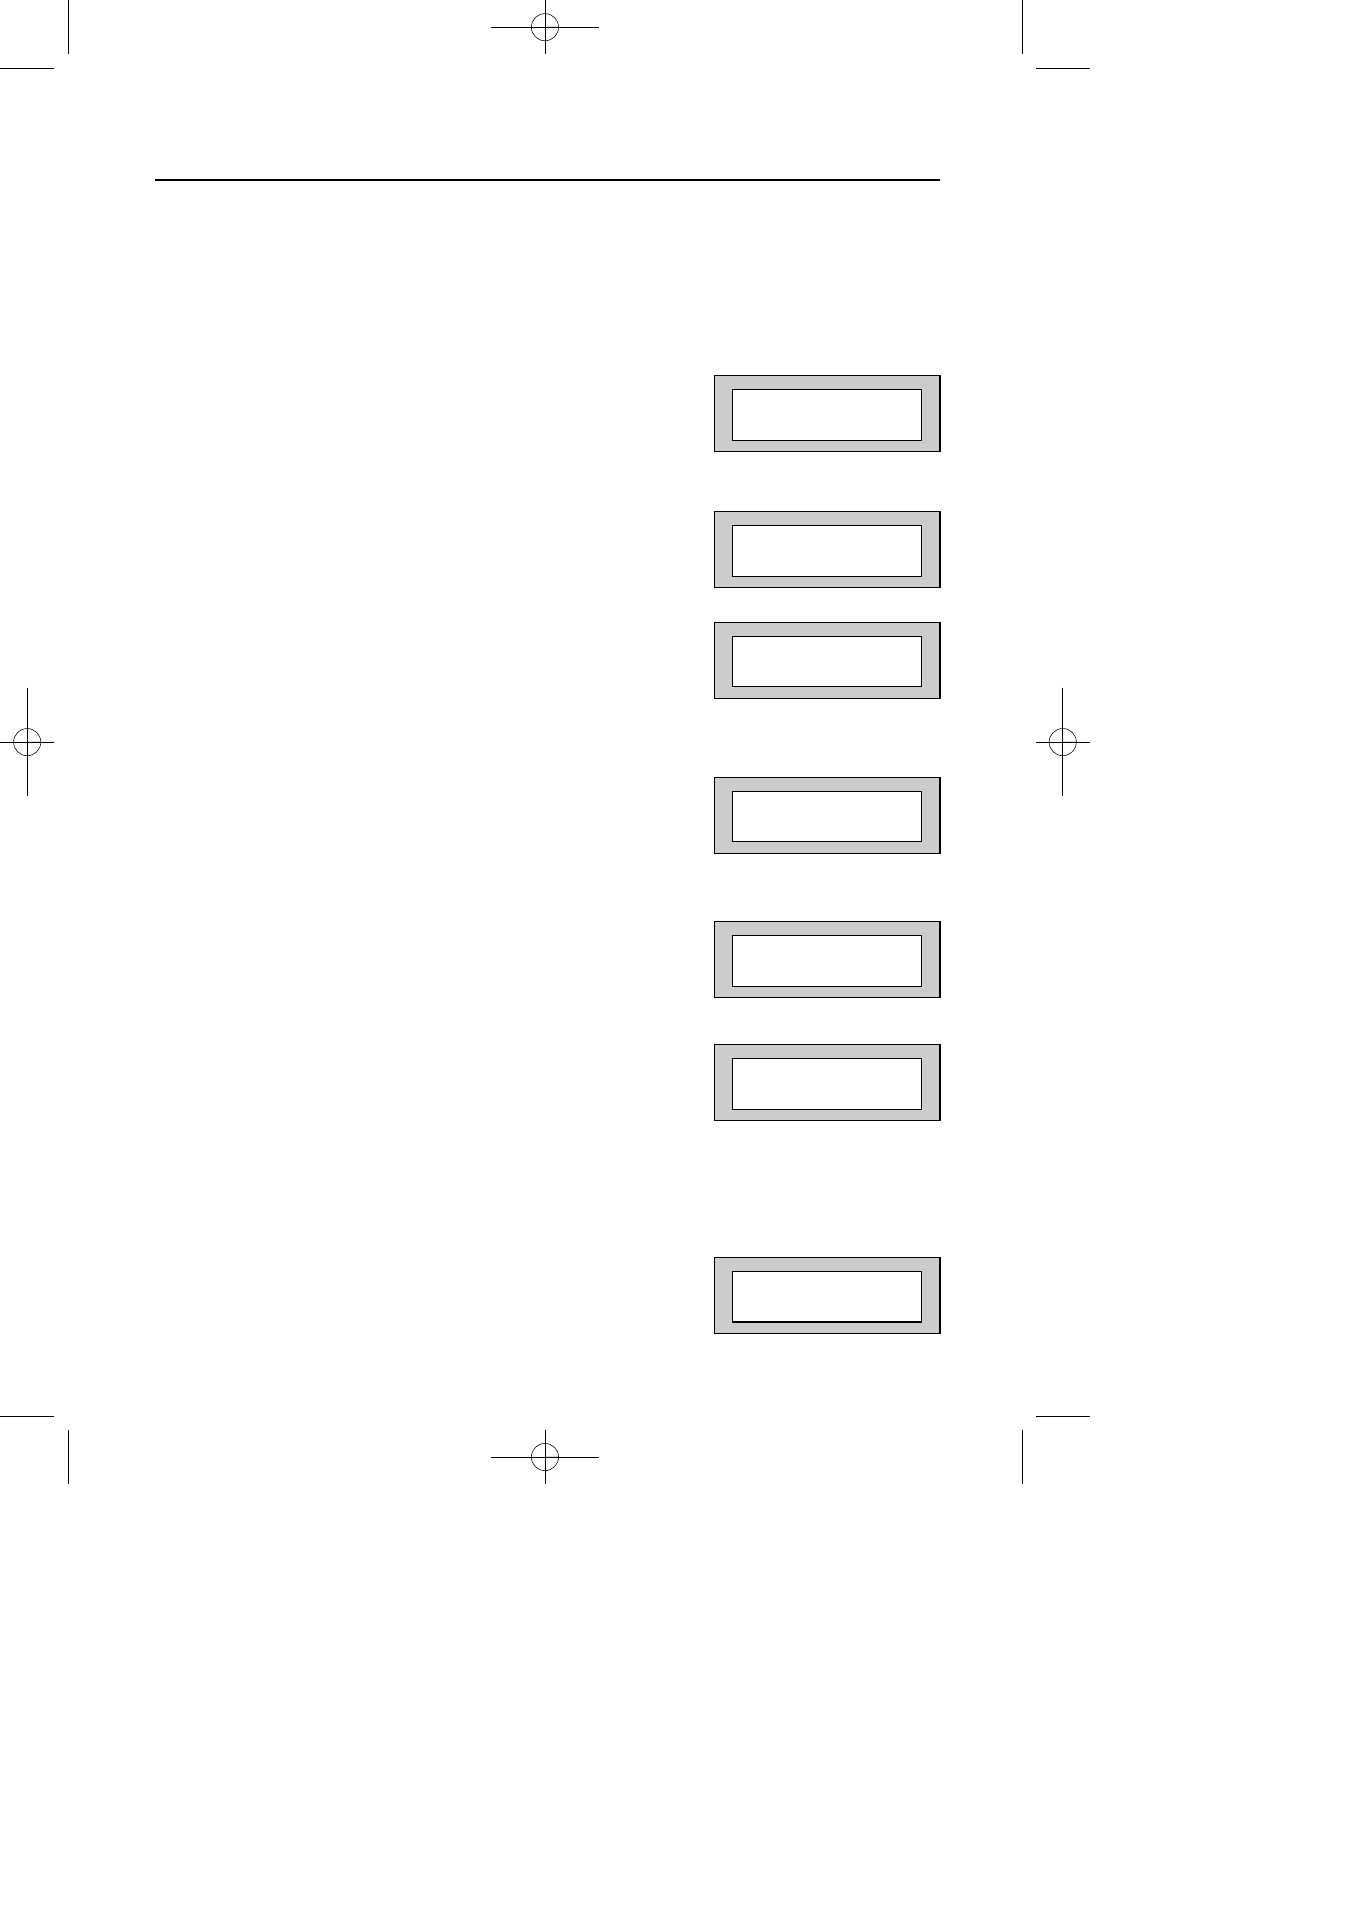
With the display showing:-
2)
Press No eleven times. The display will show:-
3)
Press Yes. The display will show:-
The options available for PGM1 are shown on page 61.
4)
Press No. the display will show:-
Choose from one of the options displayed. E.g. If 5
is selected PGM1 will operate when ANY detector
is triggered.
(Choose 1 - 7 for Areas, 8 All, 9 Any, 601 ONLY)
5)
The display will show:-
6)
Press No until the required setting is displayed
then press Yes. The display will show:-
With the PGM1 programmed as Bell, the output will operate with the Bell when this is
set as +V. With this set as -V the output will be inverted, e.g On, turning Off with the
Bell.
7)
Press No until the required setting is displayed
then press Yes. The display will show:-
Program . . . . _ _ _
Zones ?
Program . . . . _ _ _
PGM1 / Xp / Custom ?
PGM1 O/P
= Pulse Off =+V
PGM1 O/P
>Pulse Off =+V
Choose 1=A1 2=A2
3=A3 4=All 5=Any
PGM1 O/P
=Pulse Off >+V
Expander 1 O/P 1
=Off =+V