Replacing a transceiver module, Replacing an xfp/sfp+/sfp/qsfp+ module – H3C Technologies H3C S10500 Series Switches User Manual
Page 65
55
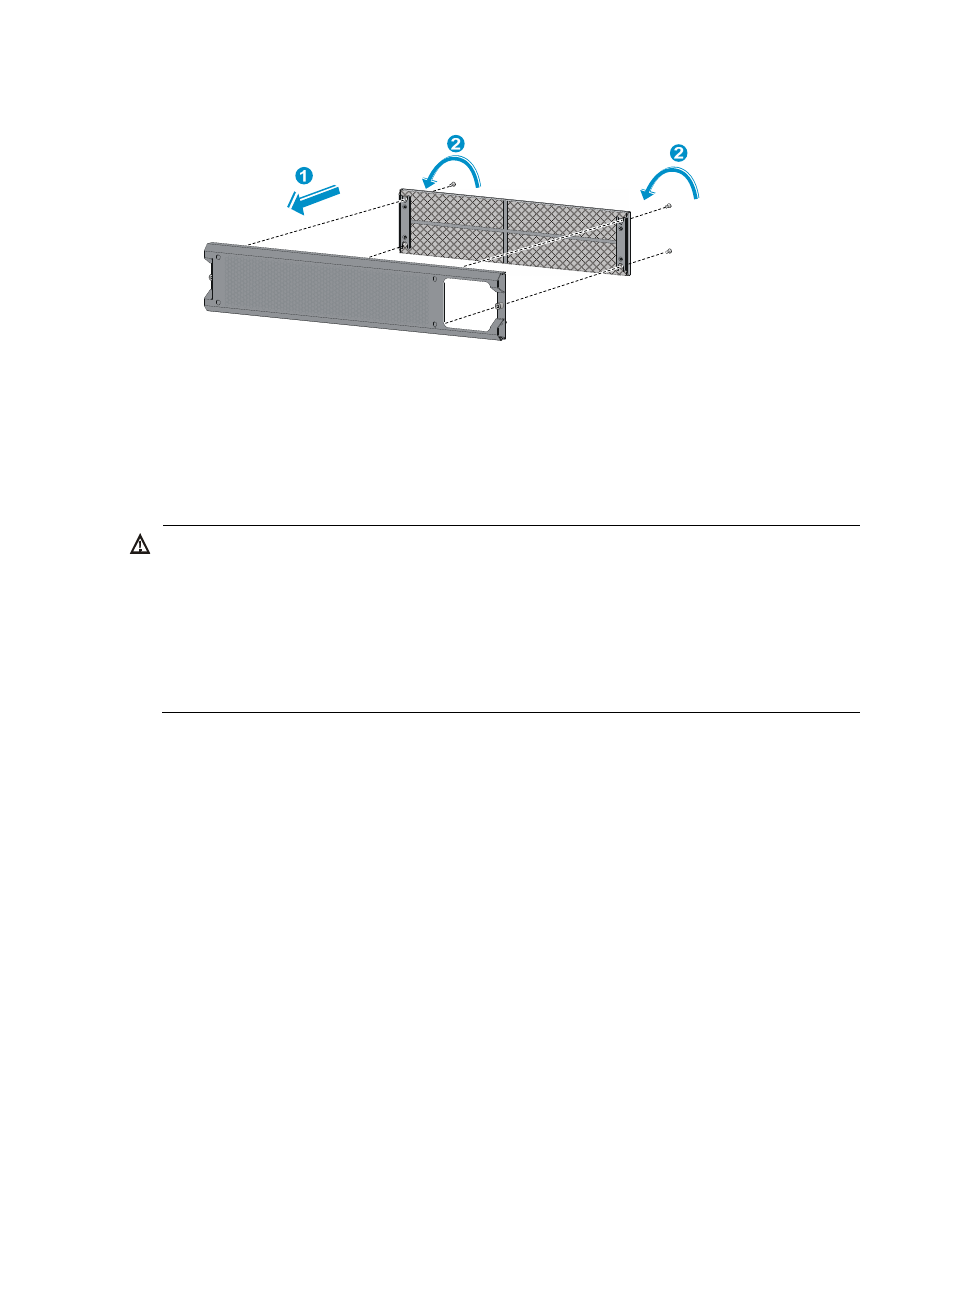
Figure 62 Installing the new air filter
6.
Reinstall the front cover for the external PoE power frame, as shown in
.
7.
Connect the DB-9 connector to the 9-core serial port on the external PoE power frame, and secure
the captive screws, as shown in
.
Replacing a transceiver module
WARNING!
•
Keep the dust plug in the transceiver module until you are ready to connect a fiber to the module.
•
Do not stare at the fiber ports to avoid hurting your eyes when you install or remove a module.
•
Do not touch the golden plating on the module when you install or remove a module.
•
After you remove a module from a port, wait for a minimum of five seconds before installing a module
in the port again.
•
Make sure the transceiver modules at the two ends of an optical fiber are the same model.
Replacing an XFP/SFP+/SFP/QSFP+ module
1.
Wear an ESD wrist strap and make sure it makes good skin contact and is reliably grounded.
For more information, see "
2.
Remove the optical fibers from the module.
3.
Pivot the clasp down to the horizontal position.
For a QSFP+ module that uses a plastic pull latch, skip this step. QSFP+ modules use either a metal
or plastic pull latch.
4.
Grasp the clasp on the module and carefully pull the module out of the slot.