Installing slide rails – H3C Technologies H3C S10500 Series Switches User Manual
Page 19
9
•
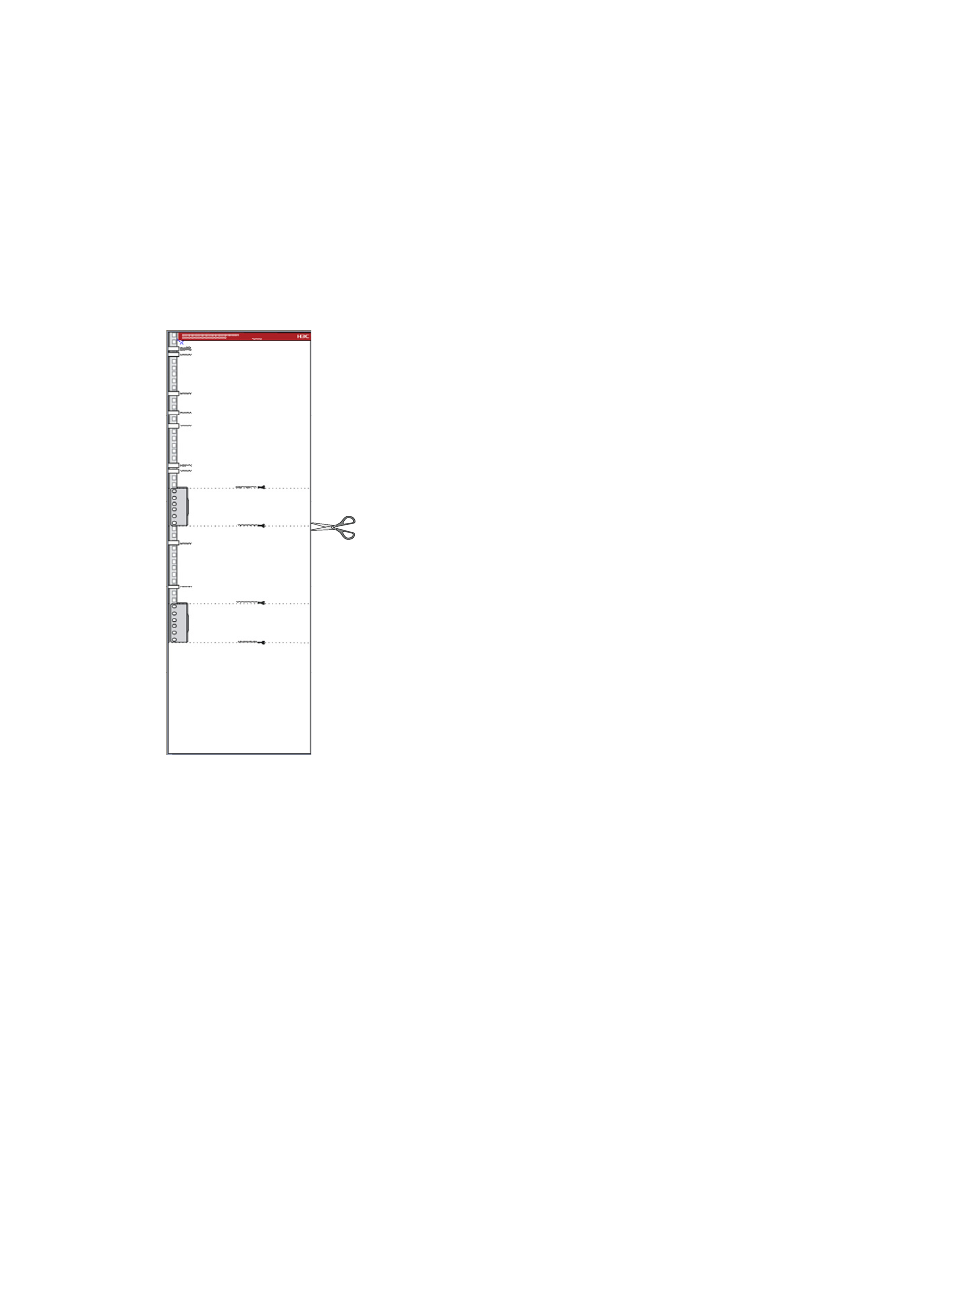
For an S10506 switch that uses H3C slide rails, cut the template along the For S10506 that uses
H3C slide rails line.
•
For an S10506 switch that uses non-H3C slide rails, cut the template along the For S10506 that
uses non-H3C slide rails line.
•
For an S10510 switch that uses H3C slide rails, cut the template along the For S10510 that uses H3C
slide rails line.
•
For an S10510 switch that uses non-H3C slide rails, cut the template along the For S10510 that uses
non-H3C slide rails line.
Figure 3 Cage nut installation template
Installing slide rails
If the rack has slide rails, skip this section.
Before you attach slide rails to the rack, perform the following tasks:
•
The slide rails can support the weight of the switch. For the weights of the S10500 switches, see
"
Appendix A Chassis views and technical specifications
H3C recommends that you order the H3C Slide Rail Accessories, 500mm-800mm
(LSTM2KSGD0). The accessories can be used in racks where the distance between the front and
rear rack posts fits the H3C slide rails:
•
To ensure stability of the rack, install the slide rails to the lowest possible position when installing a
single switch in the rack. To install multiple switches in the rack, mount the heaviest switch at the
bottom of the rack.
•
Identify the installation position on the rack for the switch. For the height and other specifications of
the 10500 switches, see "
Appendix A Chassis views and technical specifications
The slide rail installation procedure varies by rack type. The following installation procedure is for your
reference only.