Install dasy, Lab …… 2-2, Install dasy lab – Measurement Computing DASYLab User Manual
Page 14
2-2 Configuring DASYLab for Personal Daq/54, 55, 56
896992
DASYLab - Standard Driver
Install DASYLab
1. Launch DASYLab installation from the DASYLab CD. Note that the CD should auto-start.
If the CD does not auto-start, run the CD start.exe from the Windows Desktop.
2. Select “Install DASYLab.”
3. When prompted for your name, company and serial number, enter the requested data.
Obtain the serial number from the CD jacket. Keep the number in a safe place for future installations
and upgrades.
4. When prompted for the installation directory and program folder, use the default selection,
or choose another. We recommend that the default directory and location be used.
5. When prompted for Setup Type, choose from the available options.
We recommend that you select Typical.
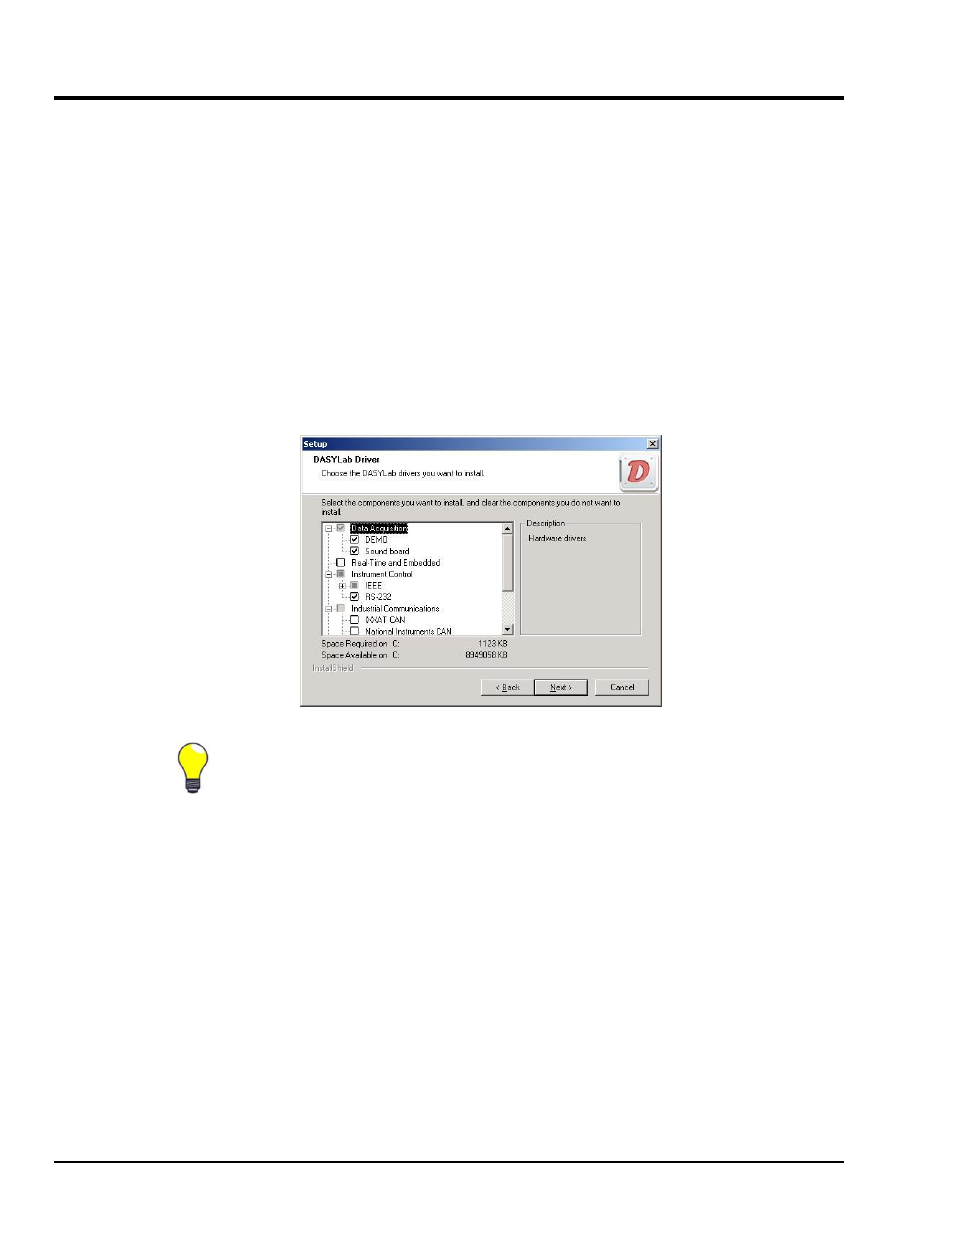
Note: You can select other drivers [for any other supported hardware you have] at this time.
Make sure a check mark appears next to your selection(s). Choices that are merely
highlighted and not checked will not be installed.
Note: If you allowed the IEEE488 (GPIB) drivers to be installed, you will be able to select the vendor.
Note: After software installation is complete, you may be required to restart Windows.
After restart, continue with the following section, Hardware Driver installation.
6.
Install the DEMO driver, and/or any of the other listed drivers as applicable. Note that IOtech Drivers
will be installed from your IOtech installation CD, after DASYLab has been installed, as described in
the upcoming section.
7. Upon completing the DASYLab installation, exit from and remove the DASYLab CD.
Note: After software installation is complete you may be required to restart Windows.
After restart, continue with the following section, Installing DASYLab Drivers
for IOtech Devices.