Checking supply quality, Checking supply quality -3 – Avery Dennison Monarch 9906 Operator Handbook User Manual
Page 97
C h e c k i n g S u p p l y Q u a l i t y
The printer continuously stores data from 16 of the most recently printed supplies to
check the reflectivity of the sensor marks on the supply. Before you check your supply
quality, print a batch of supplies or test labels.
To check the supply quality, from the Main Menu select Diagnostics, then follow these
steps.
1.
Press or until you see User Diag.
2.
Press SELECT to highlight the user diagnostics options.
3.
Press or to scroll through the user diagnostics options.
4.
When you see Supply Quality, press ENTER to view the information.
If you have not printed any labels, the message "No data!" appears. Press BACK
to continue.
You also see the "No data!" message if you are using continuous (non-indexed)
supplies.
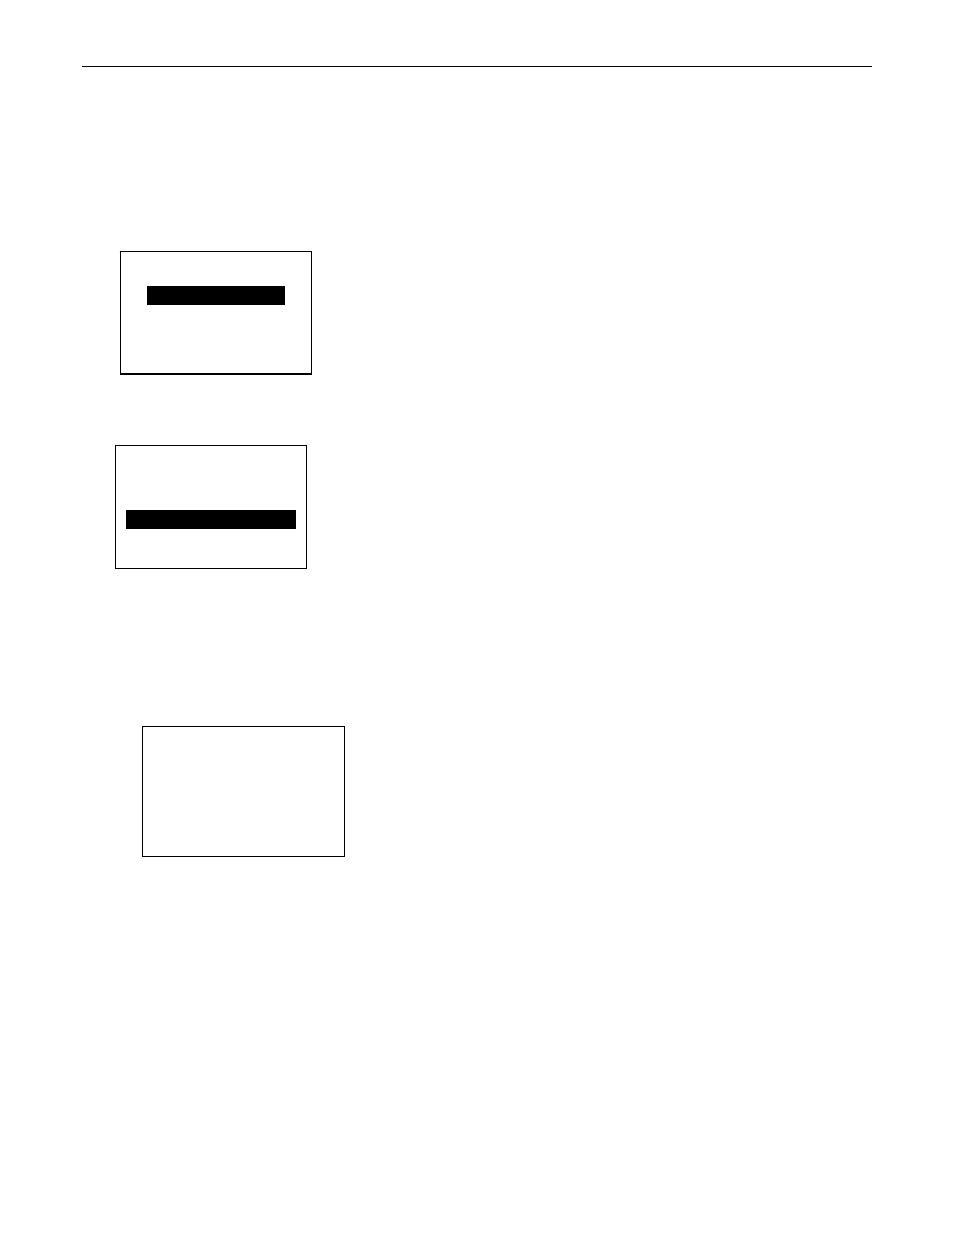
If you have printed labels since turning on the printer, the following will display
SELECT BACK
DIAGNOSTICS
← User Diag →
← Supply Qual →
ENTER BACK
USER DIAG
Len
Min
Max
OK
←
1568 034 124 Y →
BACK
DIAGNOSTICS
←
User Diag
→
5.
Press or to display the readings.
The Len listing is the length of the loaded supply in dots.
The Max listing should always be greater than the Min listing.
The OK listing tells whether the sense mark on the supply passed a detection test.
6.
Press BACK until you return to the Home/Online screen.
Diagnostics & Troubleshooting 11-3