Changing the position settings, Setting the print position, Changing the position settings -8 – Avery Dennison Monarch 9906 Operator Handbook User Manual
Page 36: Setting the print position -8
C h a n g i n g t h e P o s i t i o n S e t t i n g s
This menu includes selections to change the print, supply, margin, dispense, and
backfeed distance positions. To change these settings, from the Main Menu, select Setup,
Supply, Positioning.
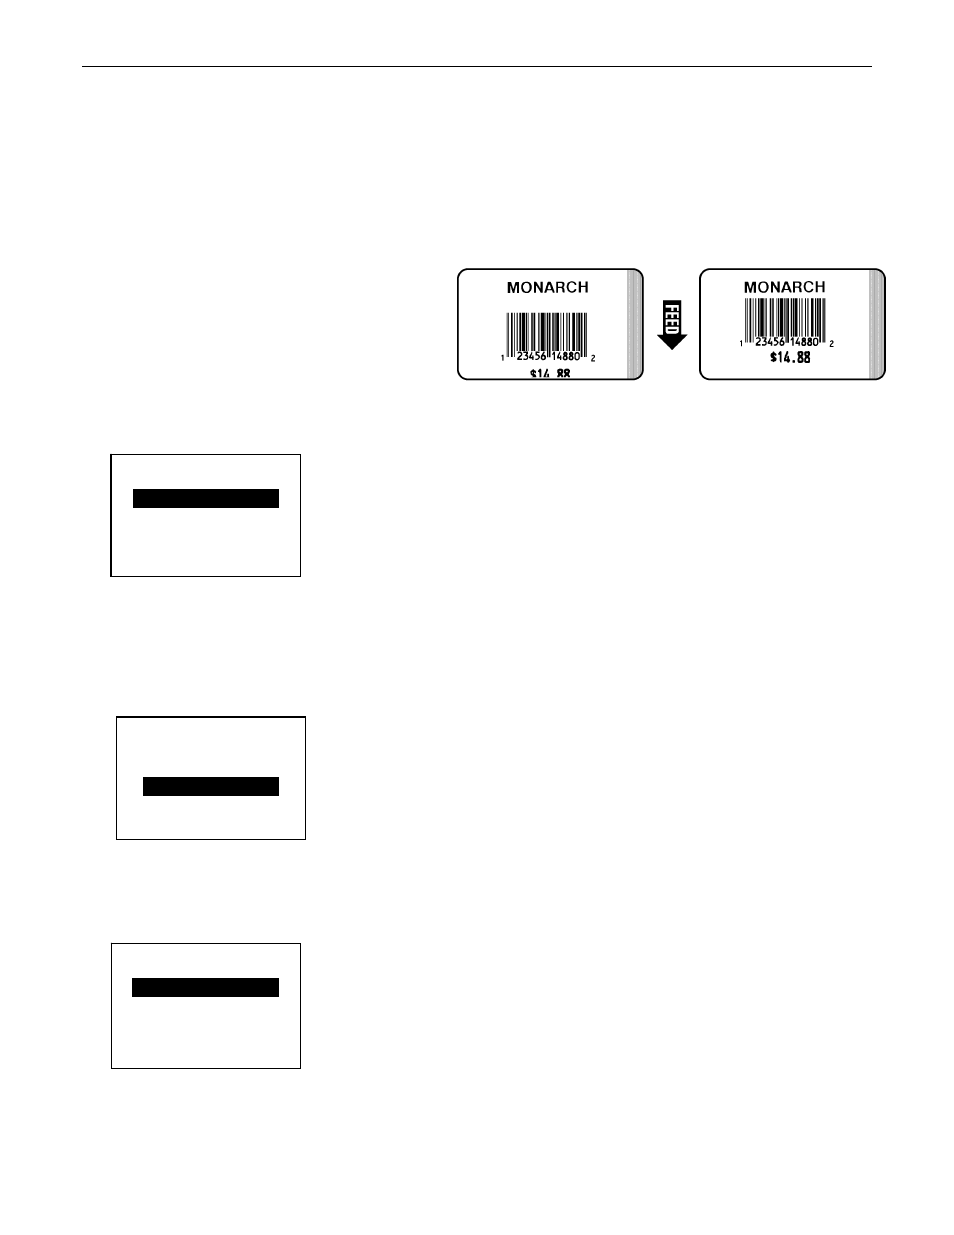
Setting the Print Position
This function adjusts the vertical data printing position. Adjust the position if the print is
too close to the top or bottom of the supply, or overtypes the pre-printed area. One dot
equals 0.0049 inch.
If the data is too close to the bottom,
increase the number.
If the data is too close to the top,
decrease the number.
1.
Press or until you see Print Pos.
CHANGE CANCEL
0
← Print Pos →
POSITIONING
2.
Press CHANGE to highlight the print positioning options.
3.
Press or to increment/decrement the print position.
Note:
Pressing the left function button changes the increment/decrement amount
(changes by 1, 10, or 100).
1 SET CANCEL
[-450/450] 0
Print Pos
POSITIONING
4.
When you see the print position you need, press SET to save the change. Press
CANCEL
to leave the print position unchanged.
5.
Press BACK until you return to the Home/Online screen.
POSITIONING
Print Pos
→
0
CHANGE BACK
Note:
Changing this setting only effects new formats sent to the printer.
4-8
Operator's Handbook