Generating a report, Setting a report date range – Turning Technologies Insight 360 Cloud User Manual
Page 54
Insight 360
54
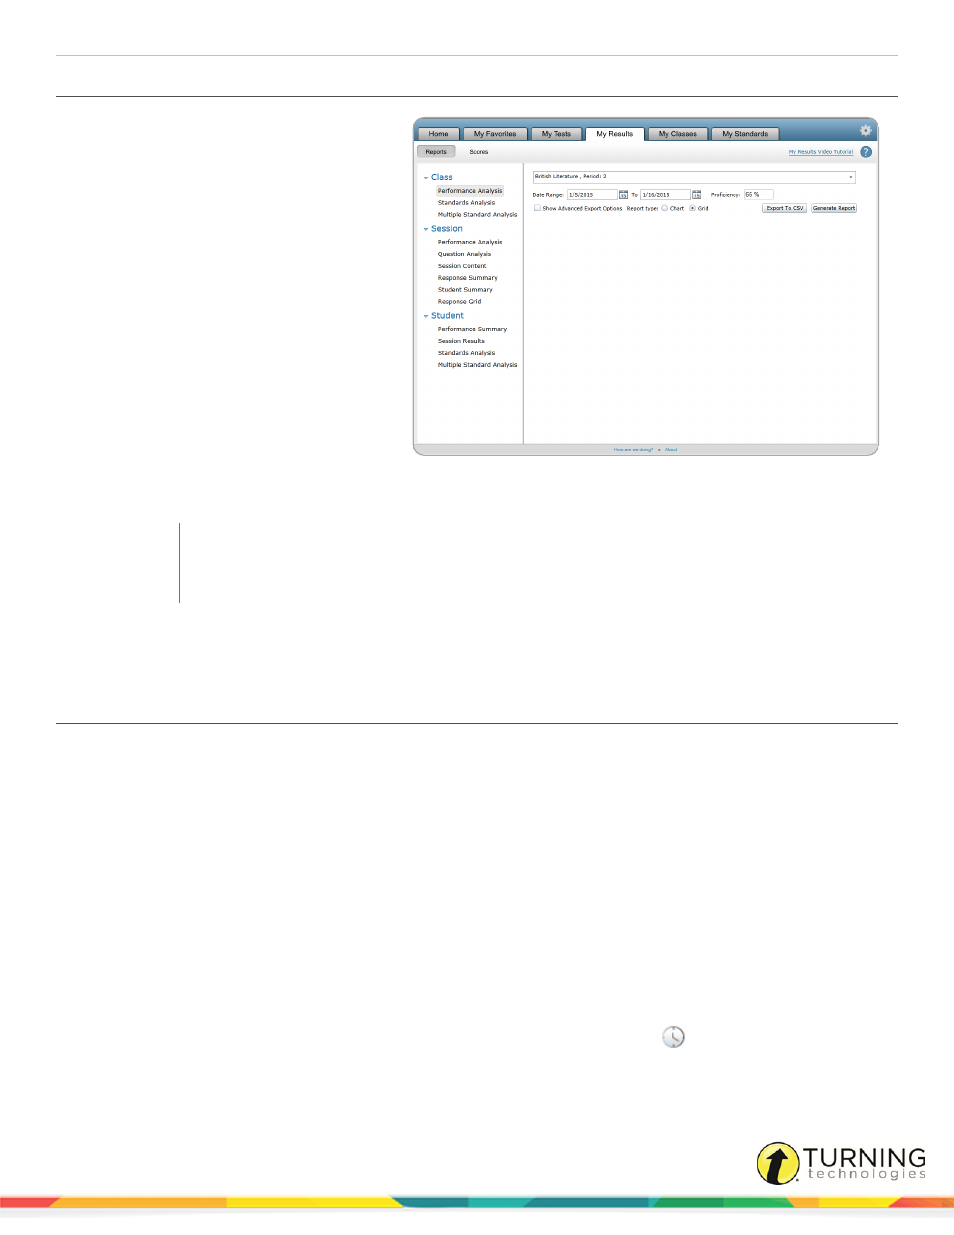
Generating a Report
1
Select the My Results tab and click
Reports.
2
Select the desired report from the left
menu.
3
From the Select a class drop-down
menu, select the class for which you
want to see the report.
4
If applicable, select the class session
from the Select a session drop-down
menu.
5
If applicable, select the student name
from the Select a student drop-down
menu.
6
If applicable, select the standard from
the Select a standard drop-down menu.
7
Click Generate Report.
The report displays as a PDF in grid or
chart format.
NOTE
When you make a change to a report, such as selecting a new class session or student, you
must click Generate Report to view the new data.
8
Depending on the type of report, you can export to a CSV. Click Export to CSV. You also have the option to select the
box next to Show Advanced Export Options to filter column data.
Setting a Report Date Range
The following reports allow you to filter the data to a specific date range:
l
Class Performance Analysis
l
Class Standards Analysis
l
Class Multiple Standard Analysis
l
Student Performance Summary
l
Student Standards Analysis
l
Student Multiple Standard Analysis
After you have set the date range, you must generate (or regenerate) the report to see the newly filtered data.
1
Select the desired report from the left menu.
2
Enter all necessary information in the fields provided.
3
In the Date Range field, enter the beginning date in MM/DD/YYYY format, or click
to select the date.
4
In the To field, repeat step 3 to enter the end date.
5
Click Generate Report.
turningtechnologies.com/user-guides