Width 1 10, Delay 1.5 – TeeJet CenterLine User Guide v2.02 User Manual
Page 14
10 Chapter 2 - Setup
Sections
Enter the number of sections that are active in the system. Use the Arrow buttons to scroll to the
appropriate number (1 - 5) and press the Enter button to accept the setting.
Figure 2-8: Number of Sections
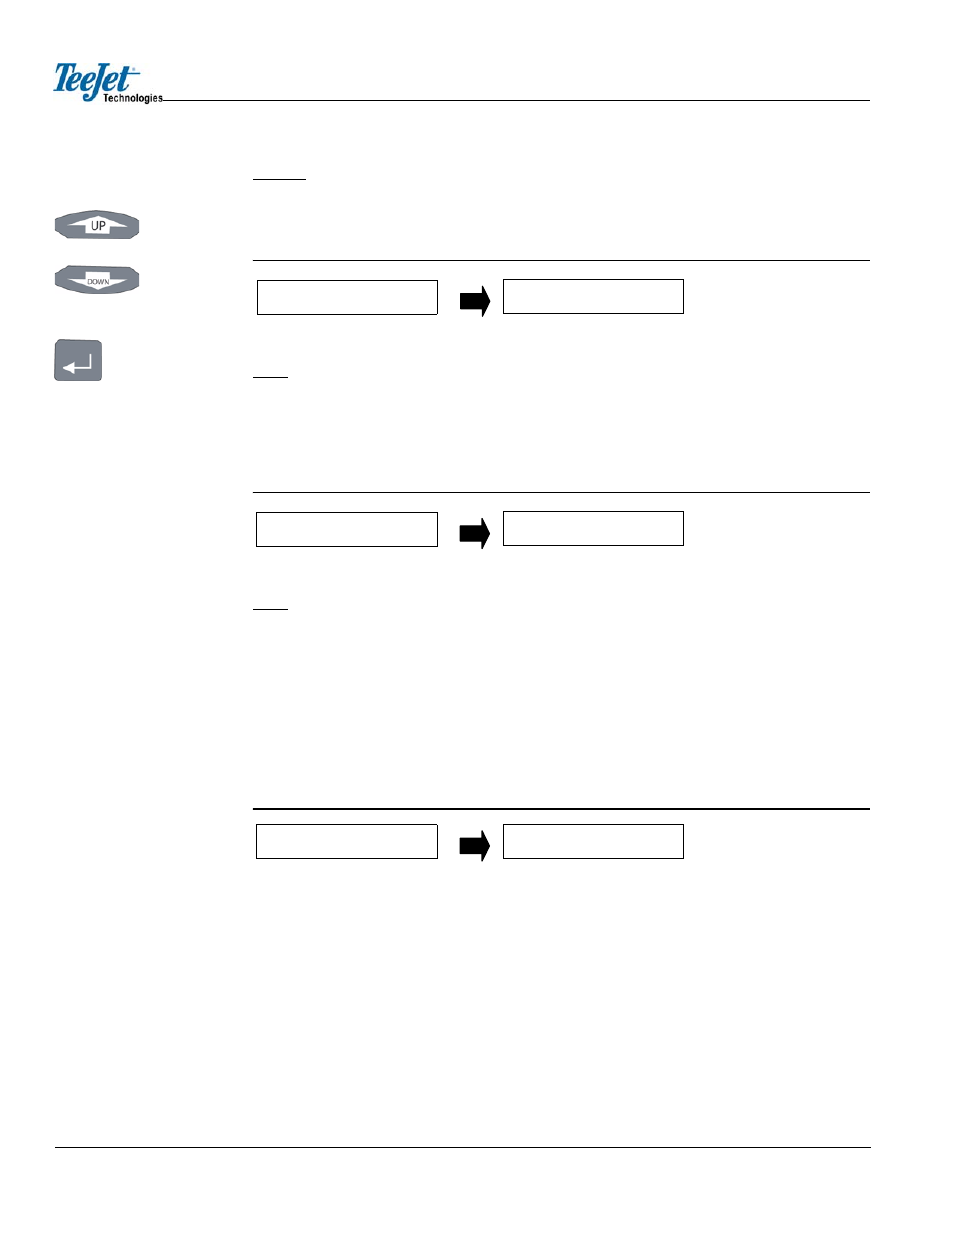
Width
Enter the width in feet / meters for boom section 1 by using the Arrow buttons to scroll through the
options, followed by the Enter button. Repeat the process for the remaining boom sections. The
total width of all boom sections is NOT the width that will be used for guidance. Refer to
CHAPTER 2 - WIDTH for additional information.
Figure 2-9: Boom Section Width
Delay
Enter the delay in seconds. This acts as the look ahead to turn booms on and off when entering and
exiting applied zones.
Entering Applied Zones: When entering an applied zone, the setting acts as a look ahead and turns
the booms off prior to entering the zone according to the number of seconds entered in Delay Setup.
The setting allows time for the valves to shut off.
Exiting Applied Zones: When exiting an applied zone, the setting acts as a look ahead and turns the
booms on prior to exiting the zone according to the number of seconds entered in Delay Setup. The
setting allows time for the booms to re-engage before exiting the applied area.
Figure 2-10: Delay
Width
The Guidance parameter Width measures the distance between guidelines. This width is typically
the vehicle implement width, otherwise known as spread width. Setting this width slightly smaller
than the actual width reduces skips. Setting this width slightly larger than the actual width reduces
overlap. To adjust width setting, select
Arrow buttons and select
Up Arrow button. To decrease the width, press the Down Arrow button. Press the Enter button once
the desired width is established. Width value is established in 0.1 foot increments.
Sections
5
Width 1
10
Delay
1.5
Enter button
Arrow buttons