Starting a profile – Cannon Instrument CMRV-4500 User Manual
Page 67
61
CANNON
®
Mini-Rotary Viscometer CMRV-4500 Instruction & Operation Manual
Version 1.1e—October, 2011 •
CANNON
®
Instrument Company
2139 High Tech Road • State College, PA • 16803 • USA
cover (Step 9.2.6 in the ASTM D 4684-98 method and step 9.1.6 in
the ASTM D 3829 method). The tubing may be removed, along with
the cover, prior to viscosity/yield stress testing.
14. Whatever the methodology, the purge should continue throughout the
temperature profile using dry gas at a flow rate between 20 and 30
milliliters per minute.
Starting a profile
1. If the
View Instrument
window is not open, click
Main/View
Instrument
and select the desired instrument type (MRV) and
configuration from the
View Instrument
window. Then click
OK
.
Polling instruments
If you are unable to select your CMRV from the list of available instru-
ments in the View Instrument window, make sure the instrument is
turned on and warmed up (see Chapter 6); then select Poll for Instru-
ments from the Main menu.
2. From the MRV
Instrument View
window, click the
Upload Profile
button to open the
Upload Profile
window.
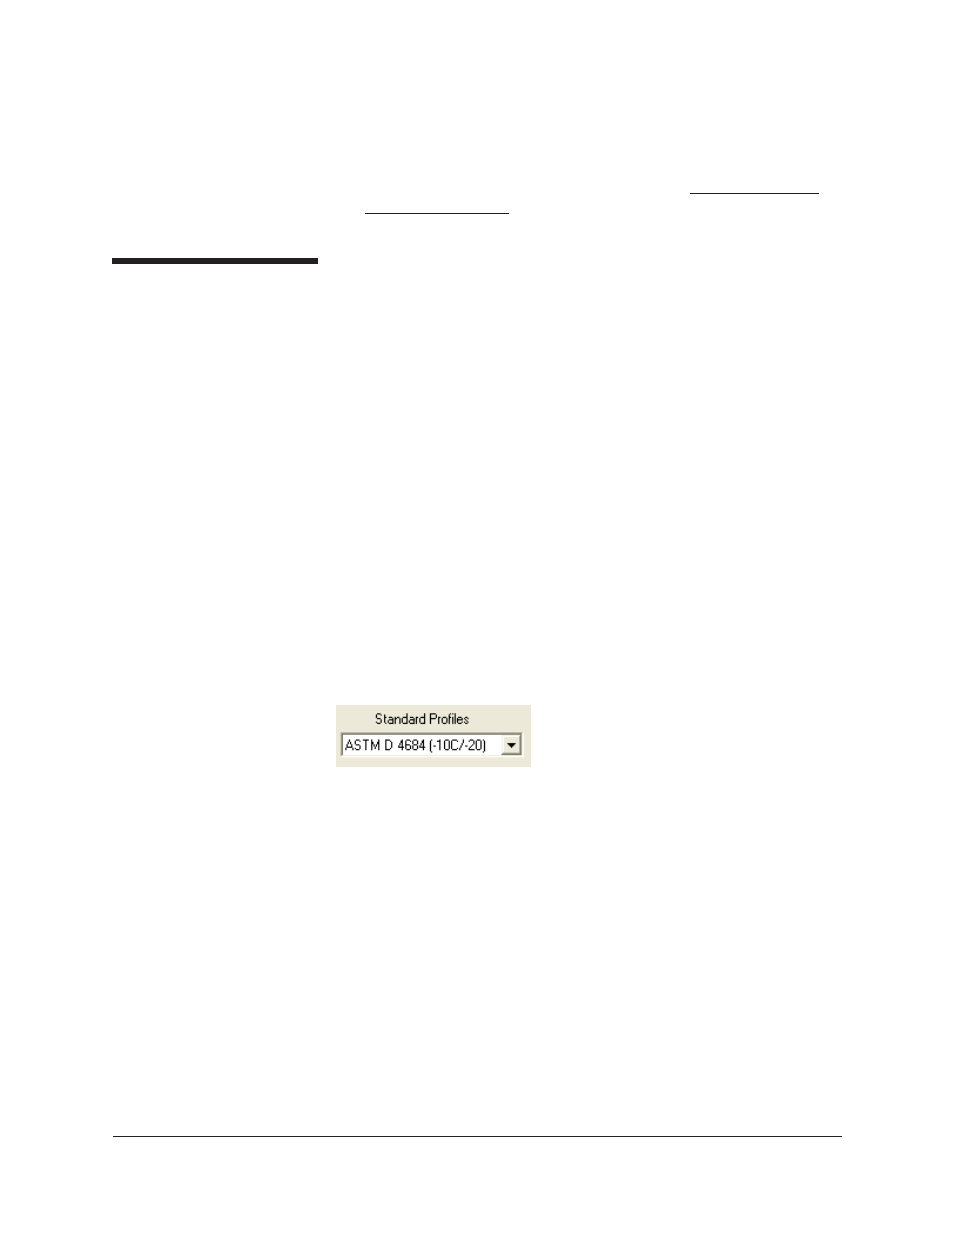
3. Select a
Standard
or
User-Defined
profile from the available
profiles in the drop-down box, then click
OK
.
NOTES
To run samples using -20°C or -25°C calibration data per ASTM specifi-
cations, ensure that the correct profile is selected from the ASTM Stan-
dard Profile laboratory. Standard Profiles with only one temperature
indicated are run using calibration data obtained at -20°C. For profiles
with two temperatures indicated, the first temperature refers to the final
test temperature for the profile and the second refers to the desired
calibration temperature for that profile.
(-10°C profile using -20°C calibration data)
You will not be able to select and run ASTM profiles in cells for which
calibration data is unavailable at the specified temperature. The ASTM
profiles will not appear in the drop-down list until the number of calibra-
tions required by the method are performed.
4. Click the
Run Profile
button to open the
Run Profile
window. The
on-board CMRV microprocessor will control the temperature until
the profile has been completed. A computer connection is no longer
required until it is time to initiate viscosity/yield stress testing.
5. Select the desired
End Time
for the profile (this is the time you
would like to start testing) and click
OK
. The Start Test button will
begin blinking to indicate that profile timing has begun. The profile
will be initiated at the appropriate time.
NOTE
The default End Time is the time that the temperature profile would be
completed if the profile is started immediately.