Cell calibration test procedure – Cannon Instrument CMRV-4500 User Manual
Page 44
38
CANNON
®
Mini-Rotary Viscometer CMRV-4500 Instruction & Operation Manual
Version 1.1e—October, 2011 •
CANNON
®
Instrument Company
2139 High Tech Road • State College, PA • 16803 • USA
NOTES
To reduce the chance of separating the mercury column during the heating
phase of the temperature profile, you may wish to initially remove the
calibrated thermometer from the CMRV unit. Store the thermometer in a
vertical position. You may replace the calibrated thermometer when the
CMRV has cooled to 30°C or lower. If the thermometer is not in place
during CMRV-4500 cooling, you should seal the thermometer well in the
block and the thermometer hole in the Plexiglas
®
cover with stoppers,
particularly when the humidity of the ambient air is high. This will help
prevent frost buildup on the surface of the block and enhance temperature
control.
Be sure the thread is properly wound around each rotor and the Plexiglas
®
cover is in place on top of the CMRV-4500 before proceeding with the test.
Cell calibration test procedure
Cell calibration
Use the VISCPRO
®
software to input calibration information as follows:
1. Load the VISCPRO software and make certain that the MRV instru-
ment is listed on a button bar at the bottom of the Primary Window.
If it is not, click
Poll for Instruments
from the
Main
menu to
establish computer contact with the CMRV unit.
2. Click
Service/Calibrate Cell Constants
. The
Calibration Param-
eters
window will open.
3. Click the
Temperature
field and select the desired calibration
temperature from the drop-down options.
4. Click the
Mass
field and select the correct value for the test mass.
5. Click the
Known
Viscosity
field and input
the known viscosity of
the standard at the
calibration temperature
in centipoise (mPa·s).
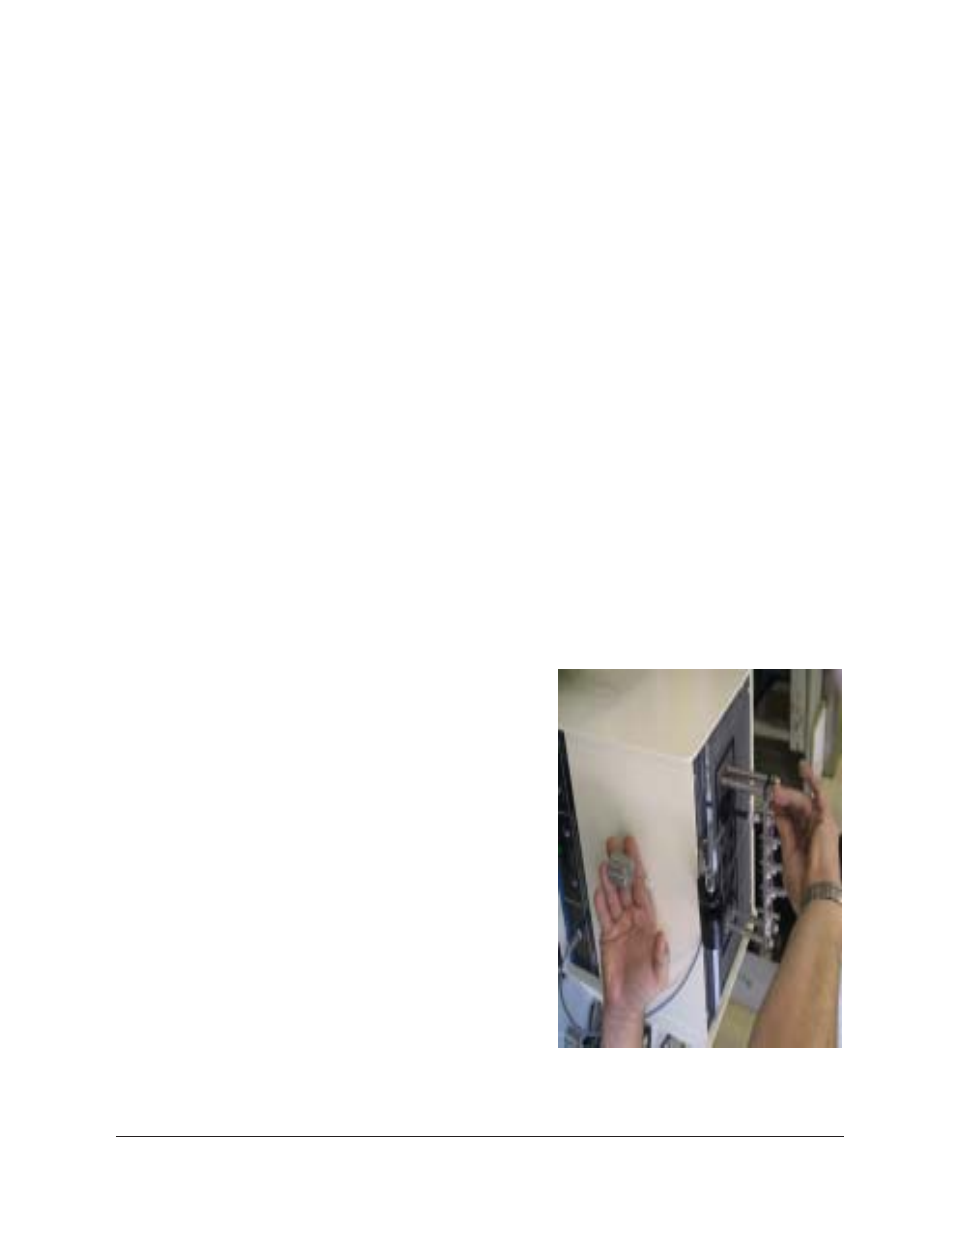
6. Click the
Calibrate ...
button to open the
Calibrate Cell Con-
stants
window. The
CMRV-4500 will cool to
the desired calibration
temperature and main-
tain the temperature for
one hour. When the
instrument has com-
pleted the calibration
profile, the
Status
field
in the
Calibrate Cell
Constants
window will
indicate
Ready to Calibrate
.
Running a calibration test